
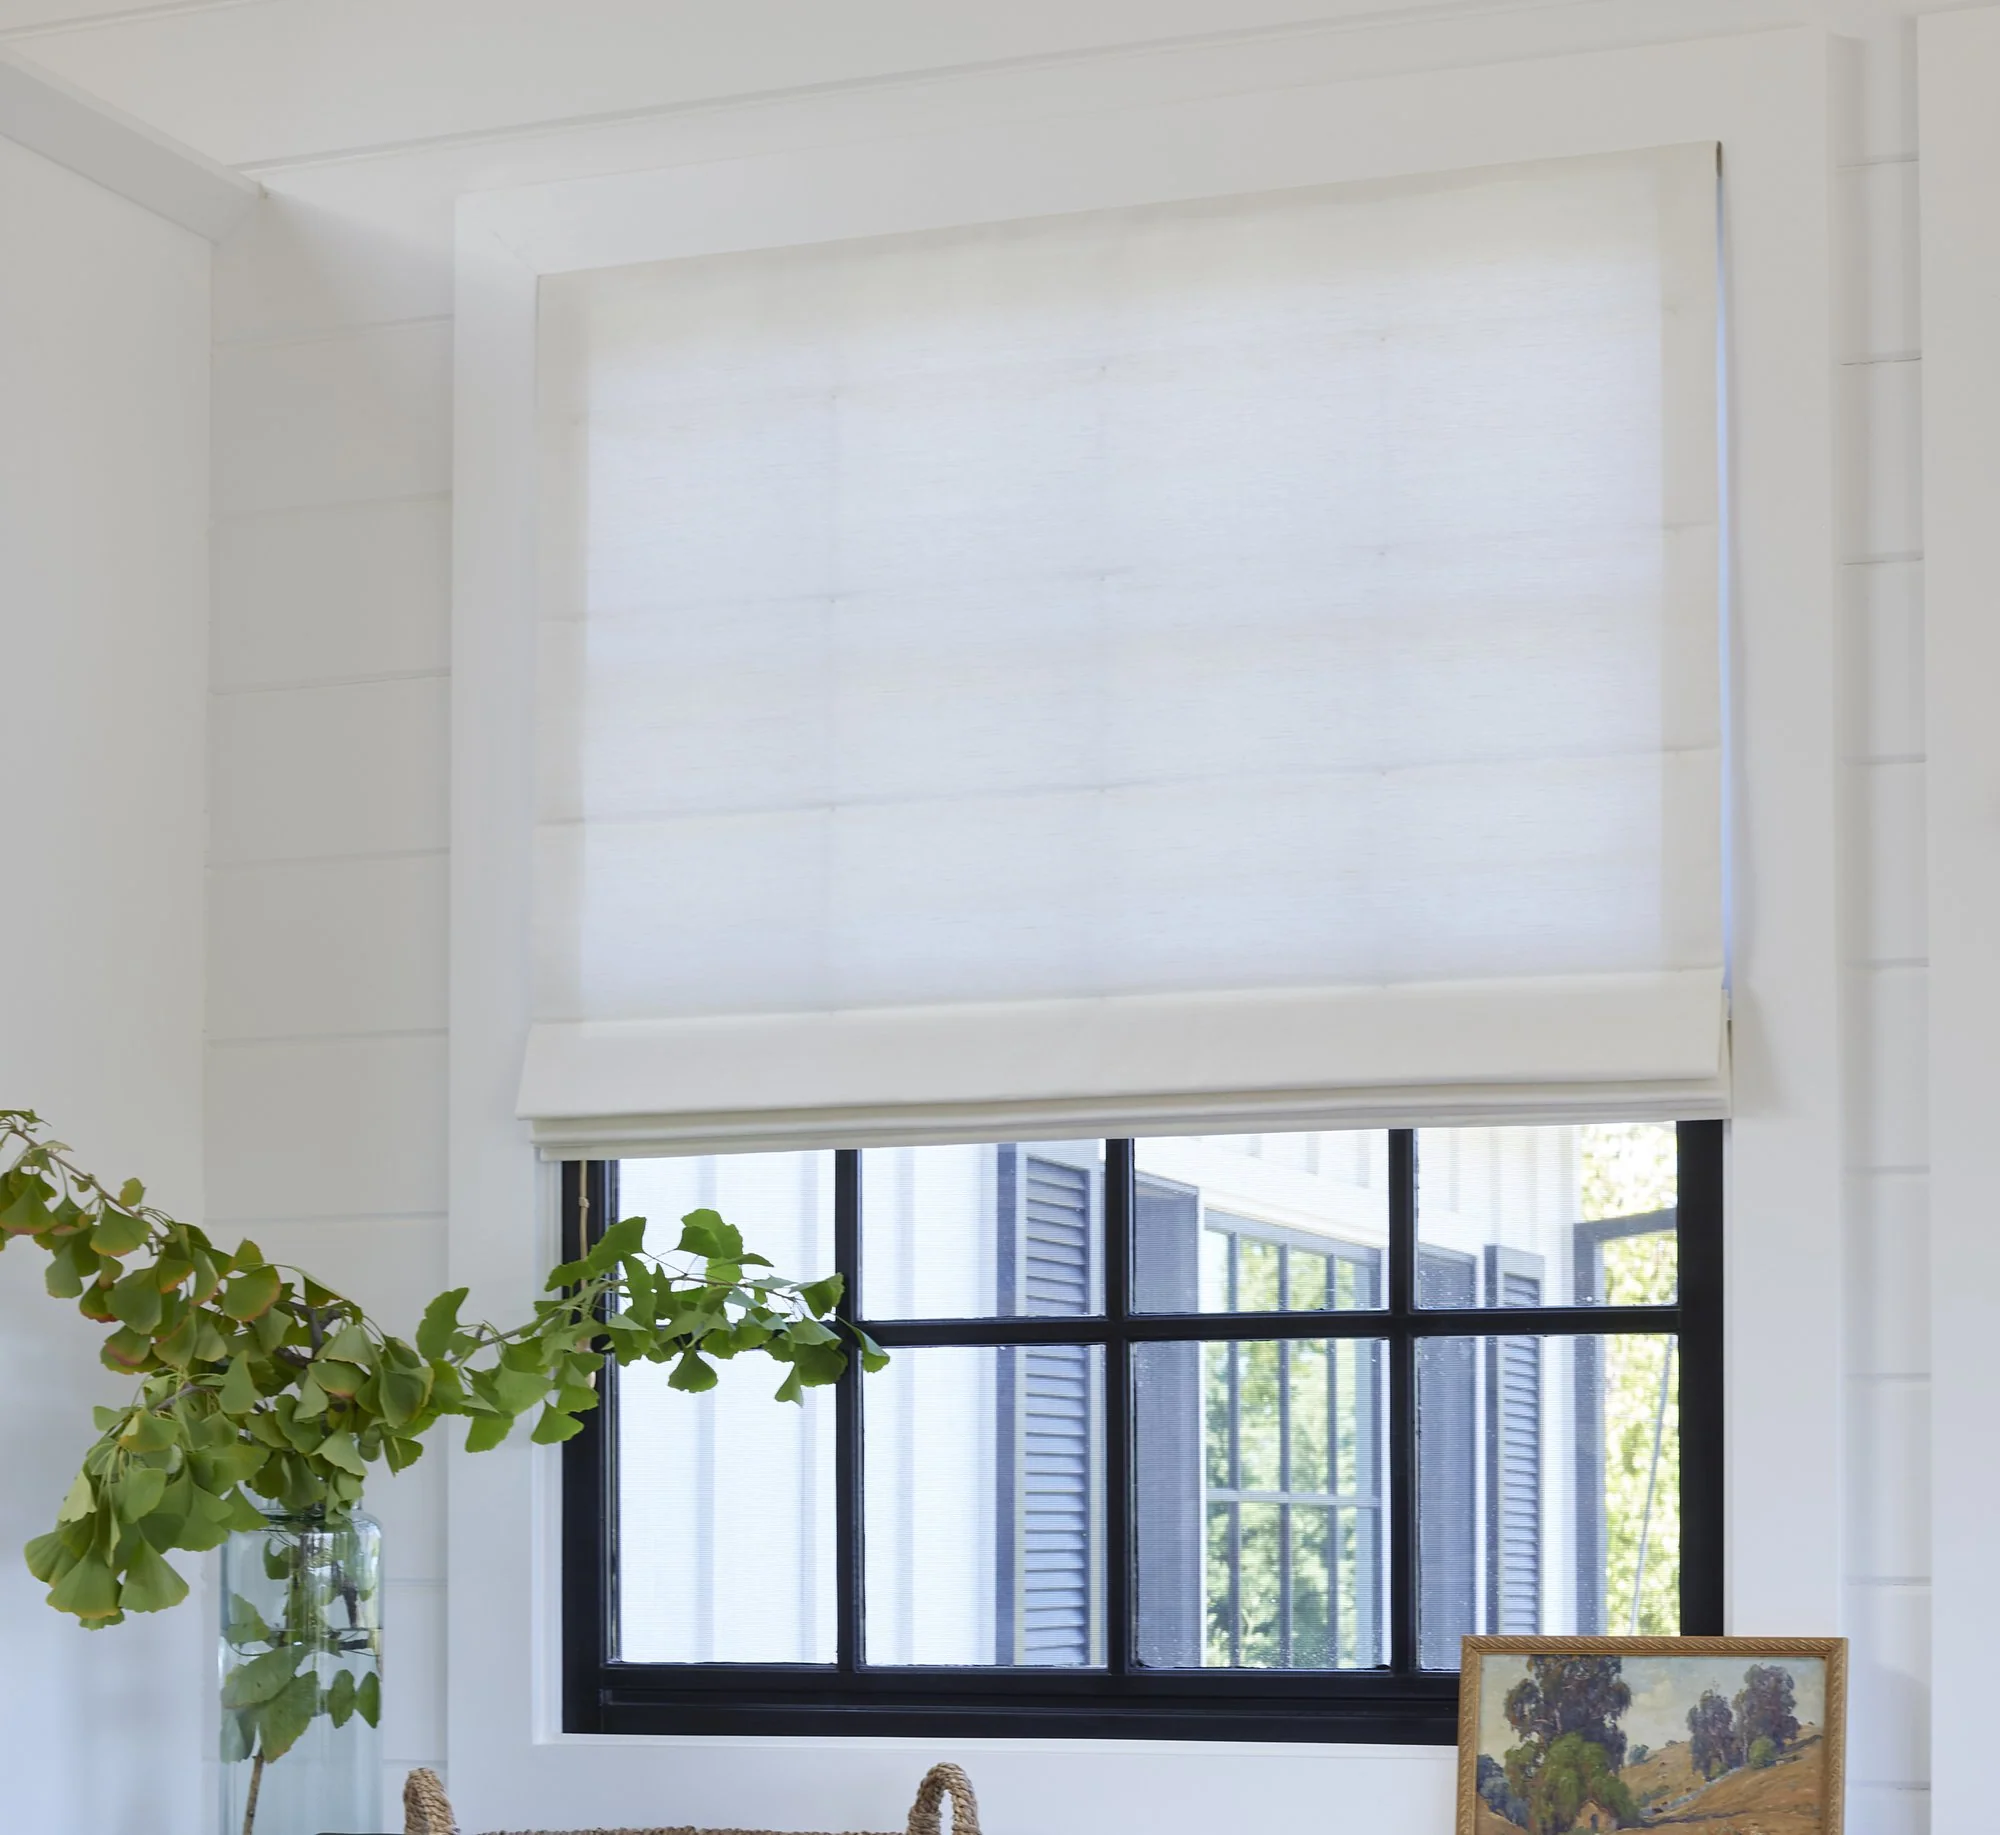
Flat Roman
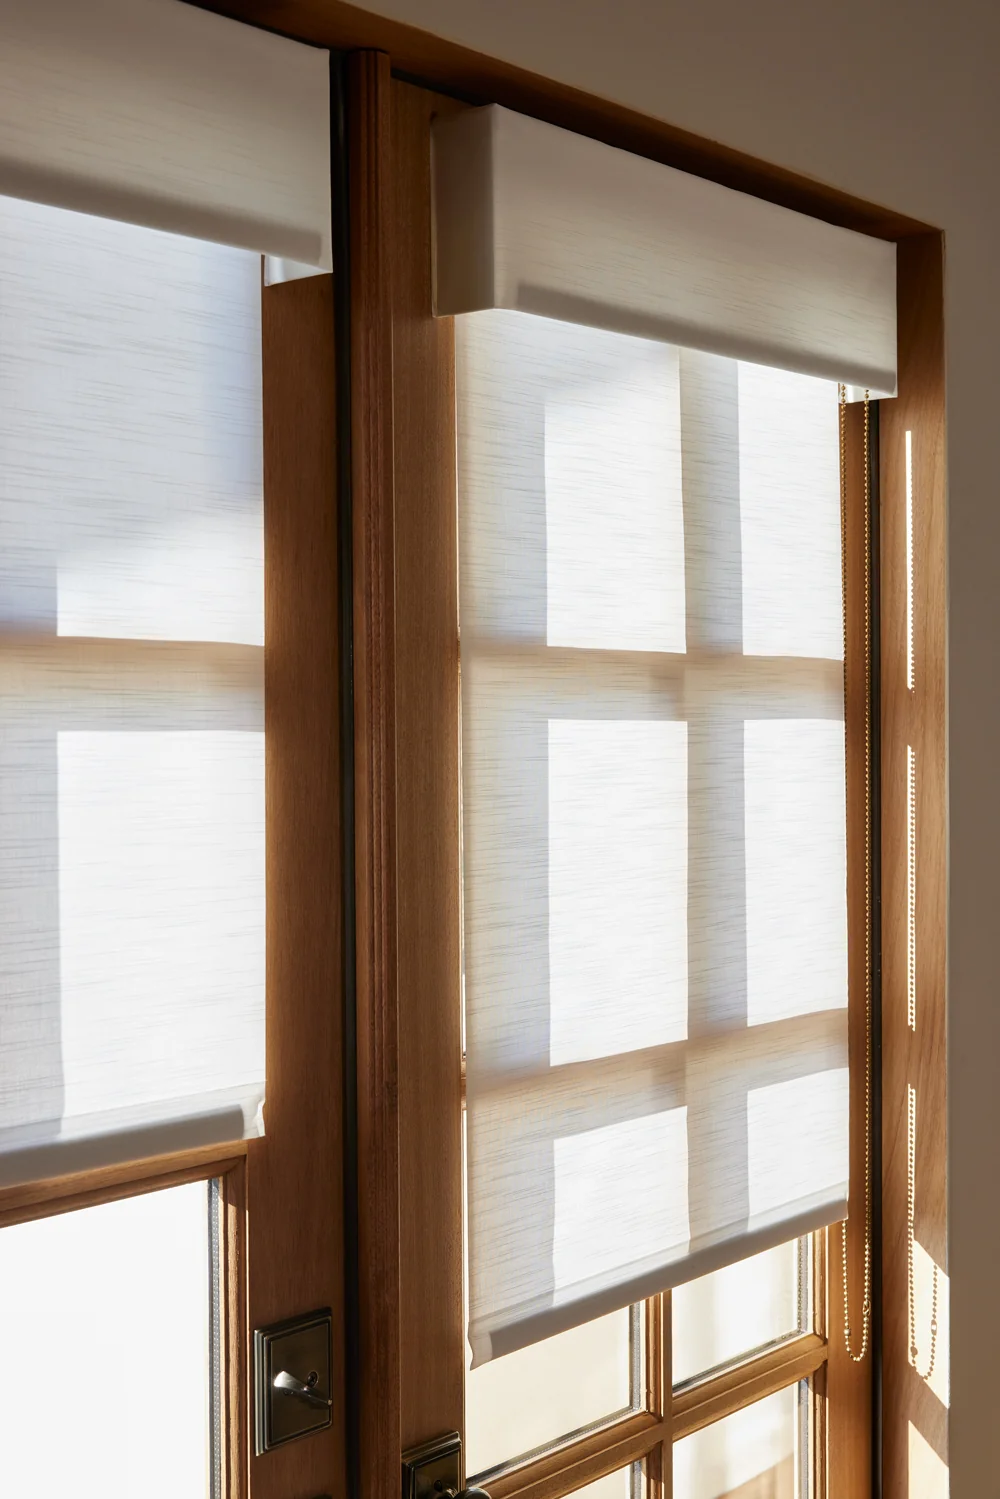
Clean, architectural lines. Lies flat when lowered for a tailored, modern look.
Our expertise meets your vision.
Your guide to shades — by Everhem experts
A considered walk-through of every decision that shapes a custom shade — from fabric and style to how it opens, where it sits, and how you live with it.
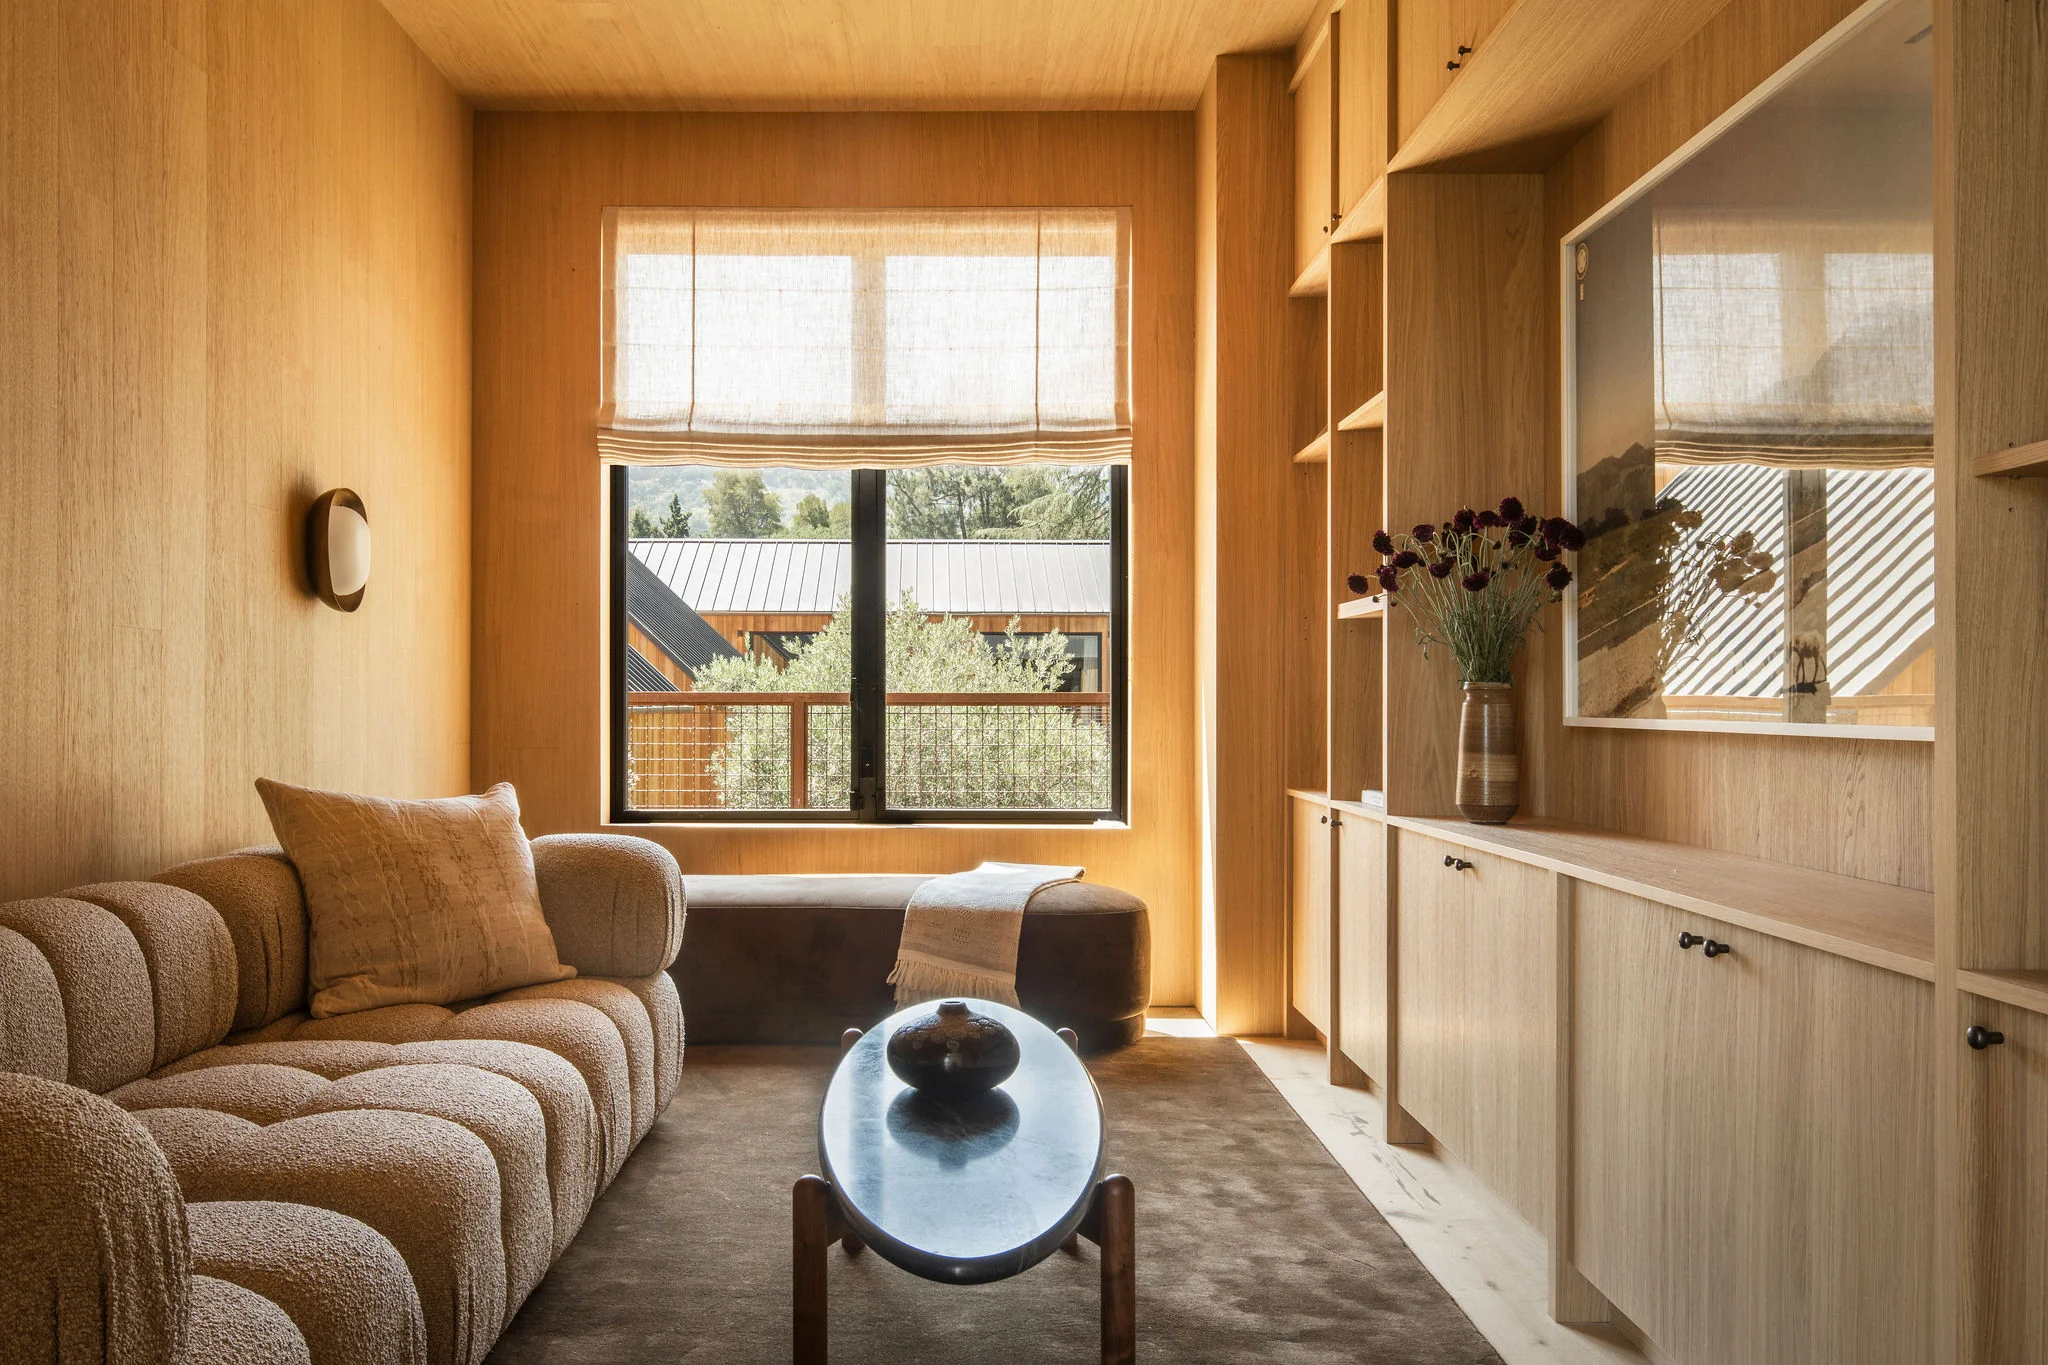
01 — Shade Type
The silhouette sets the tone. Begin here — every decision that follows builds on the style you choose.
Clean, architectural lines. Lies flat when lowered for a tailored, modern look.
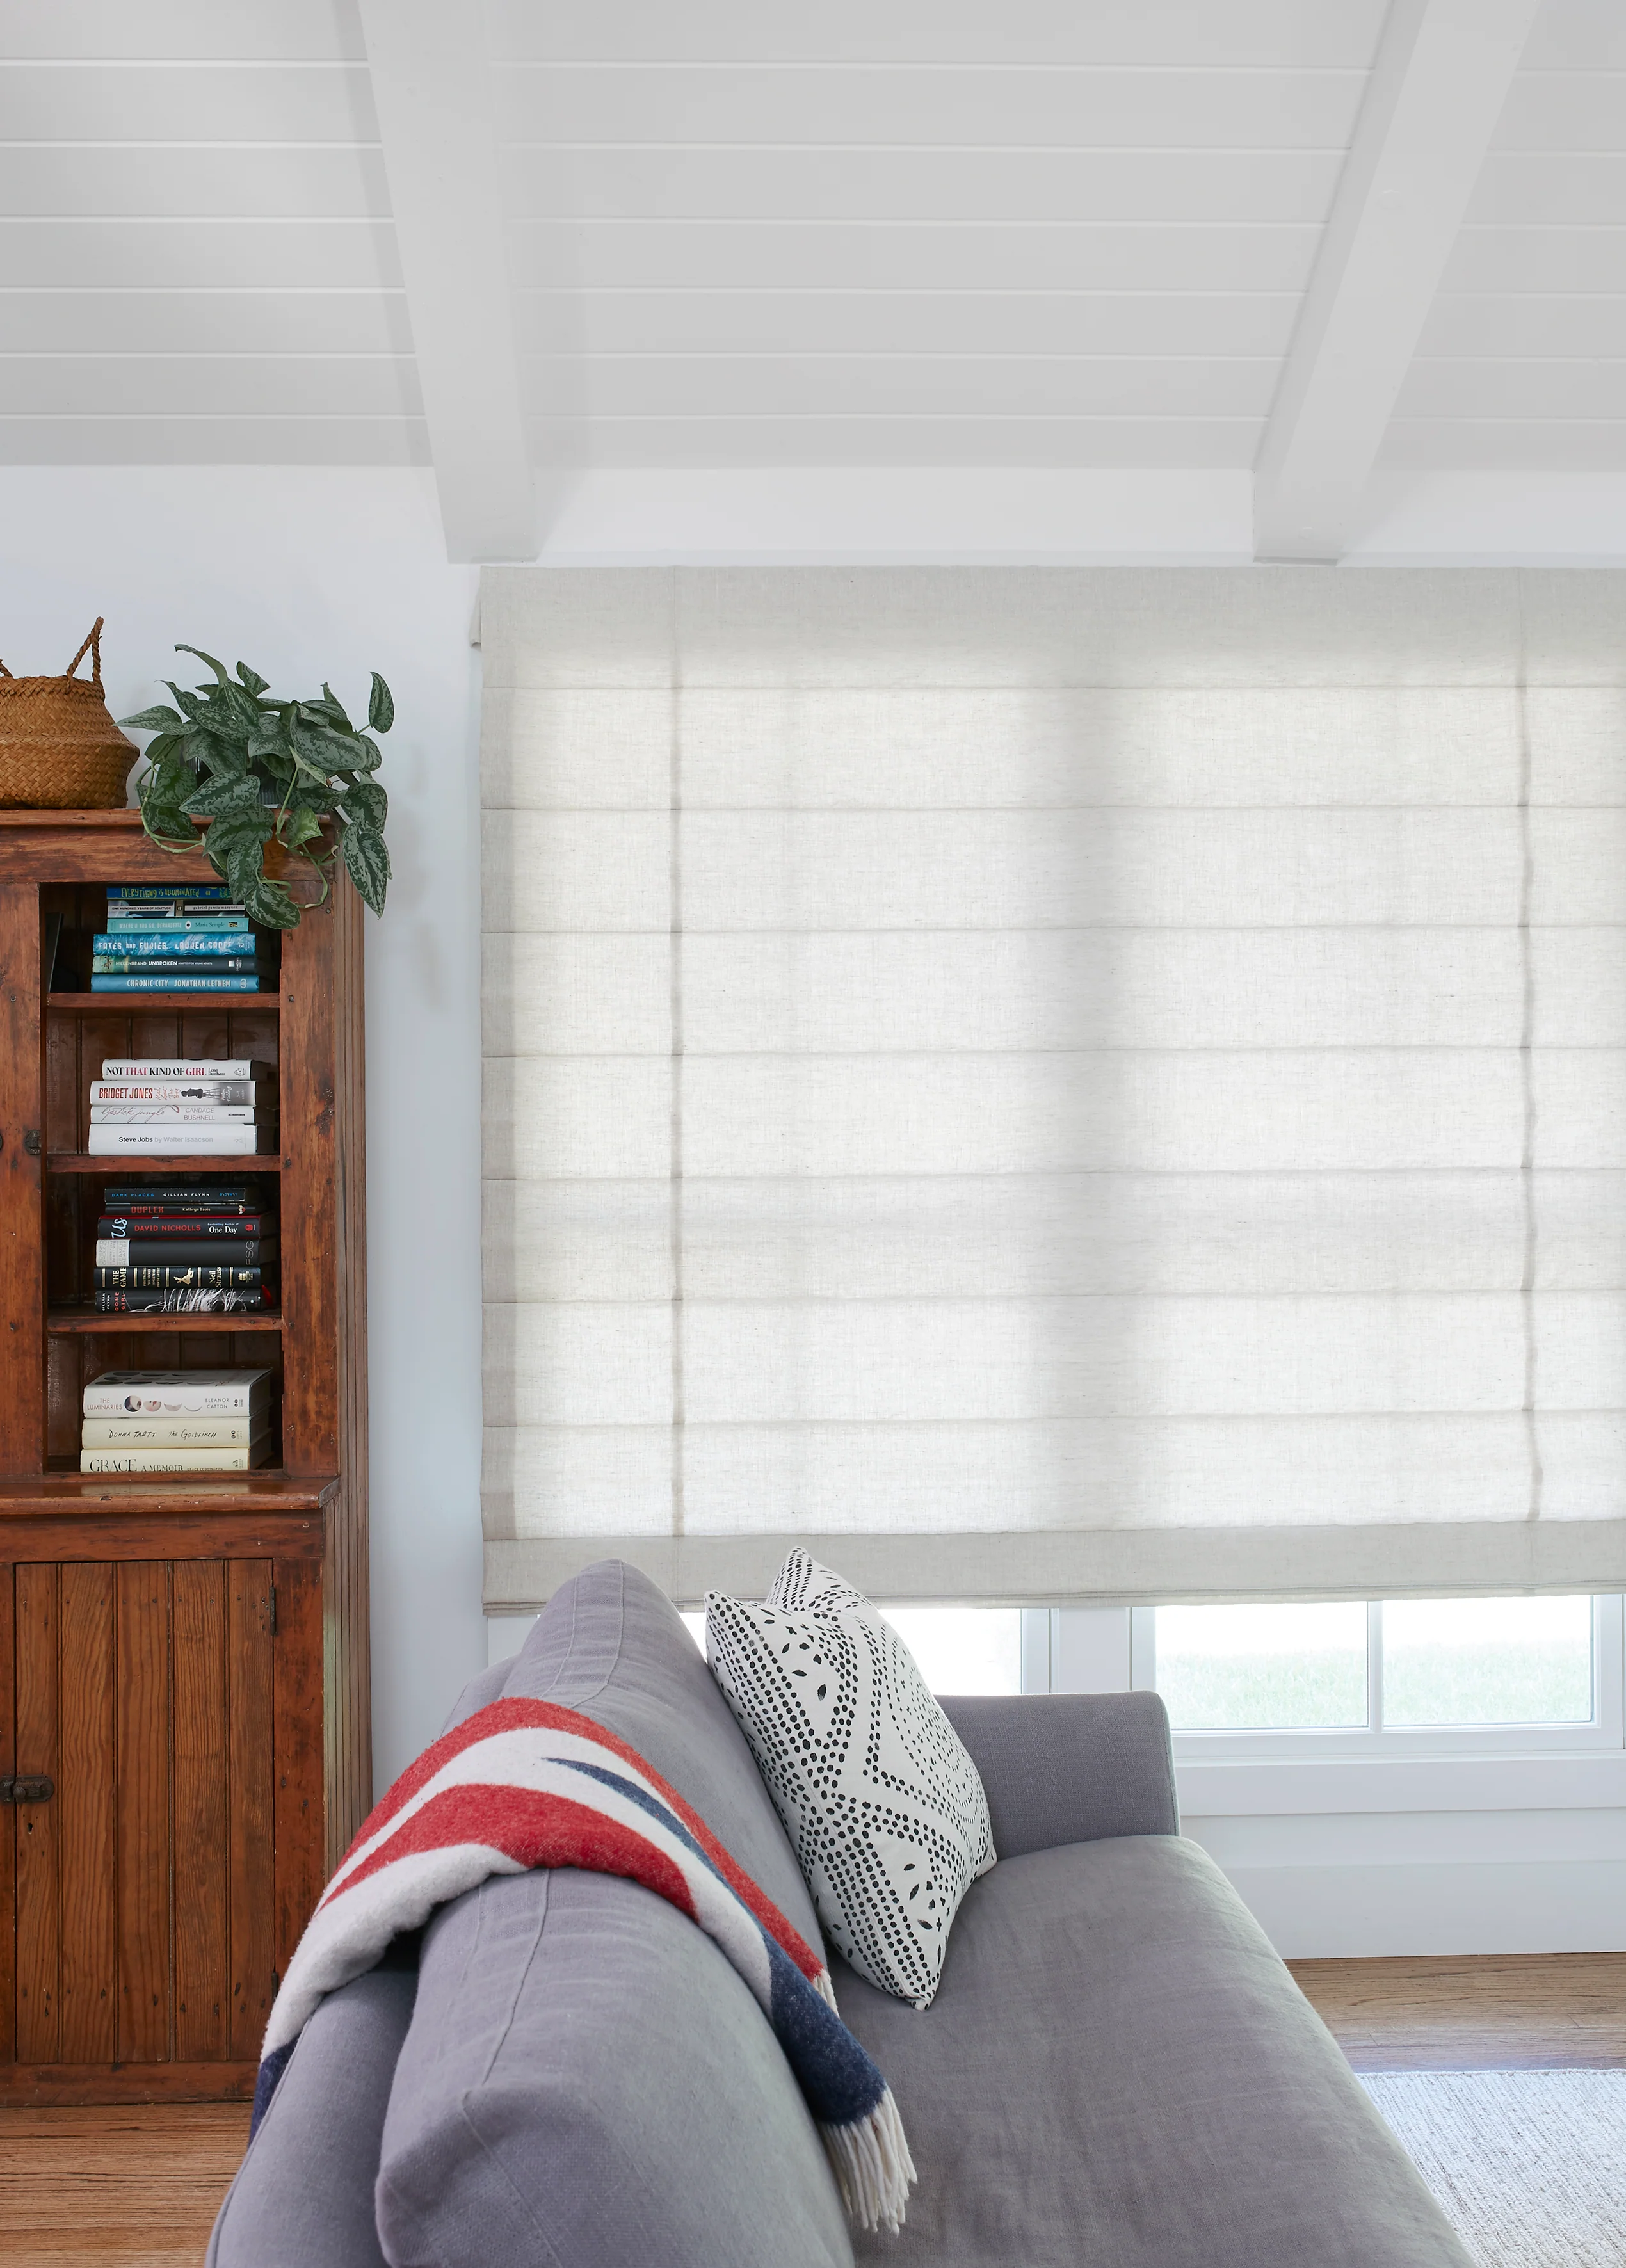
Structured horizontal folds that stack evenly when raised — classic and considered.
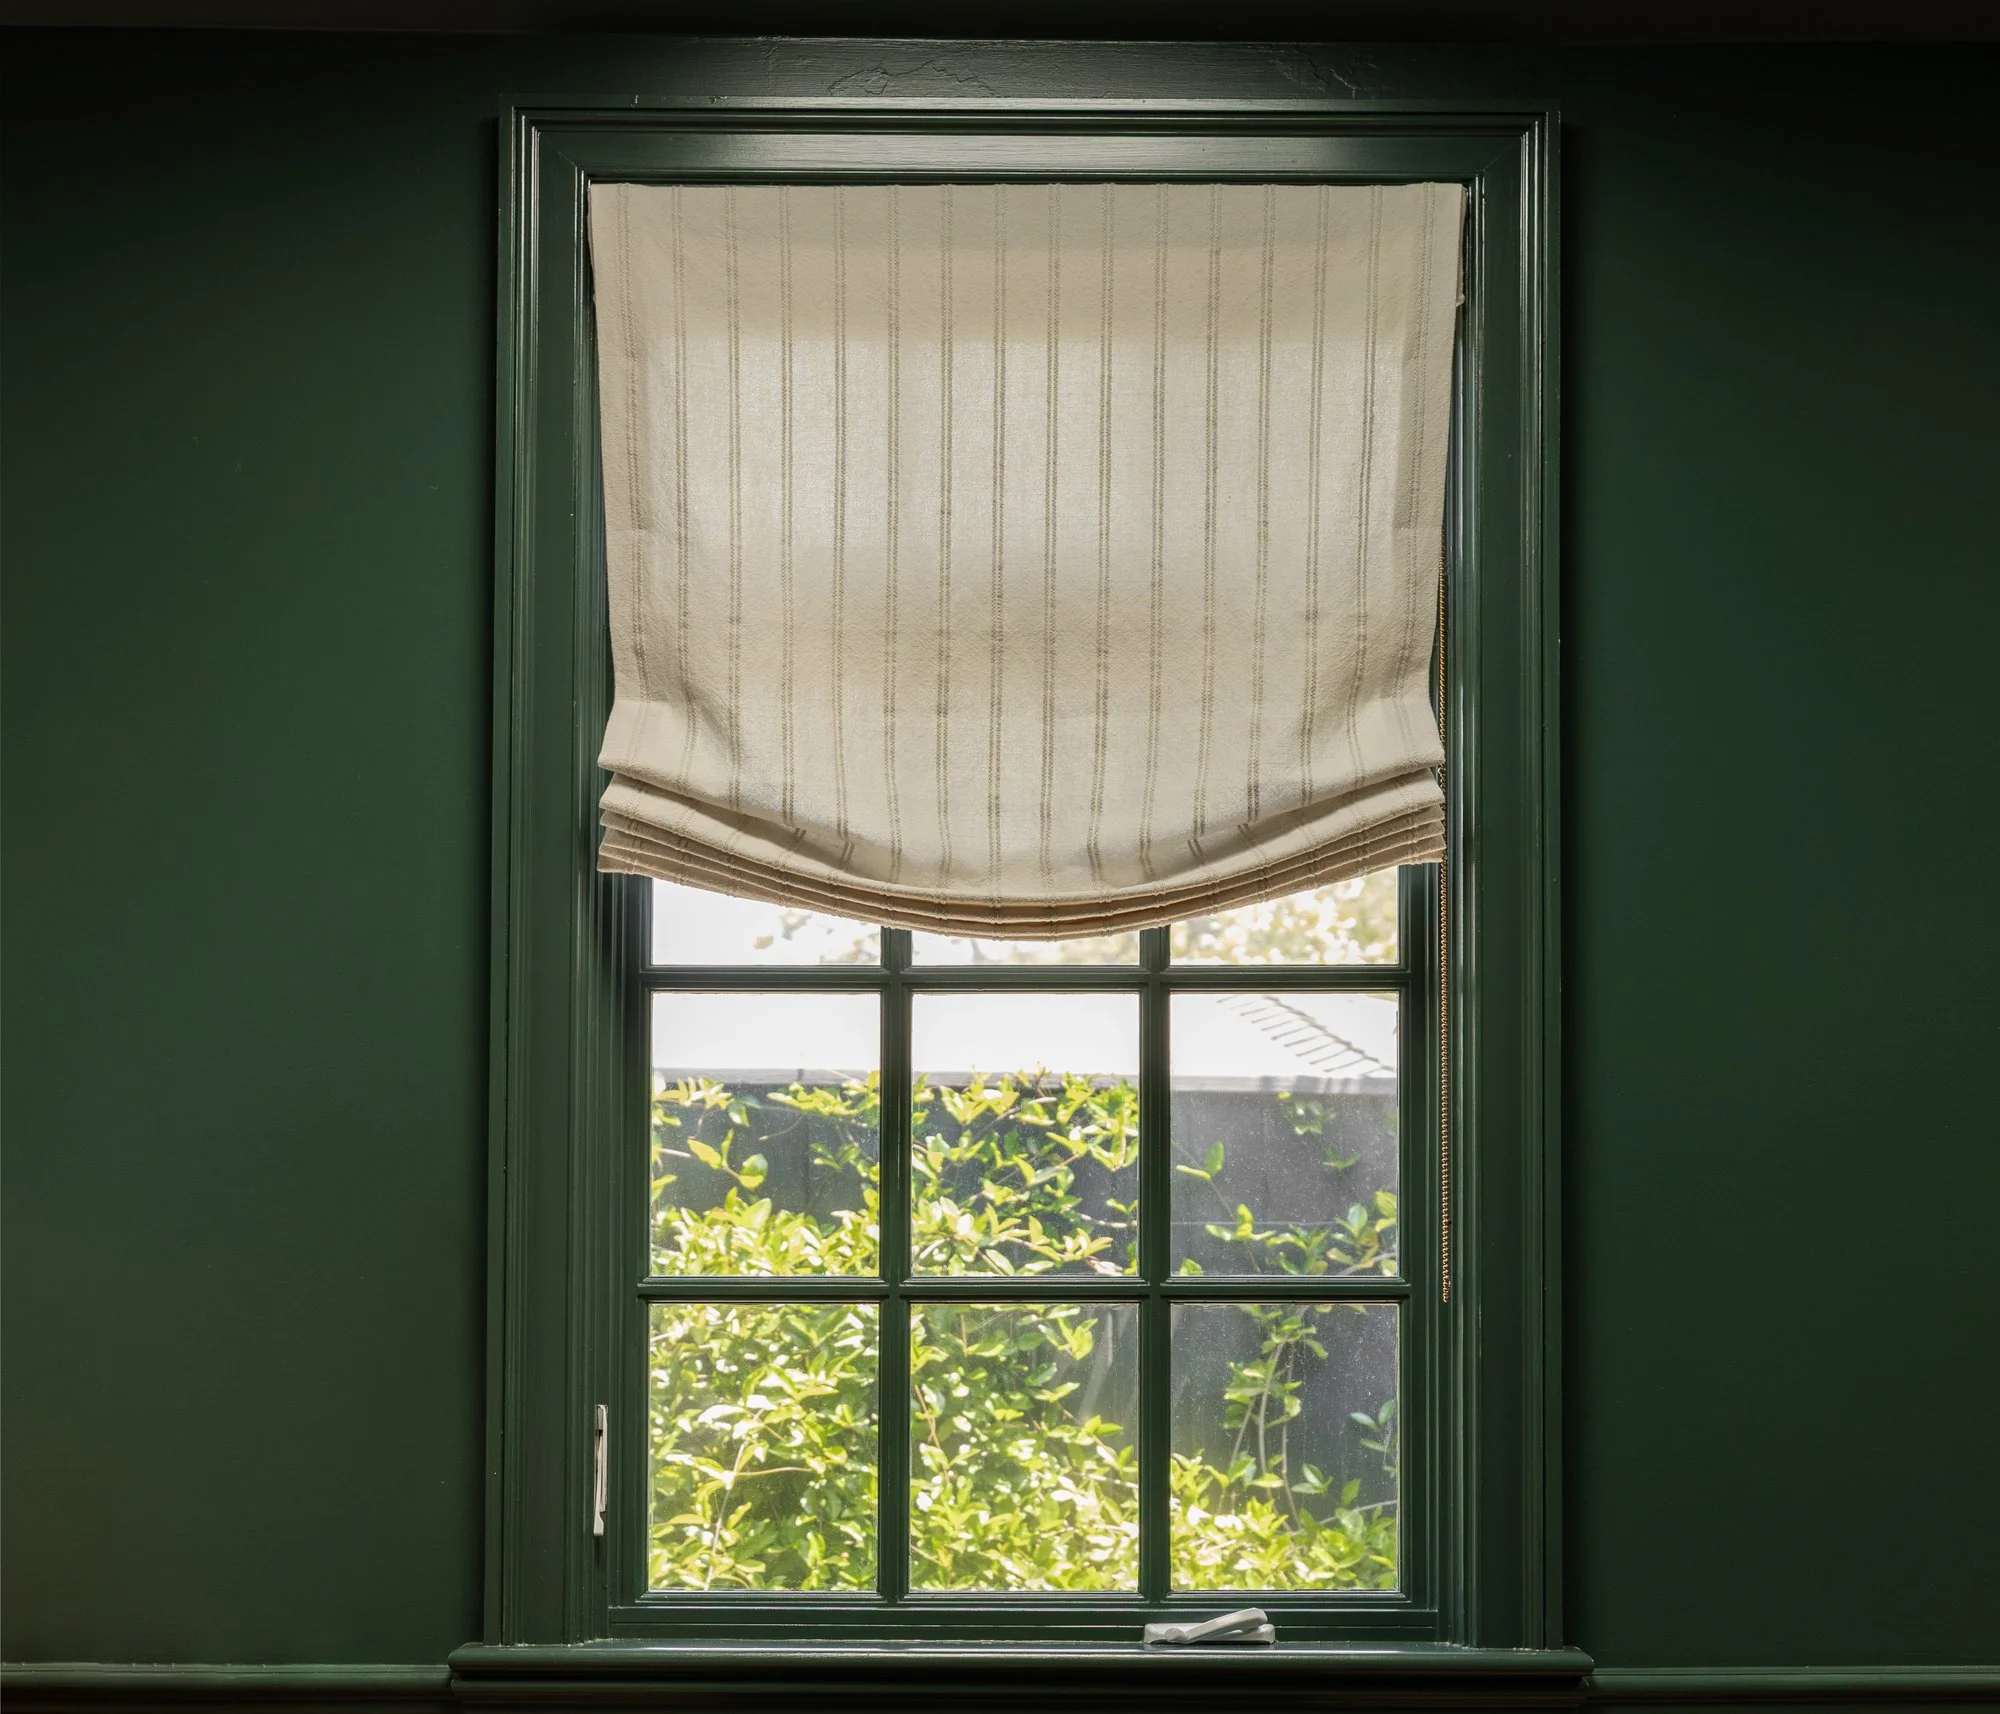
A soft smile at the hem. Effortless, slightly romantic, and unlined by nature.
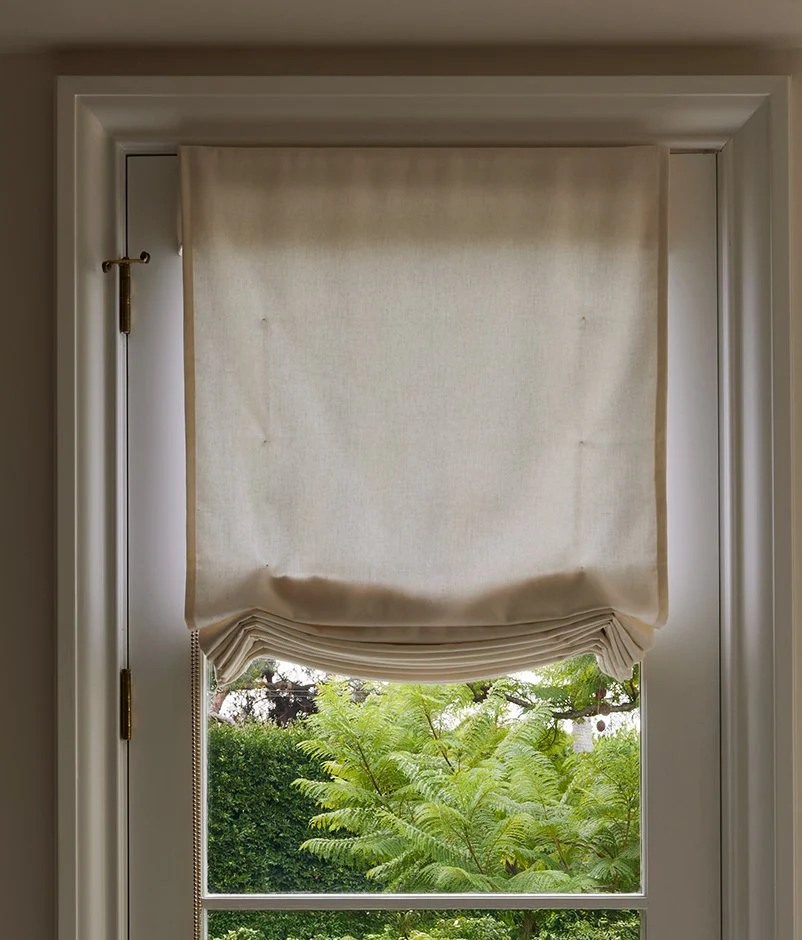
Two soft gathers create subtle drape at the sides — traditional with quiet personality.
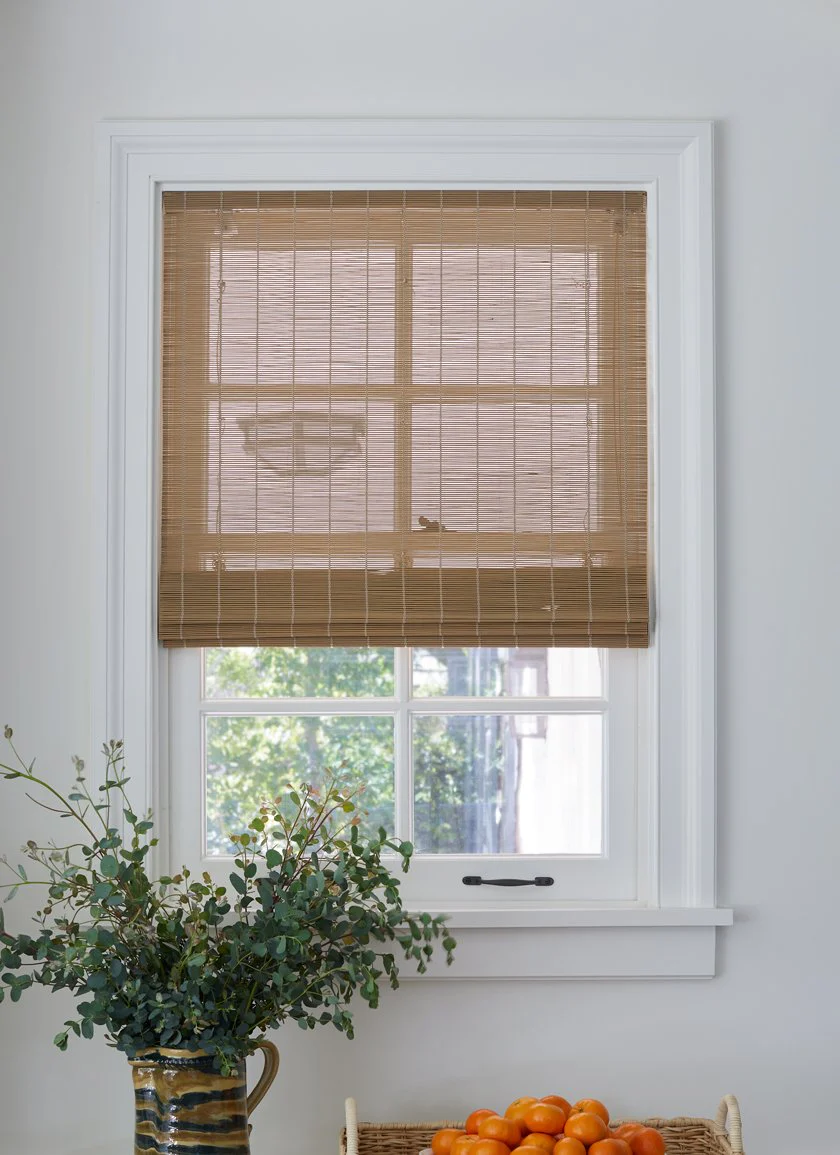
Natural grasses, reeds, and bamboo. Textural warmth and filtered, golden light.
Minimal profile, maximal utility. A smooth wrap around a slim tube — ideal anywhere.
02 — Fabric & Color
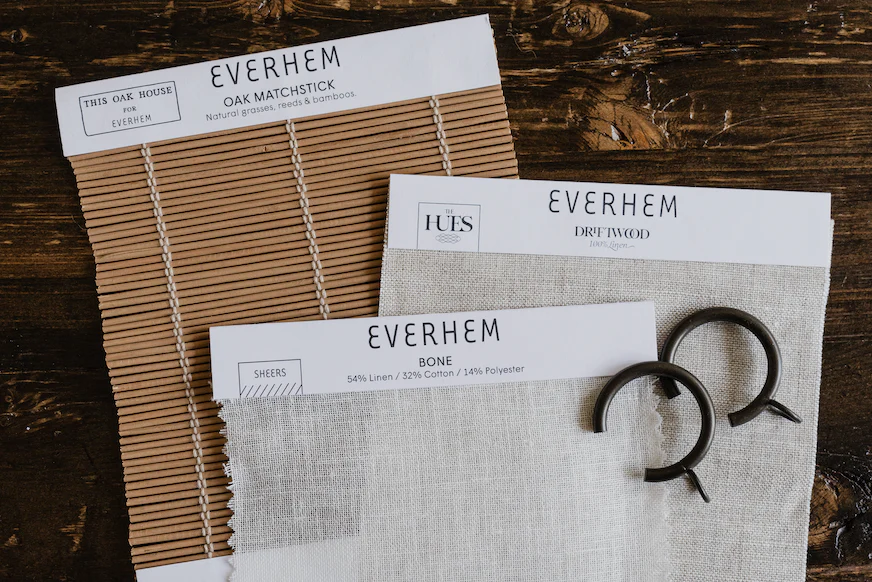
Explore our designer-curated collections organized by hand, weave, and finish. See it in your space before you decide.
Everhem Hues
100% Belgian Linen
7 fabrics
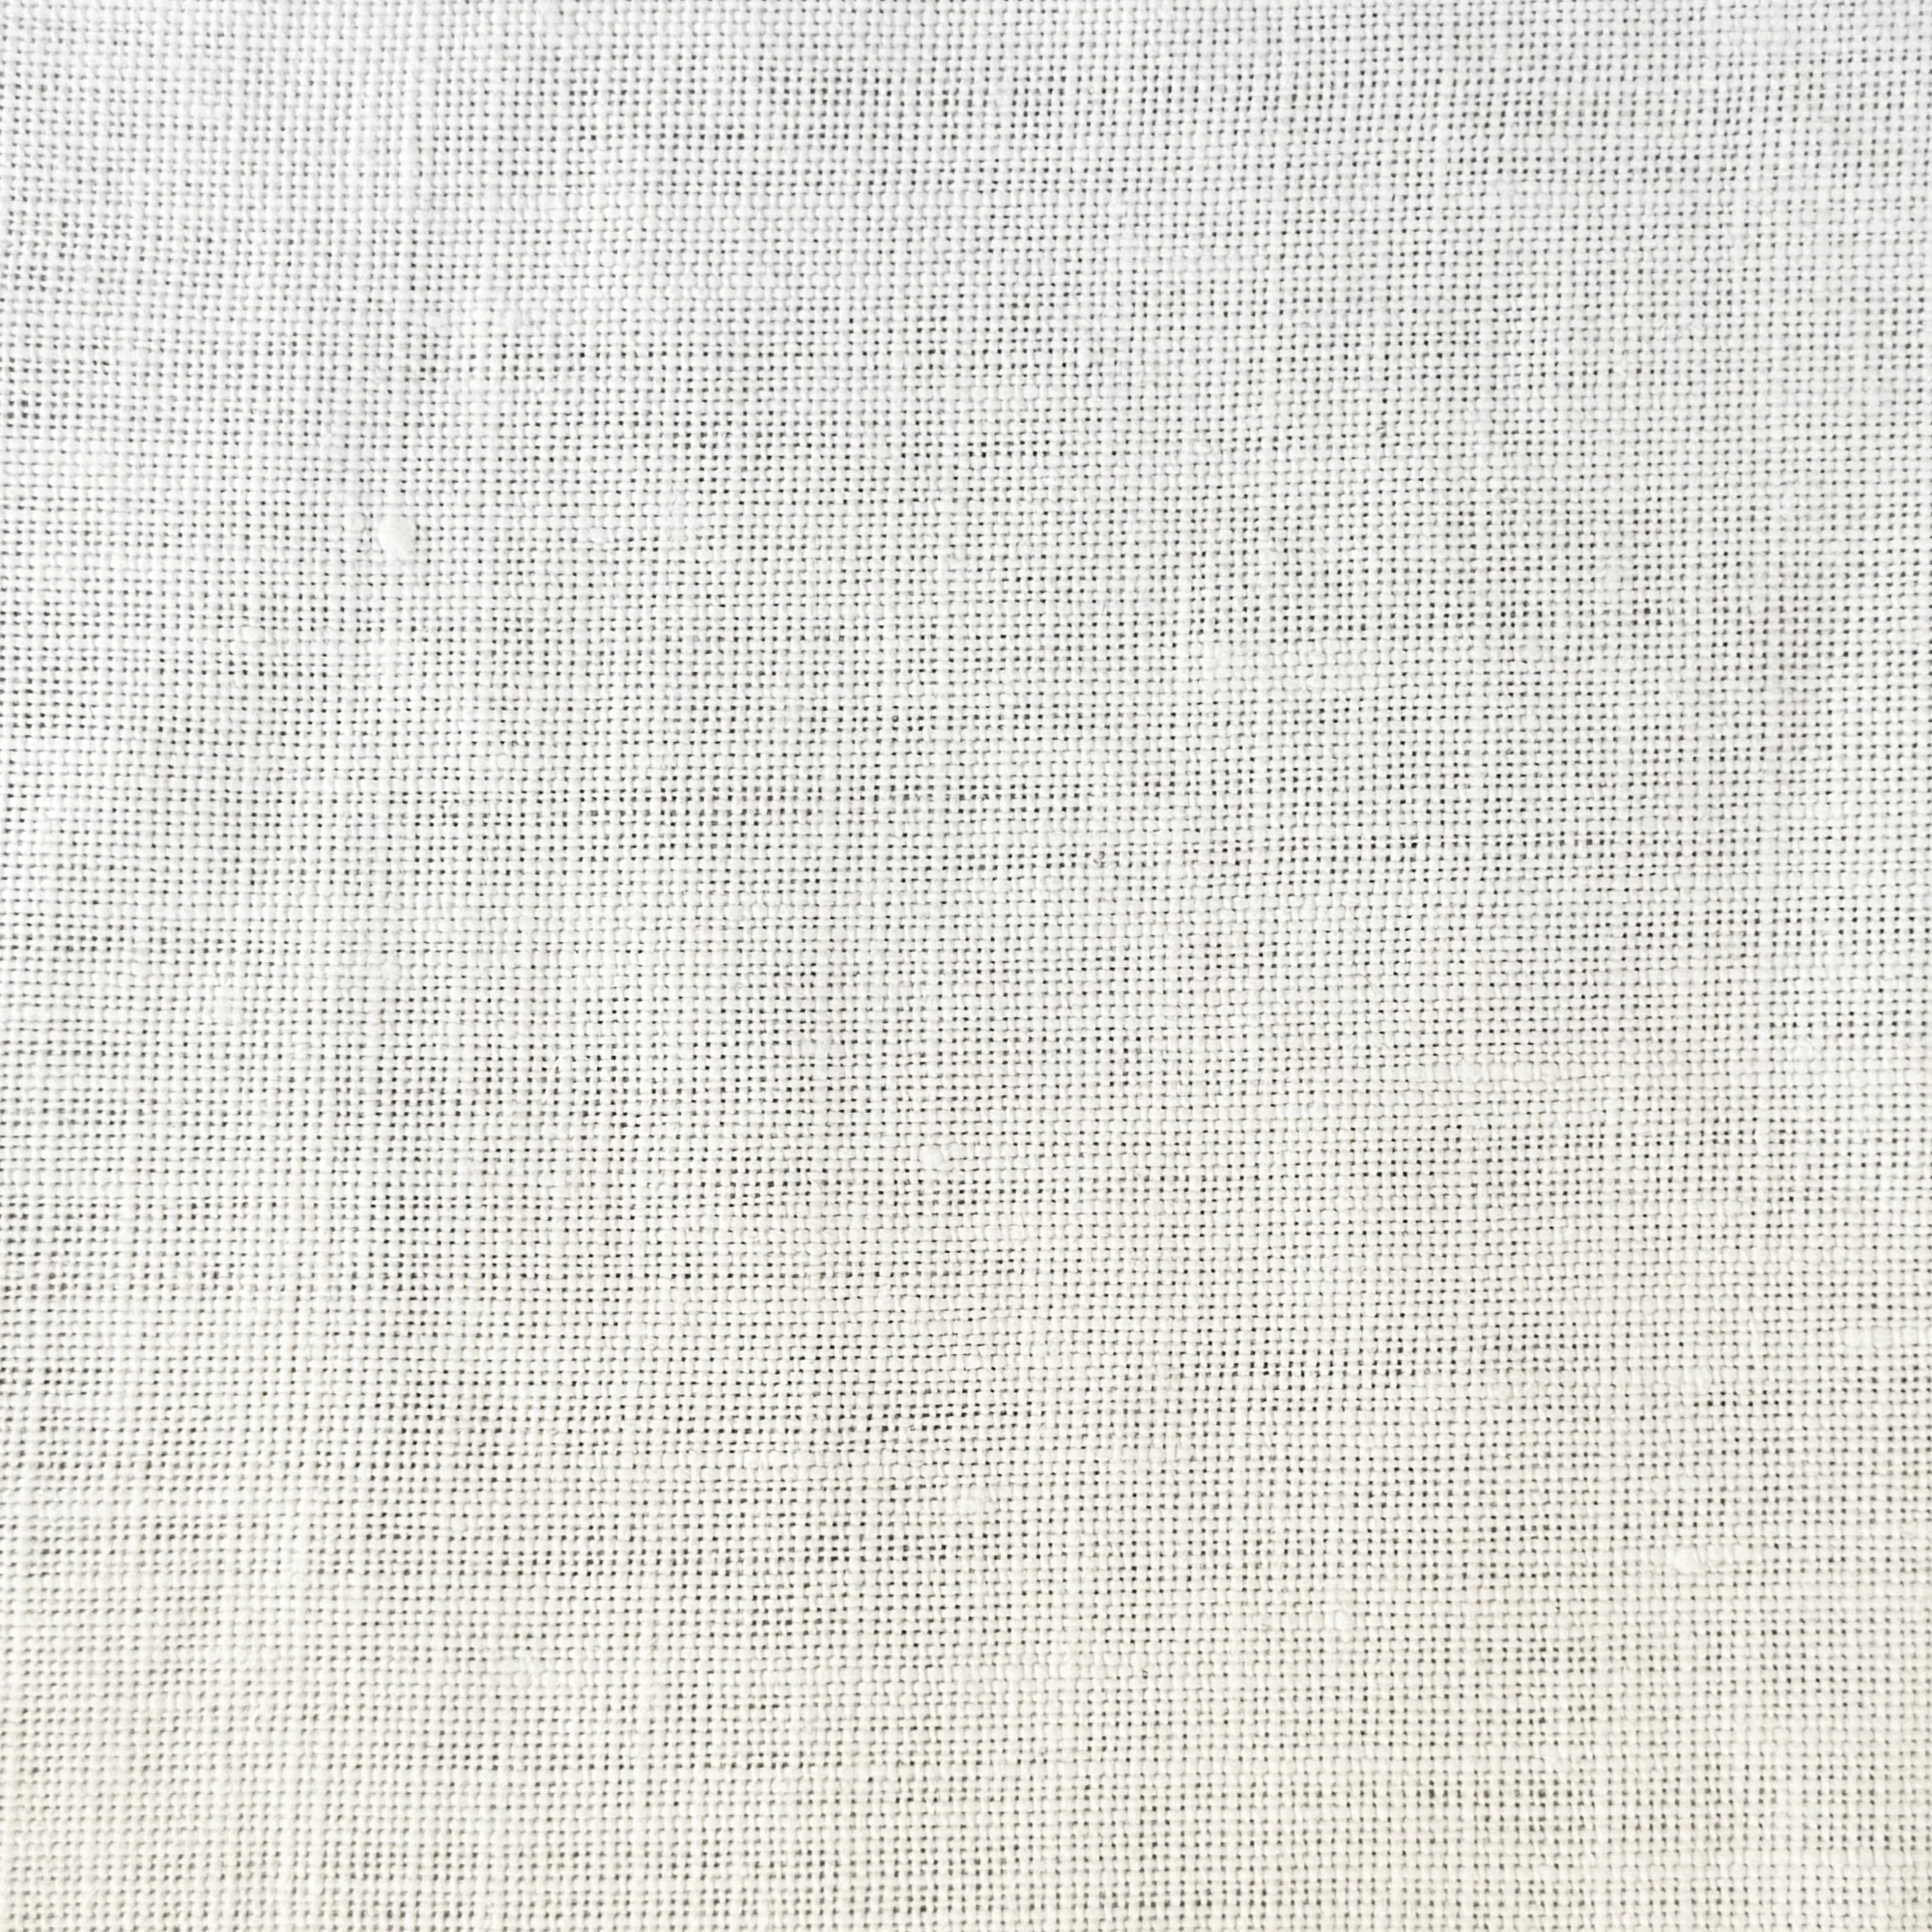
Quartz
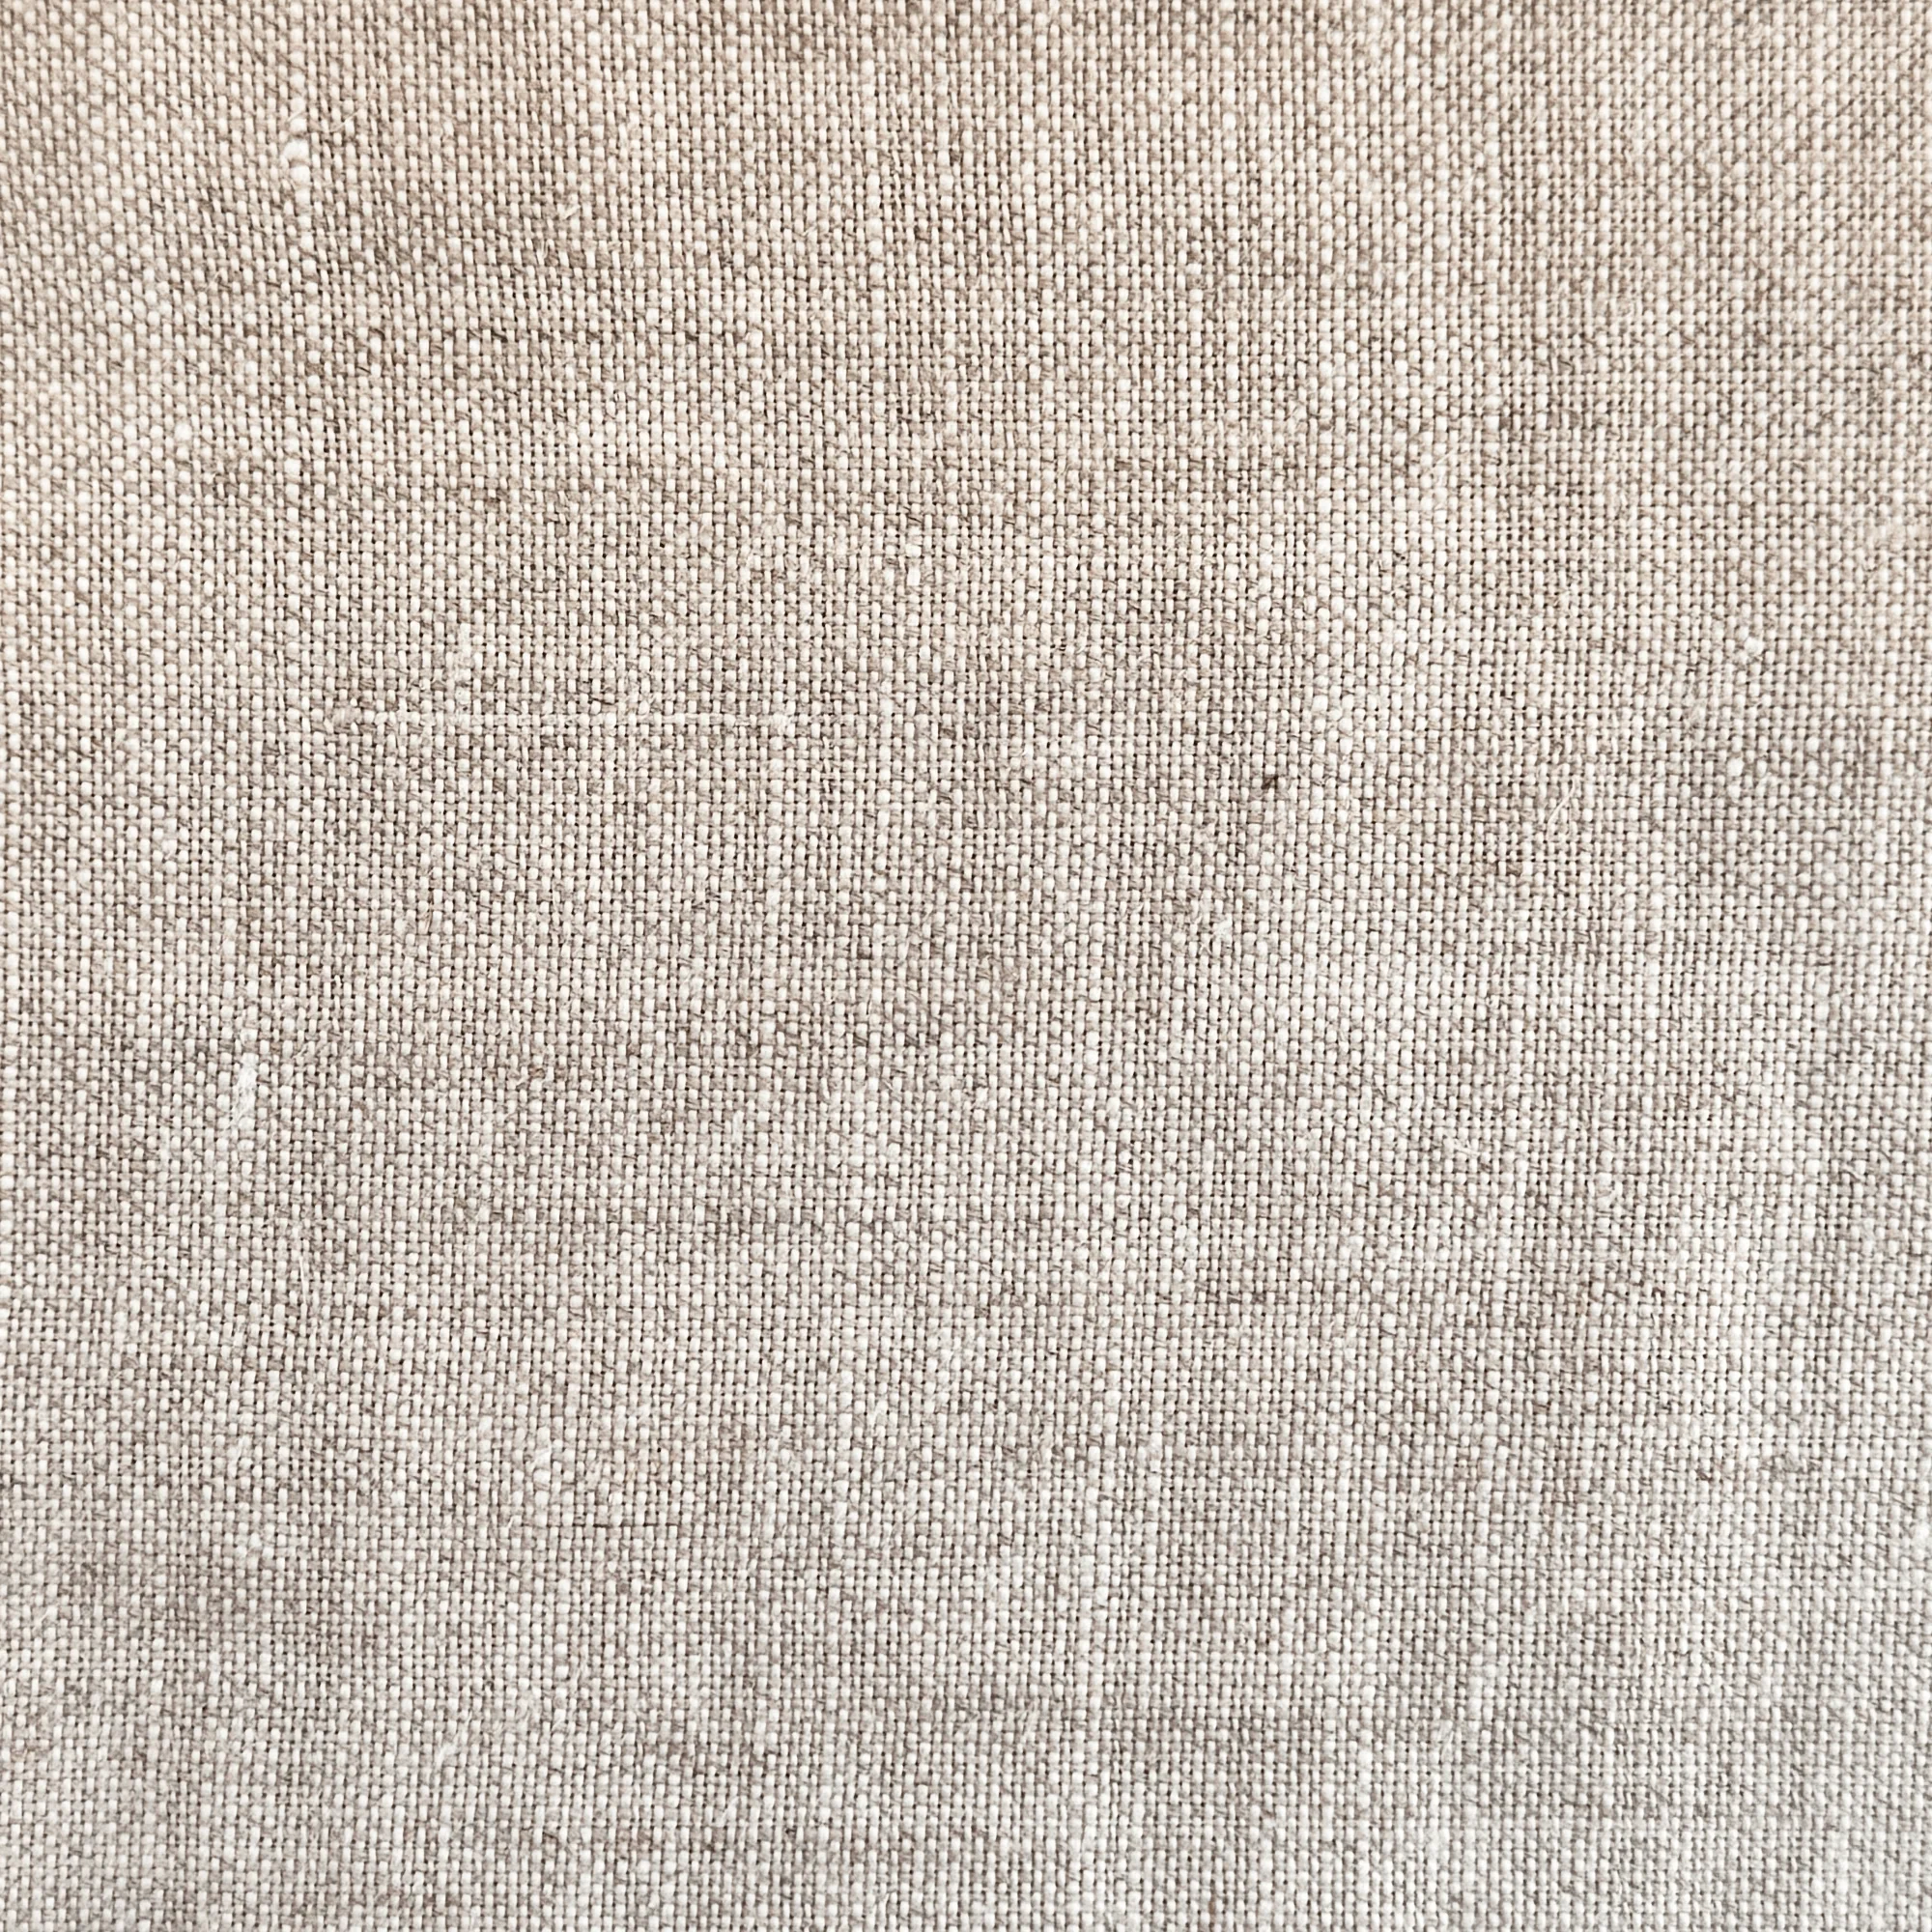
Driftwood
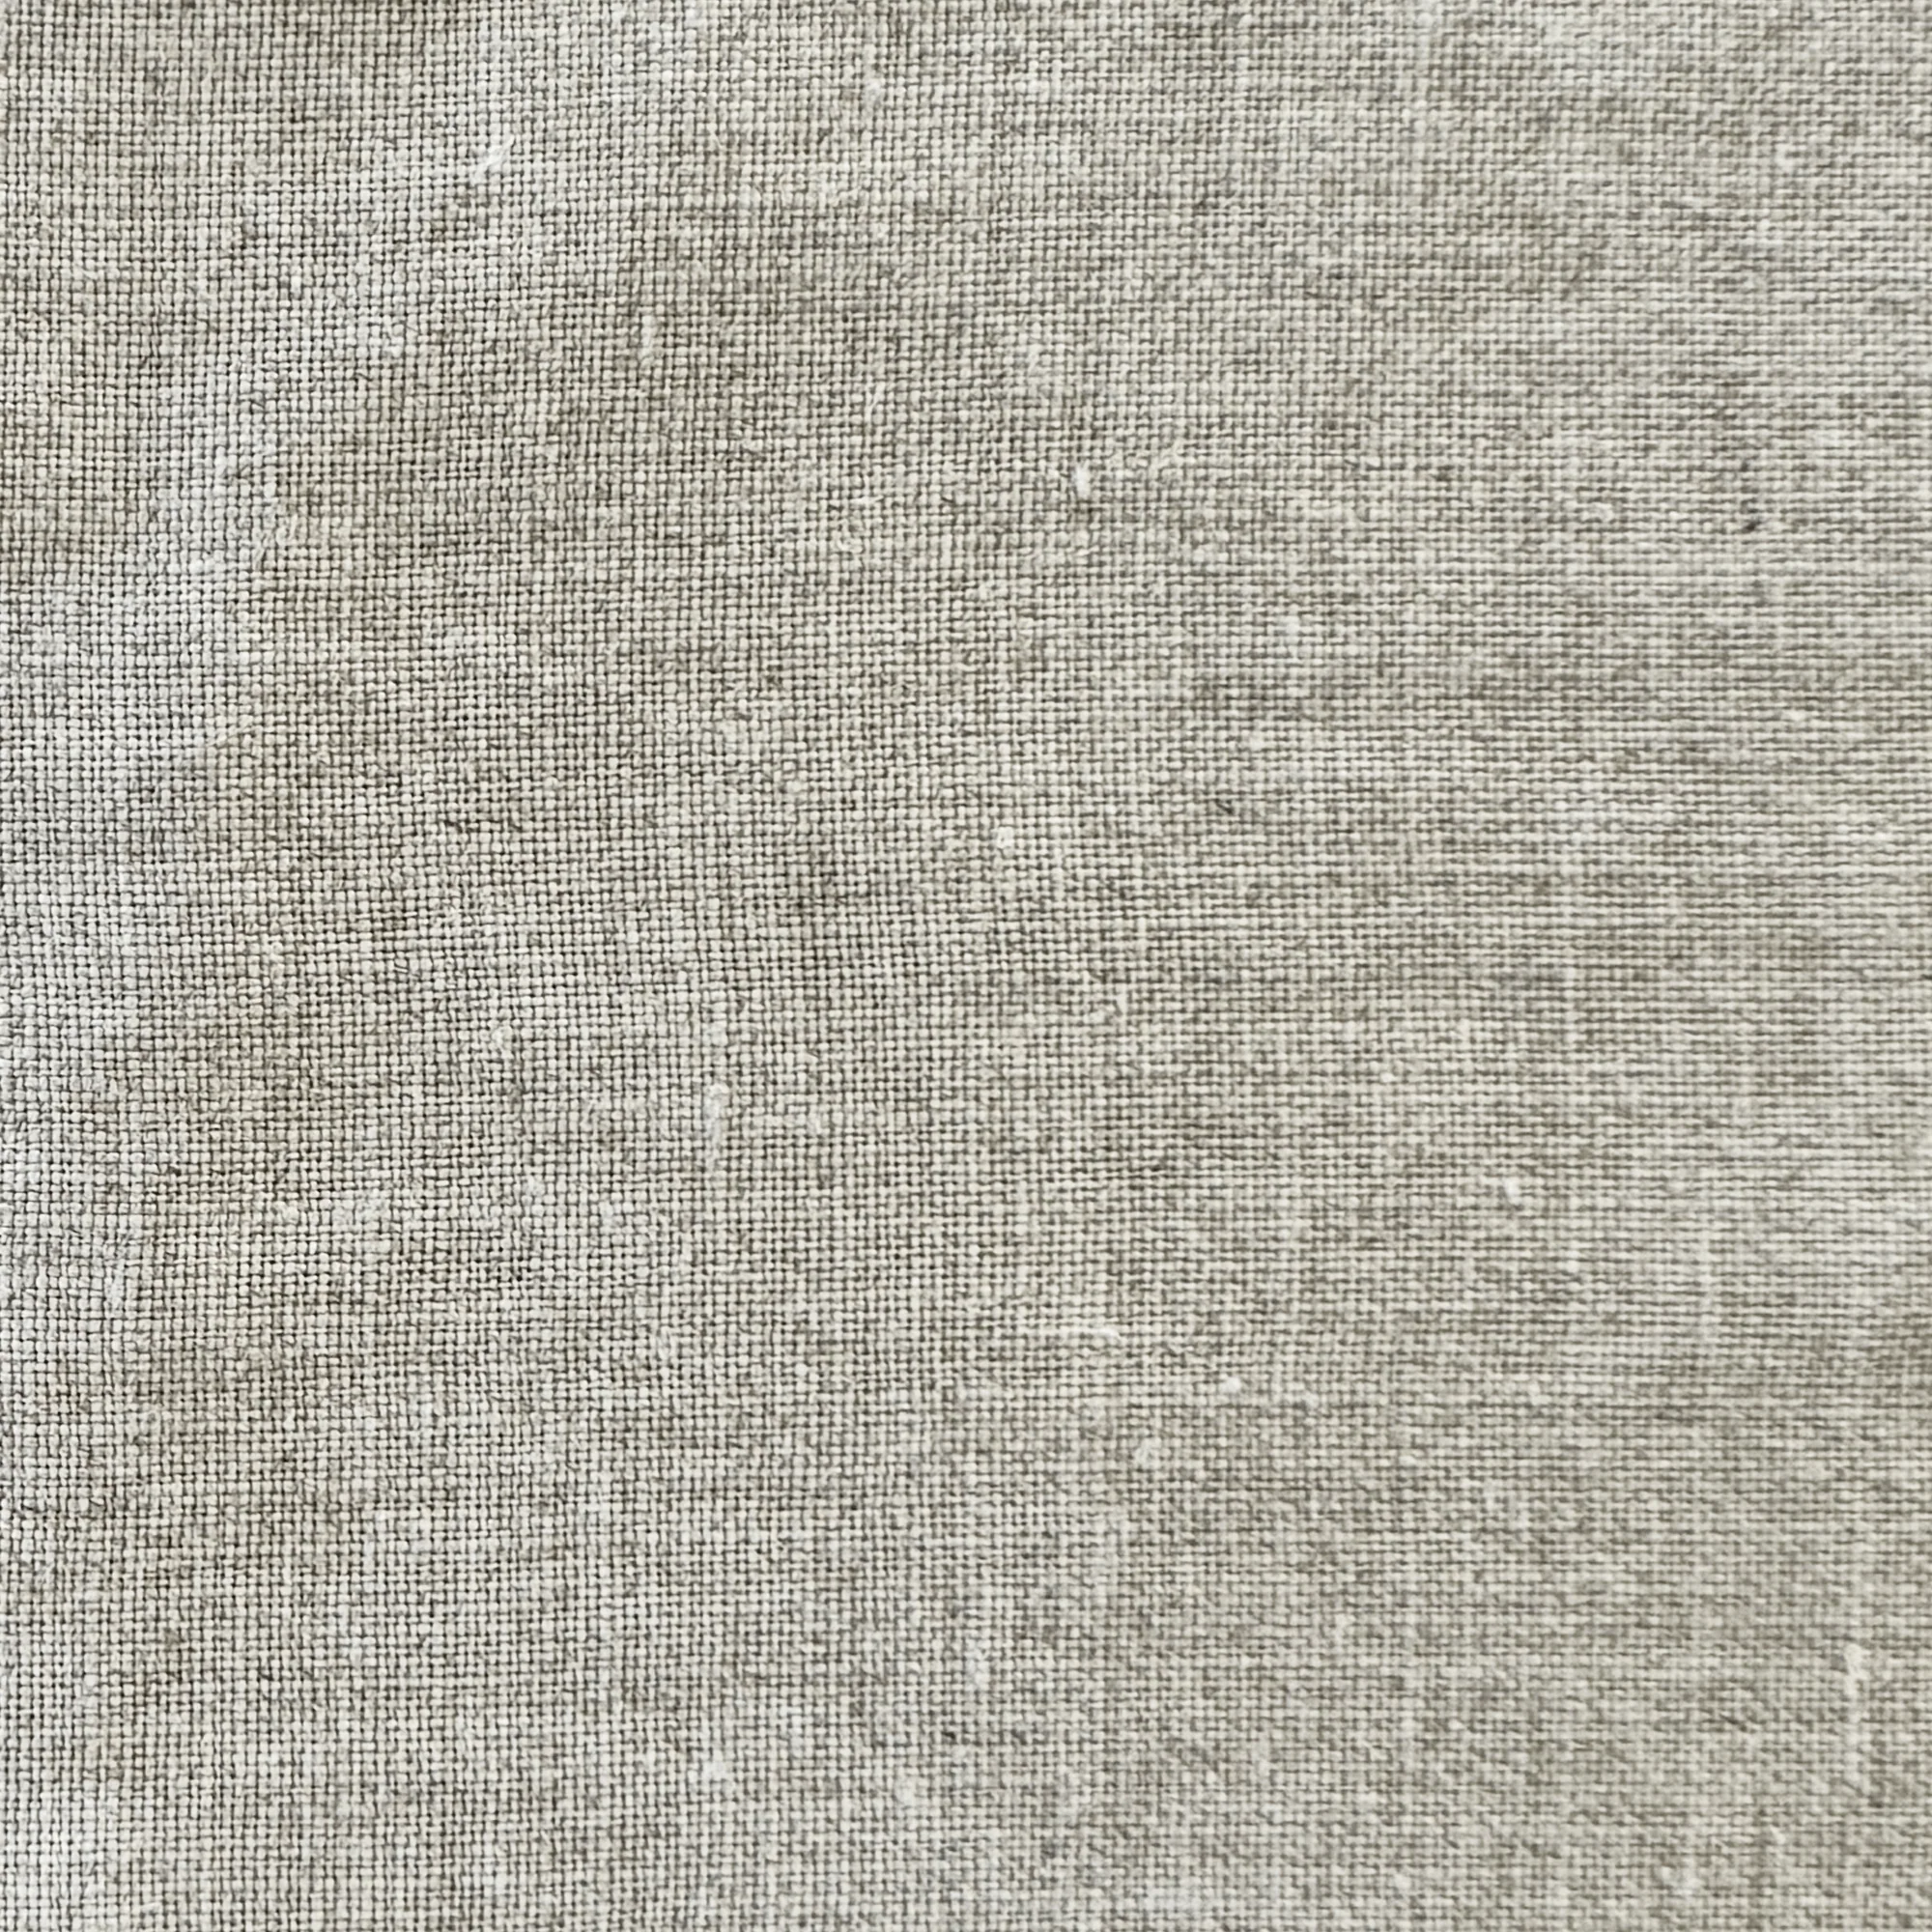
Flax
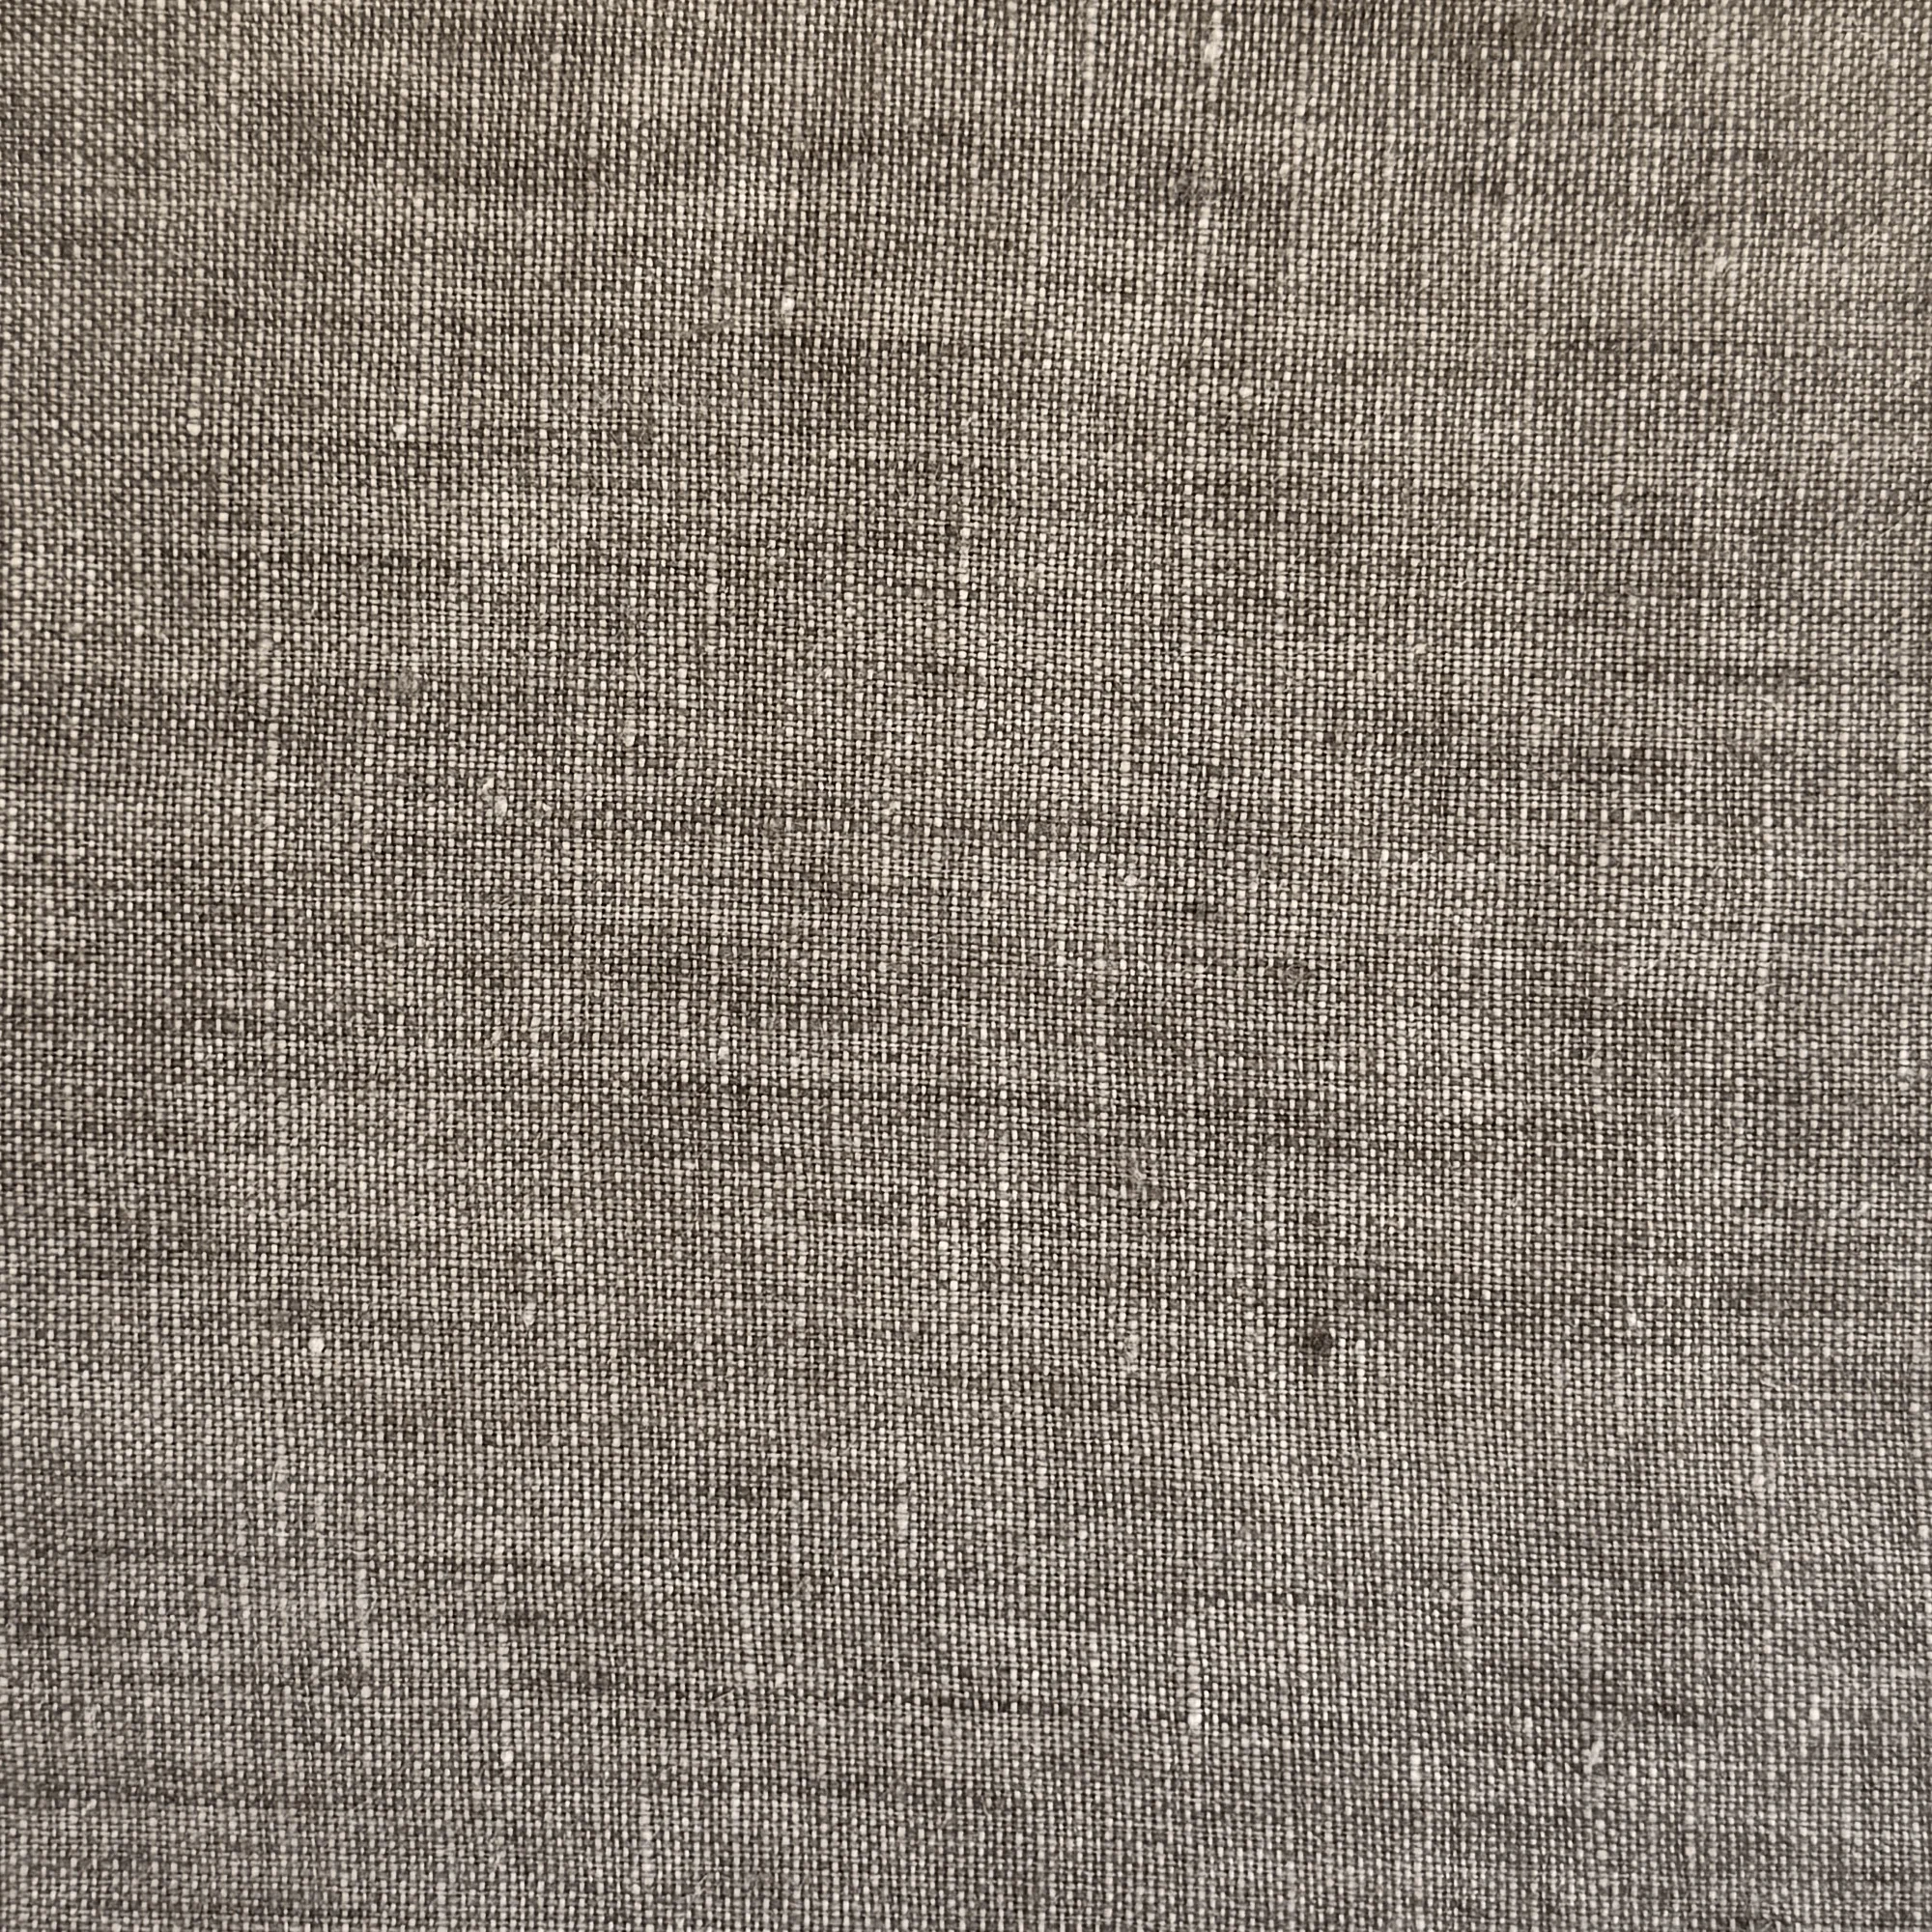
Granite
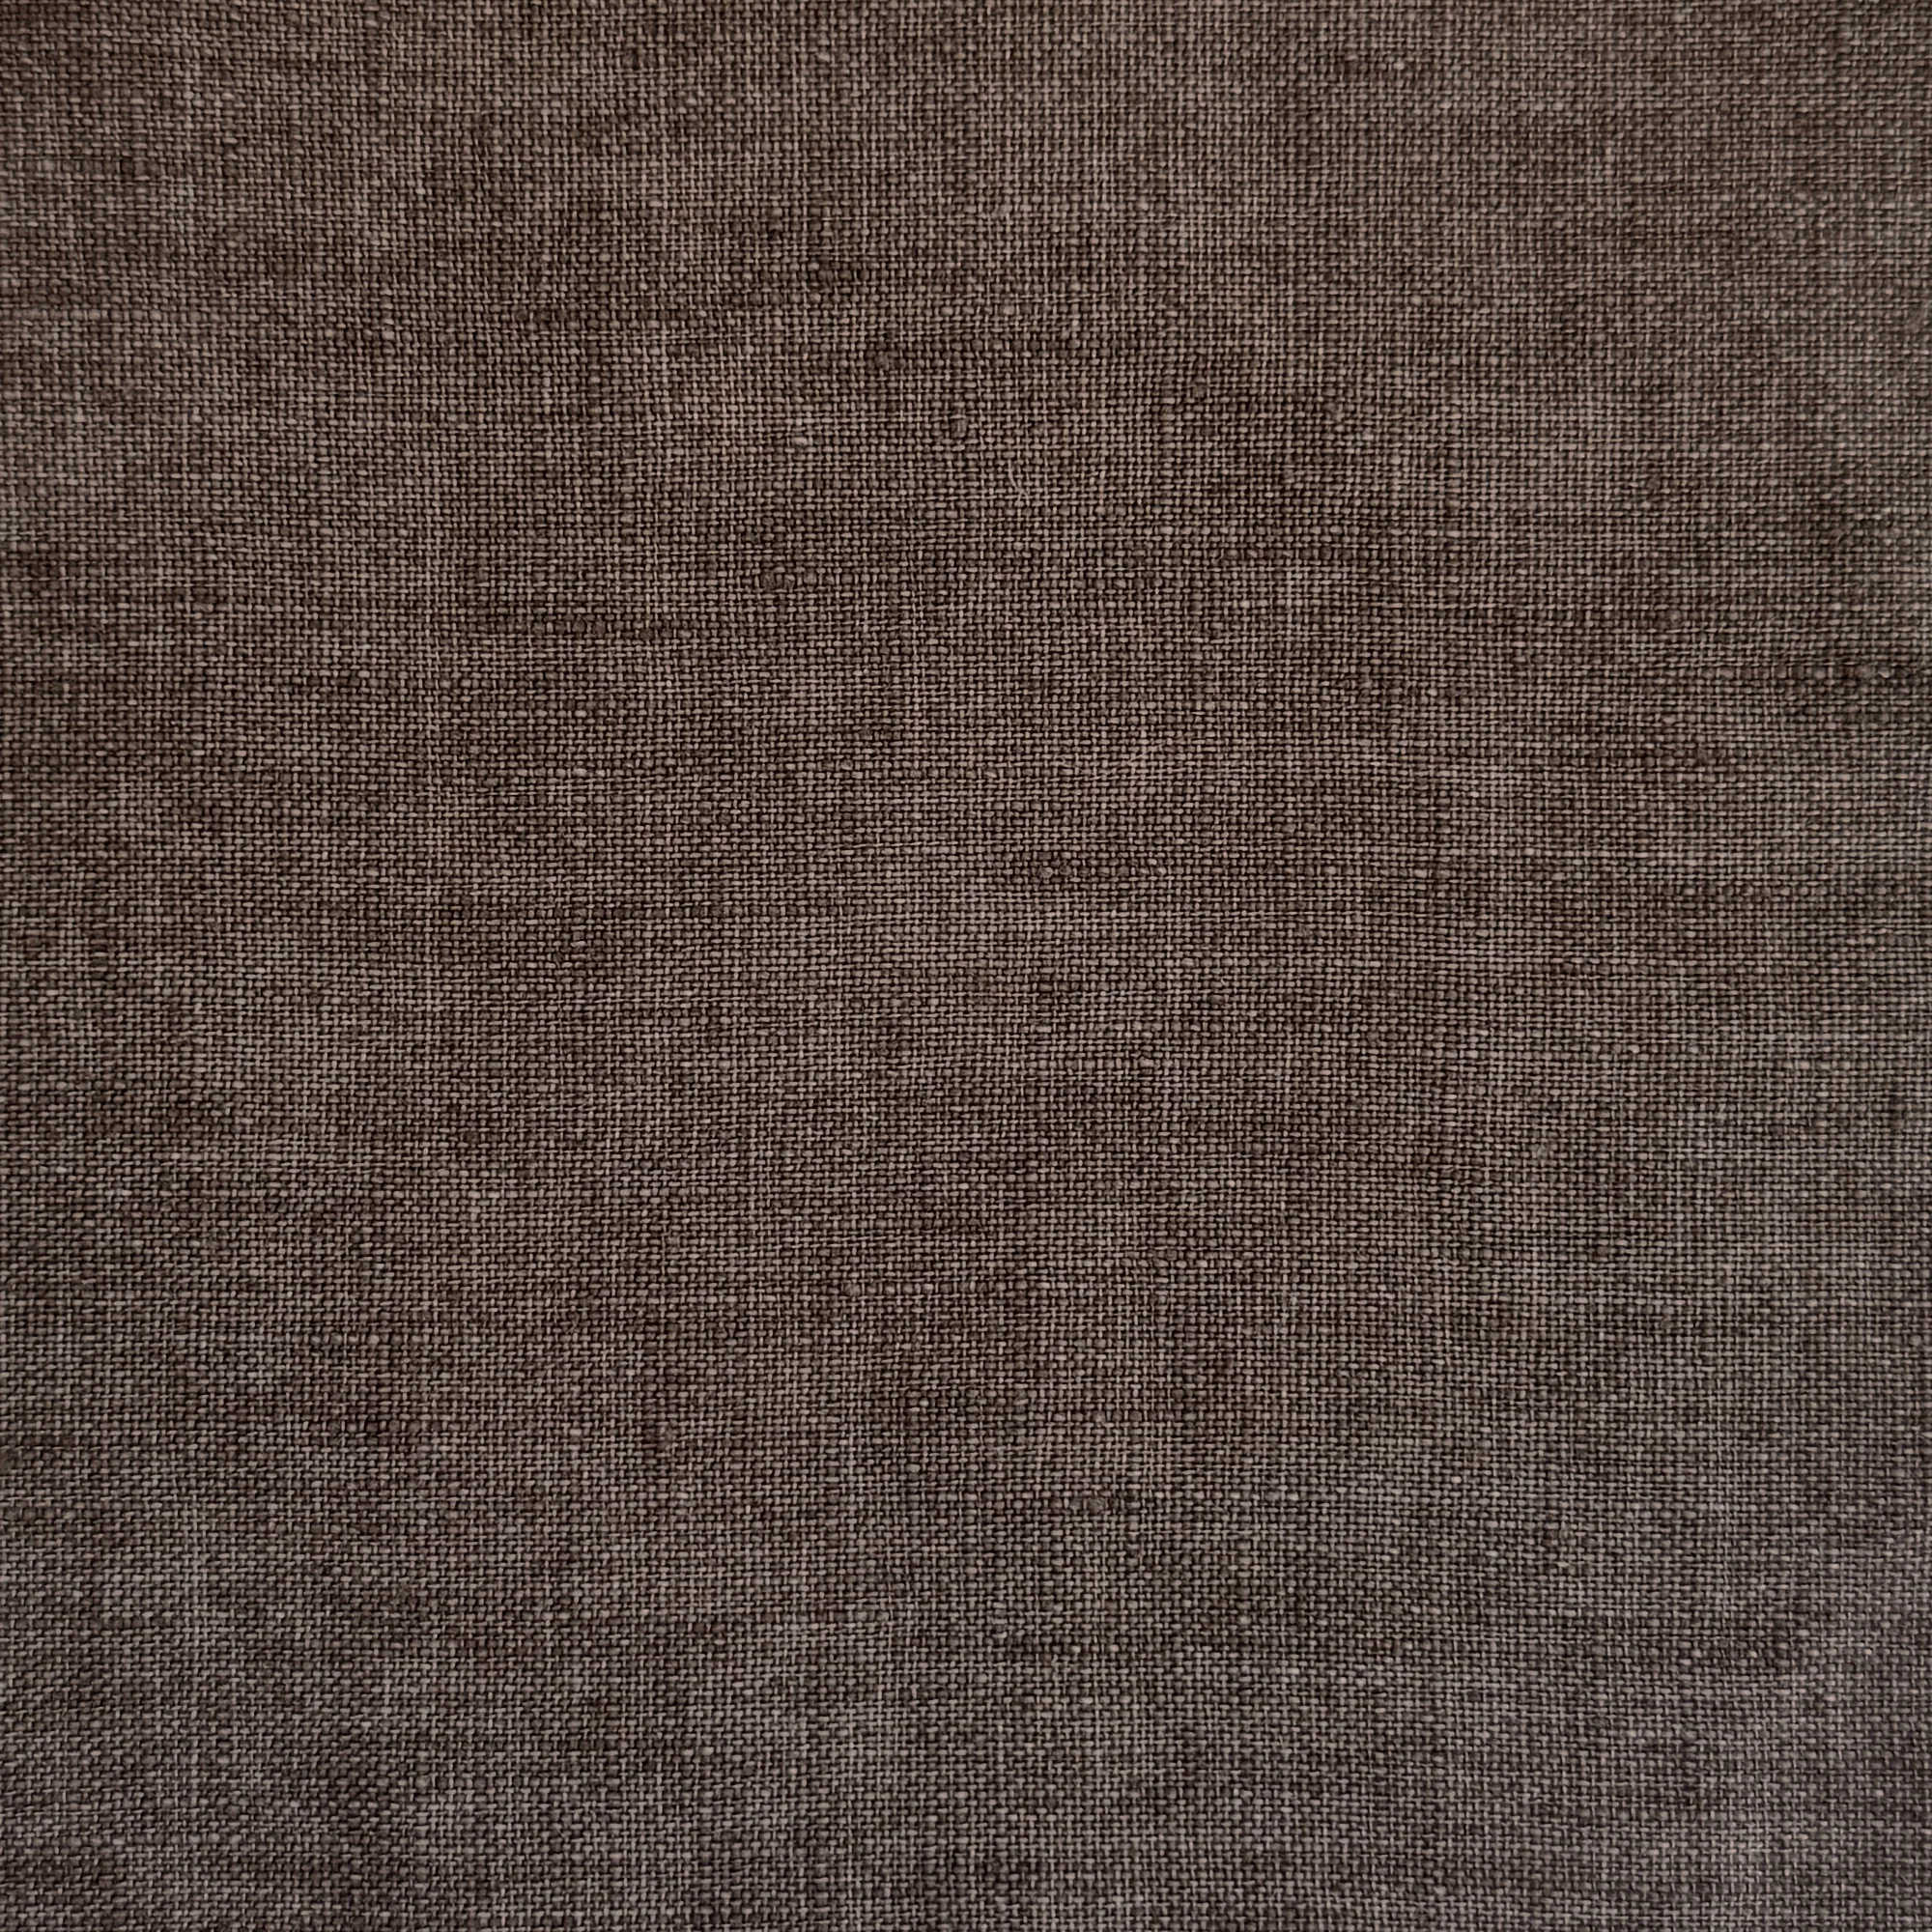
Umber
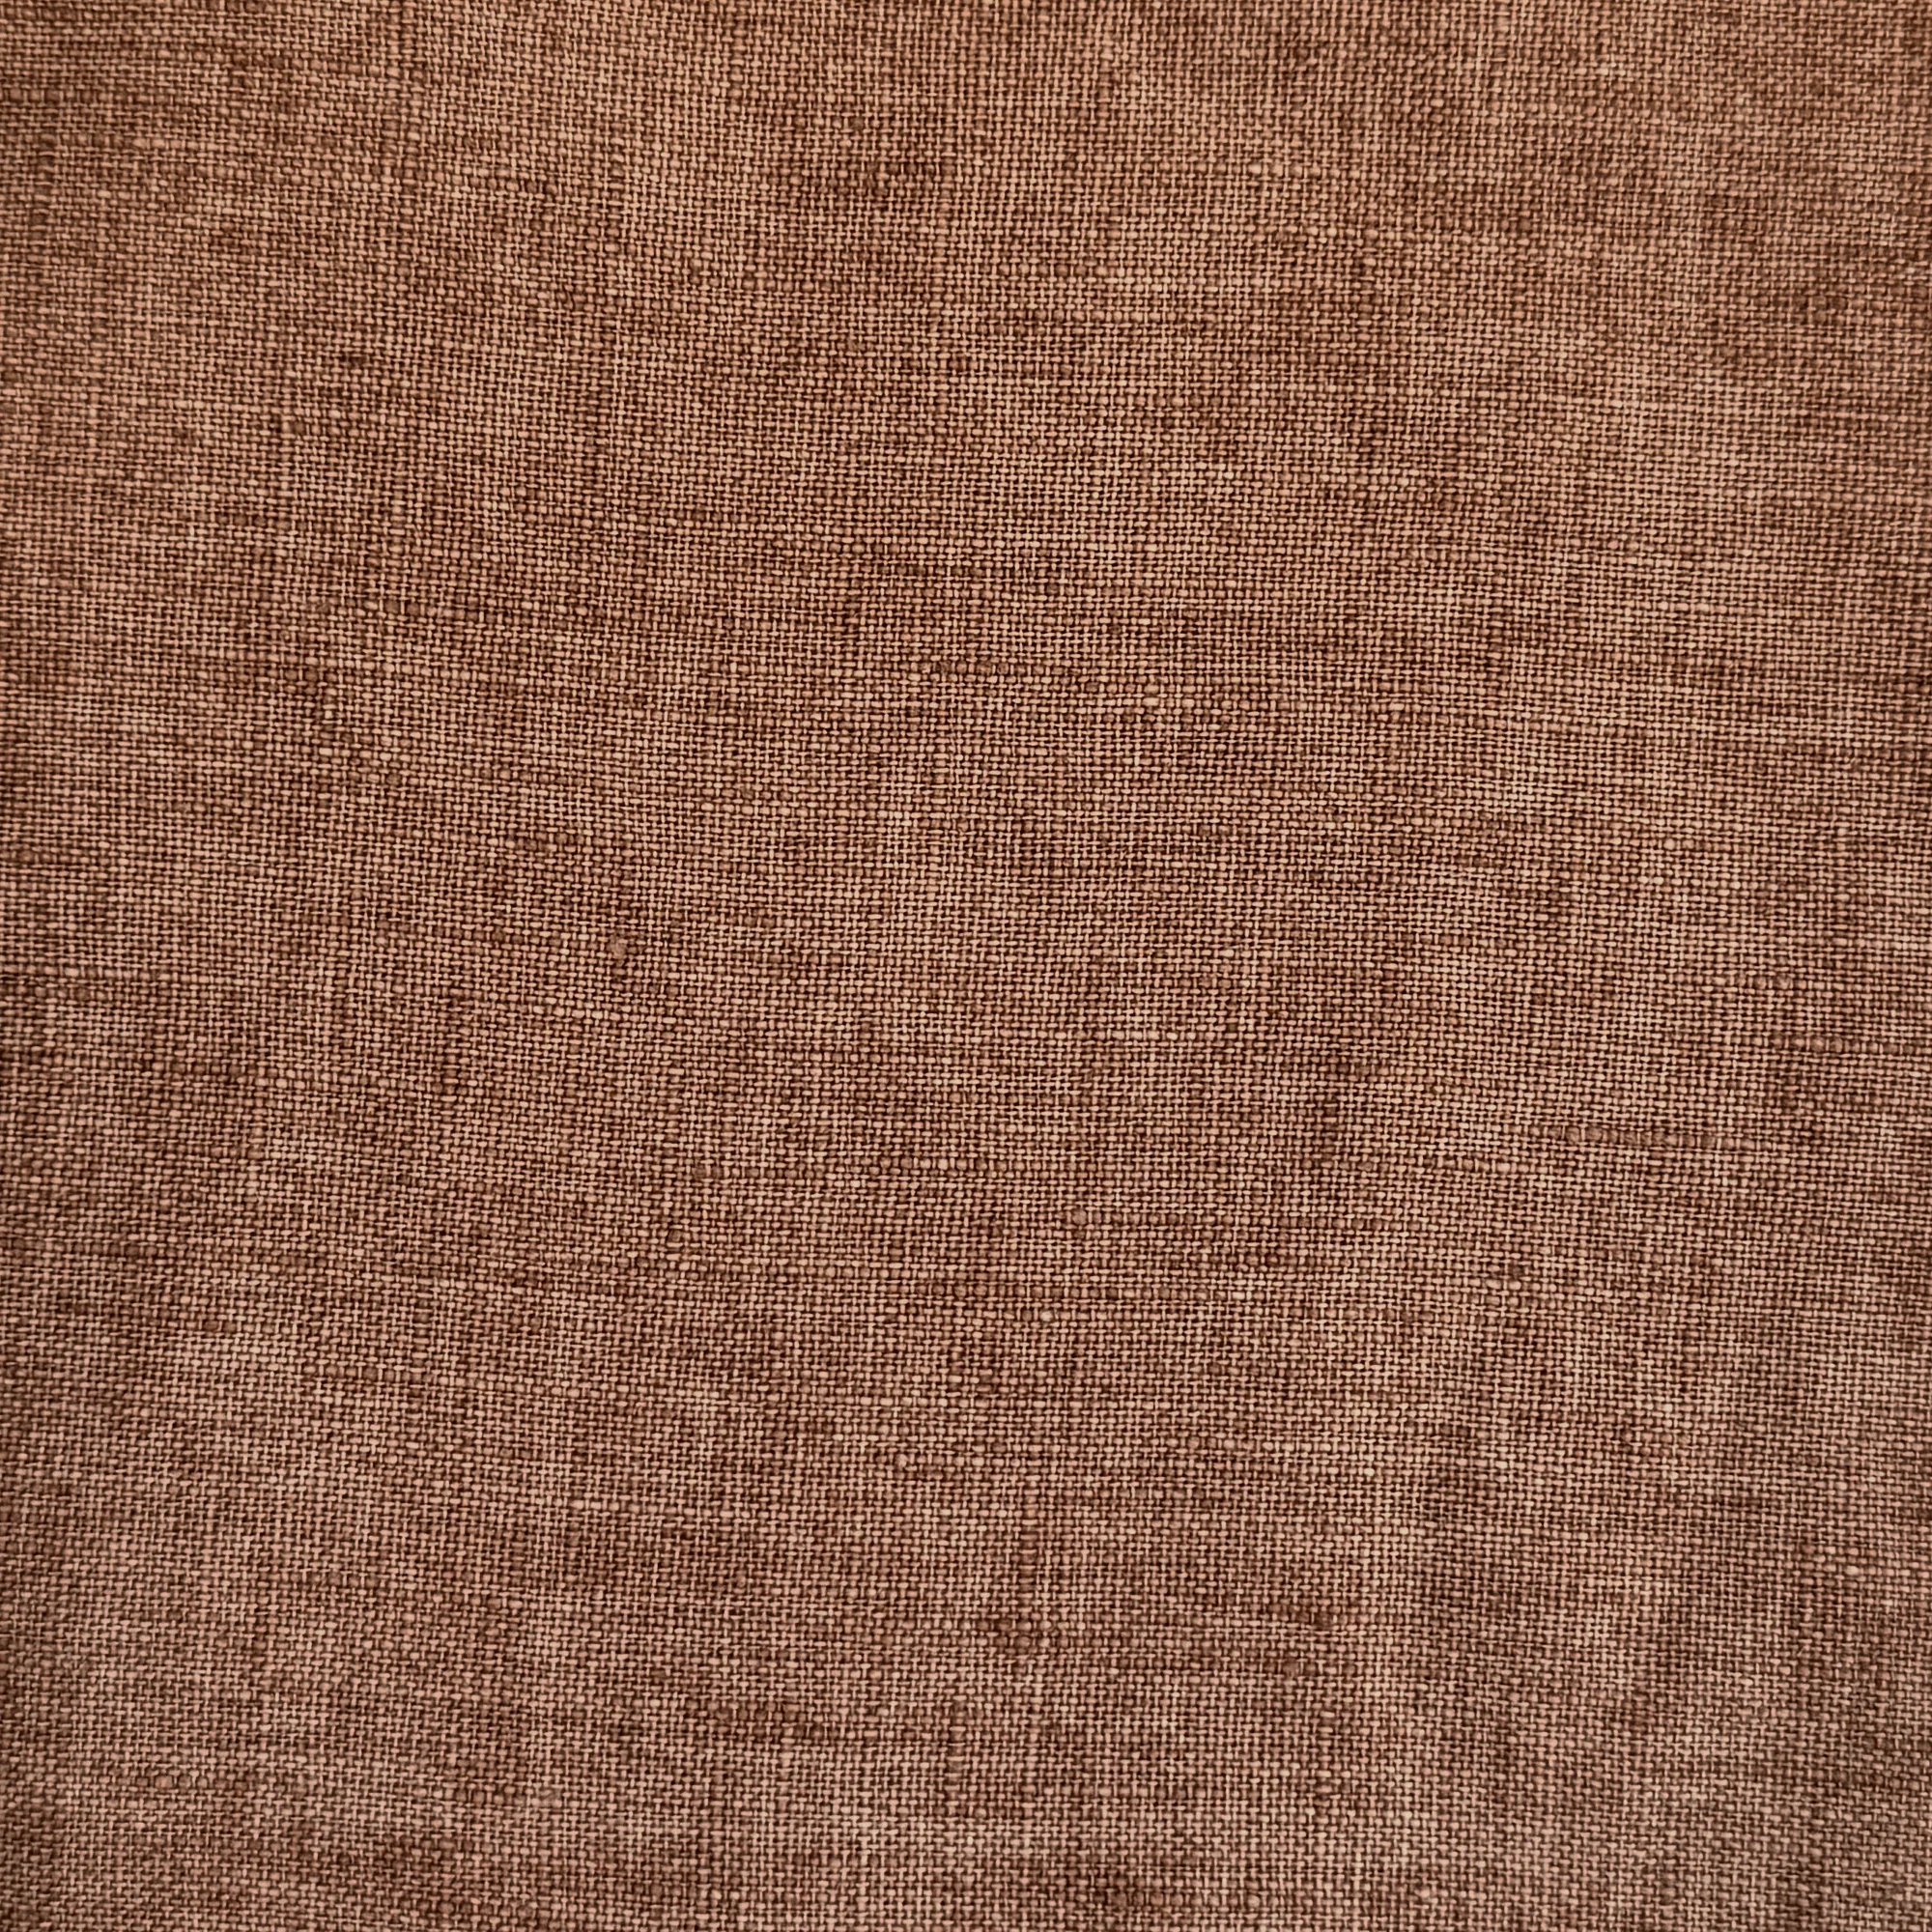
Cognac
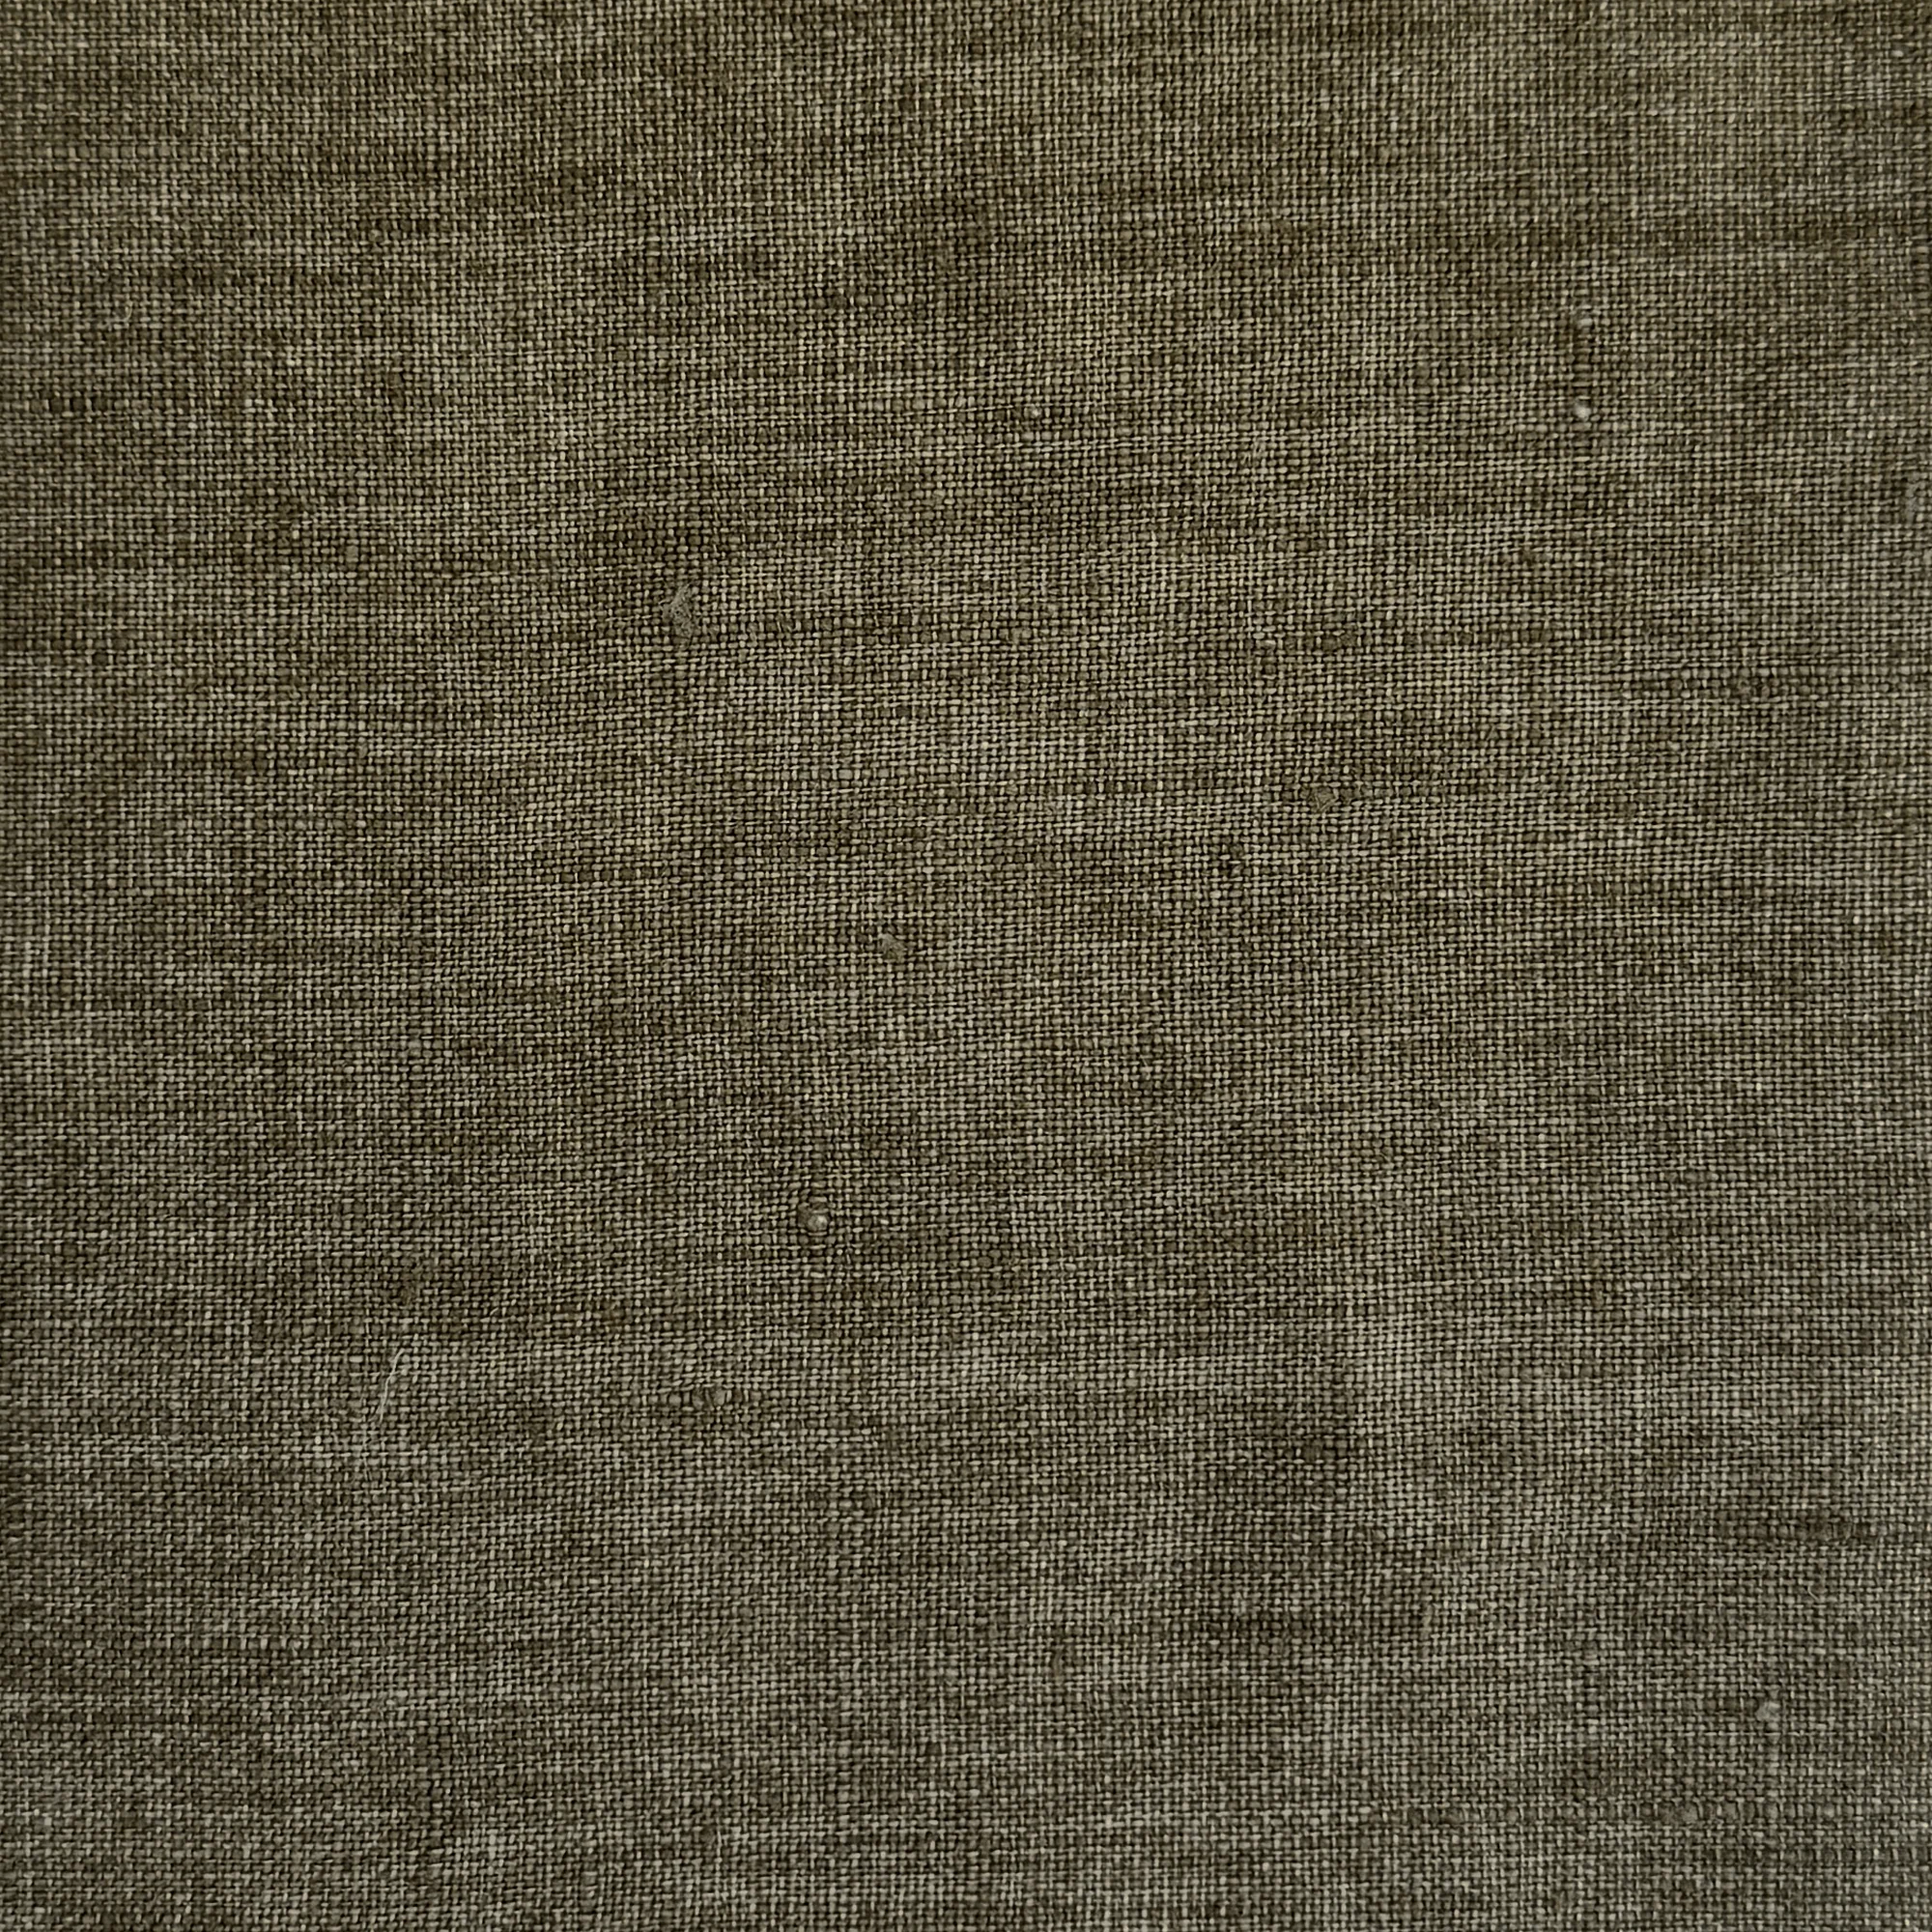
Juniper
Everhem Essentials
65% Linen, 35% Cotton
7 fabrics

Moon

Bone
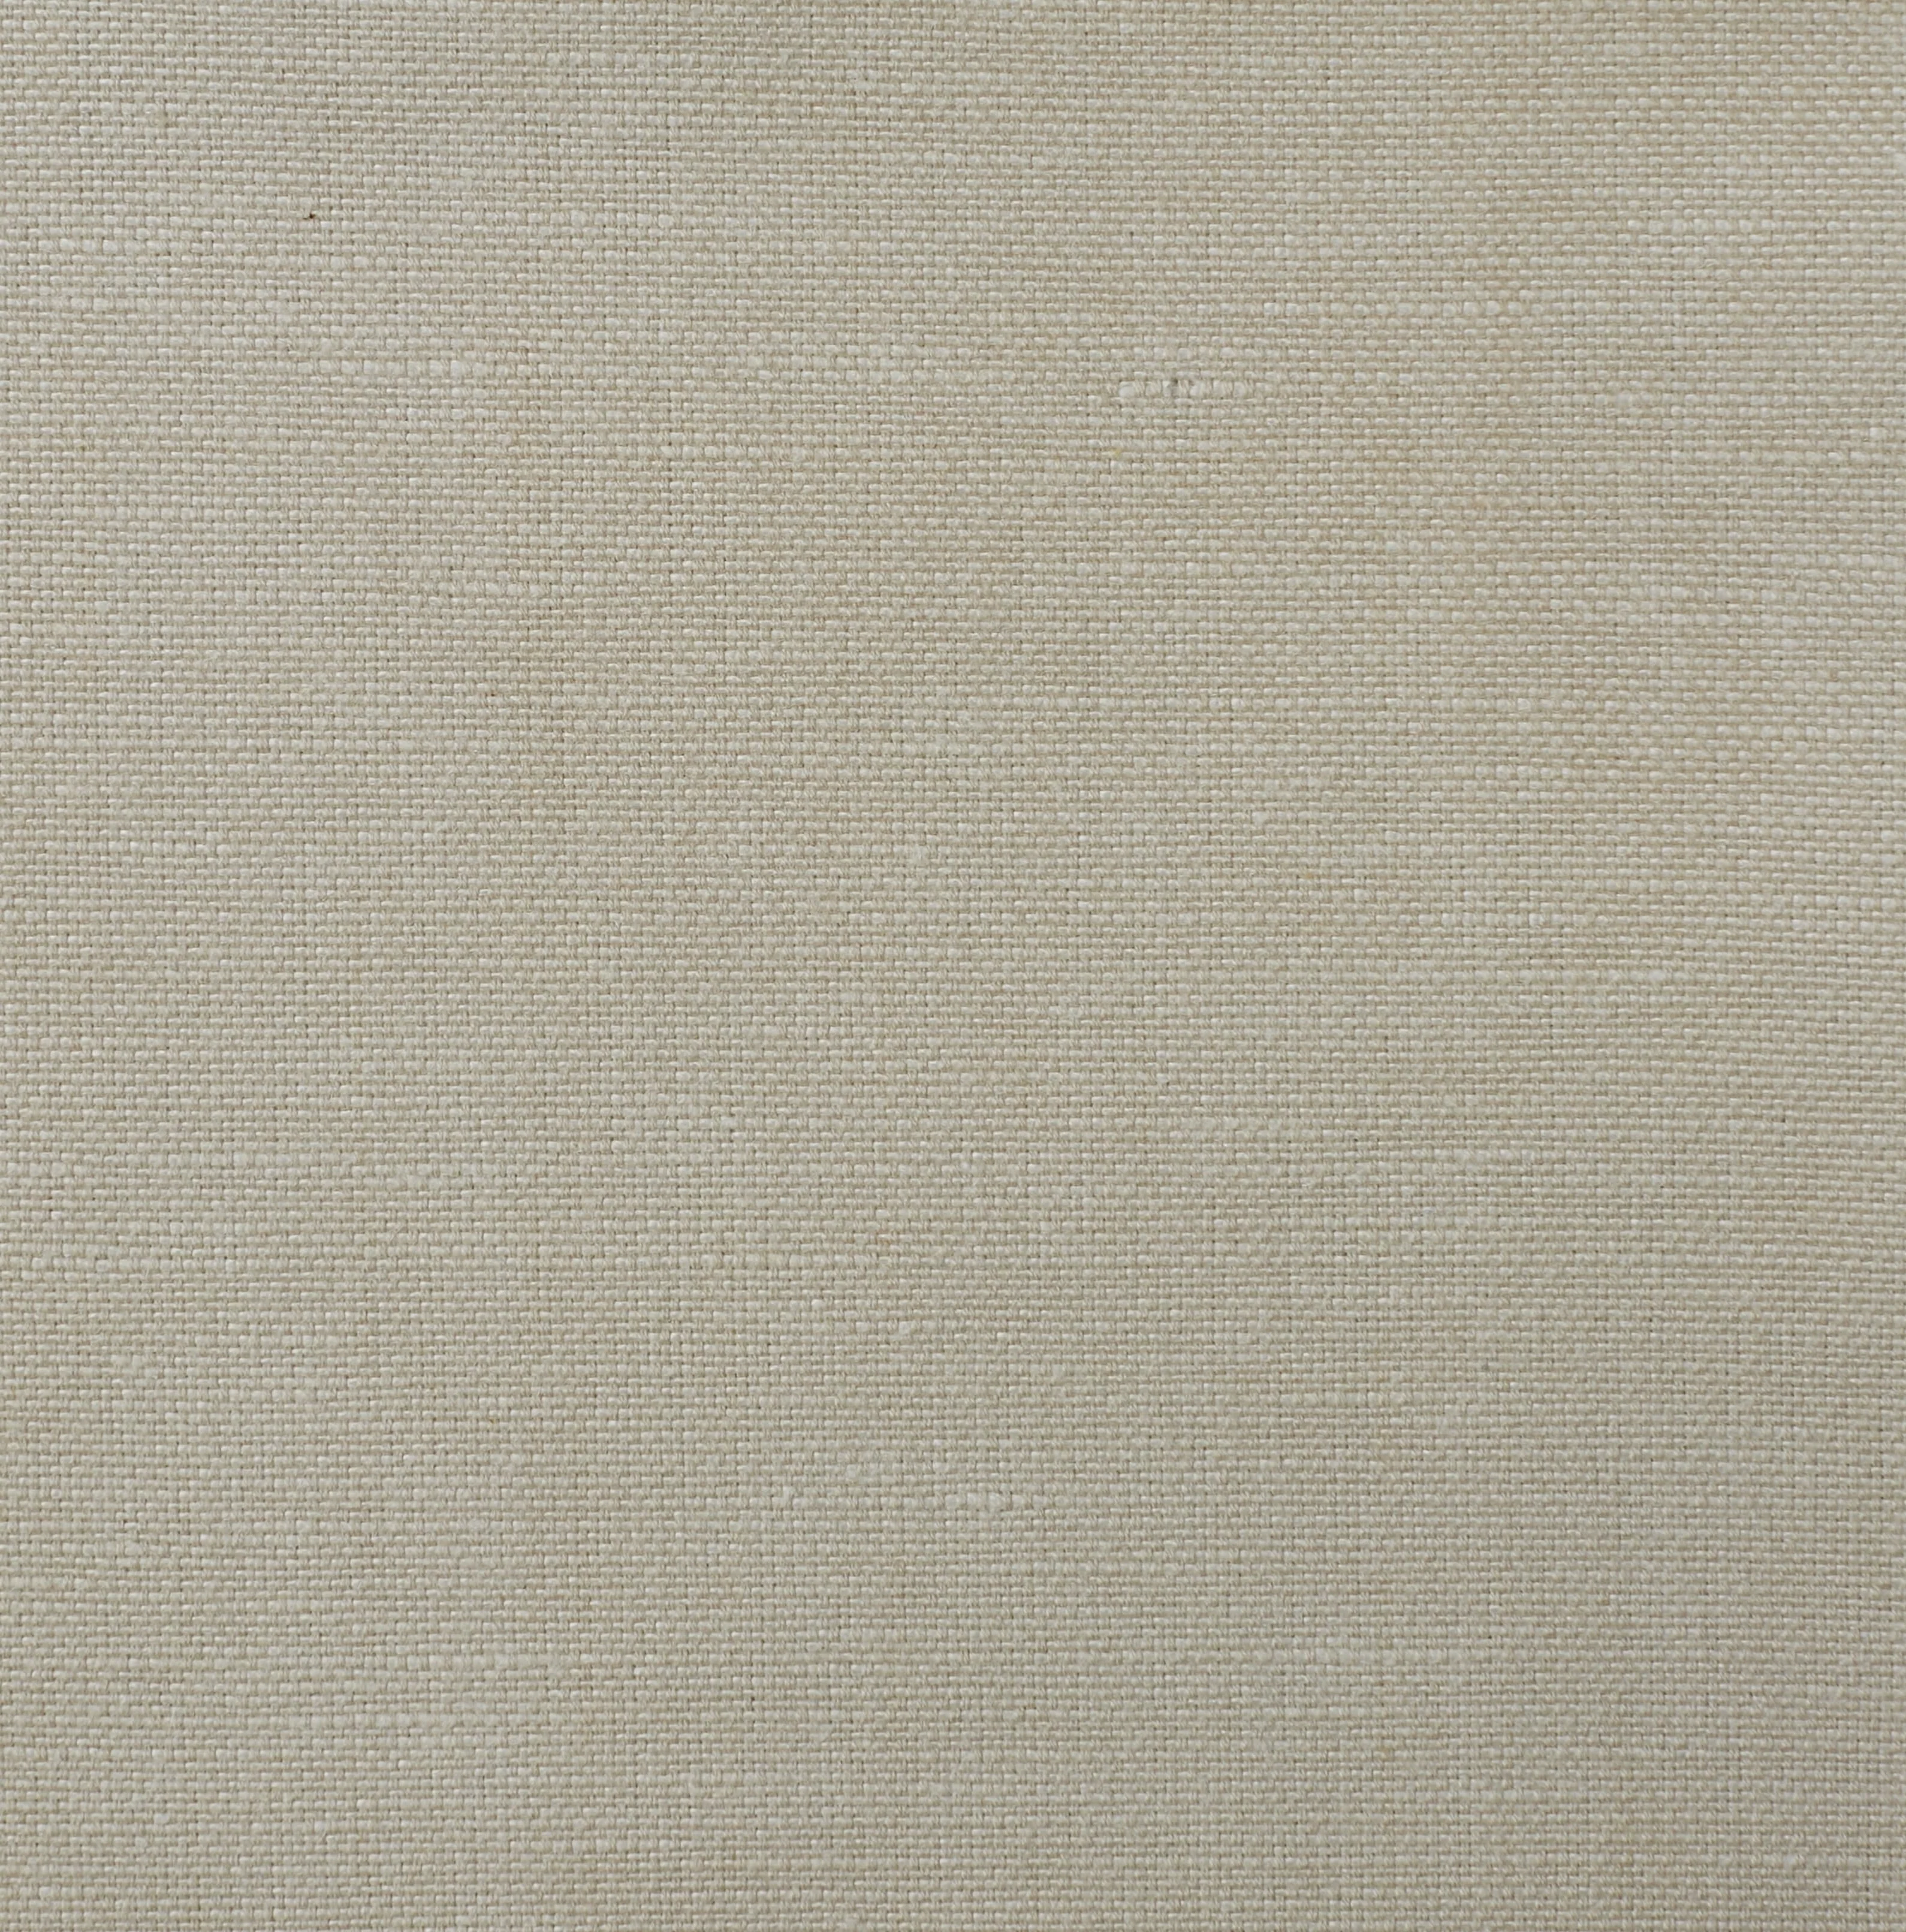
Sand
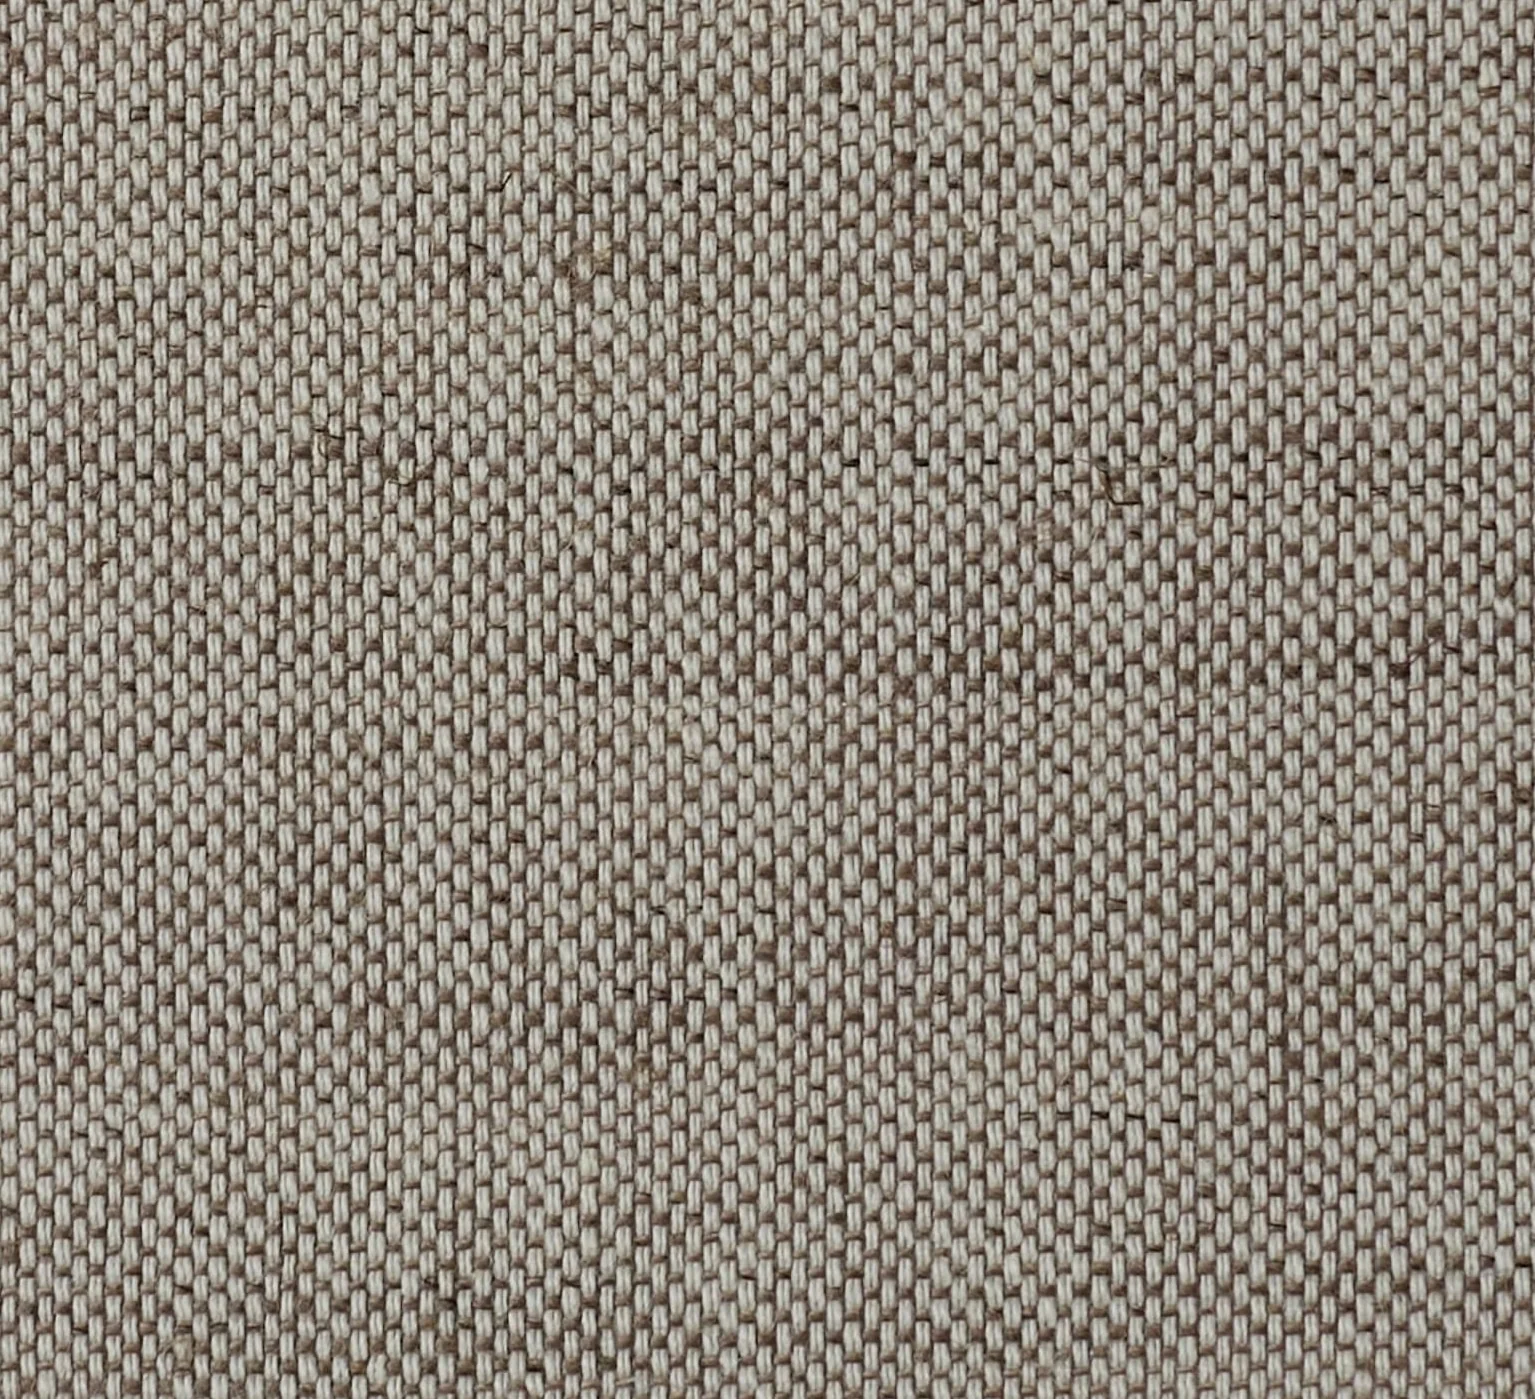
Birch
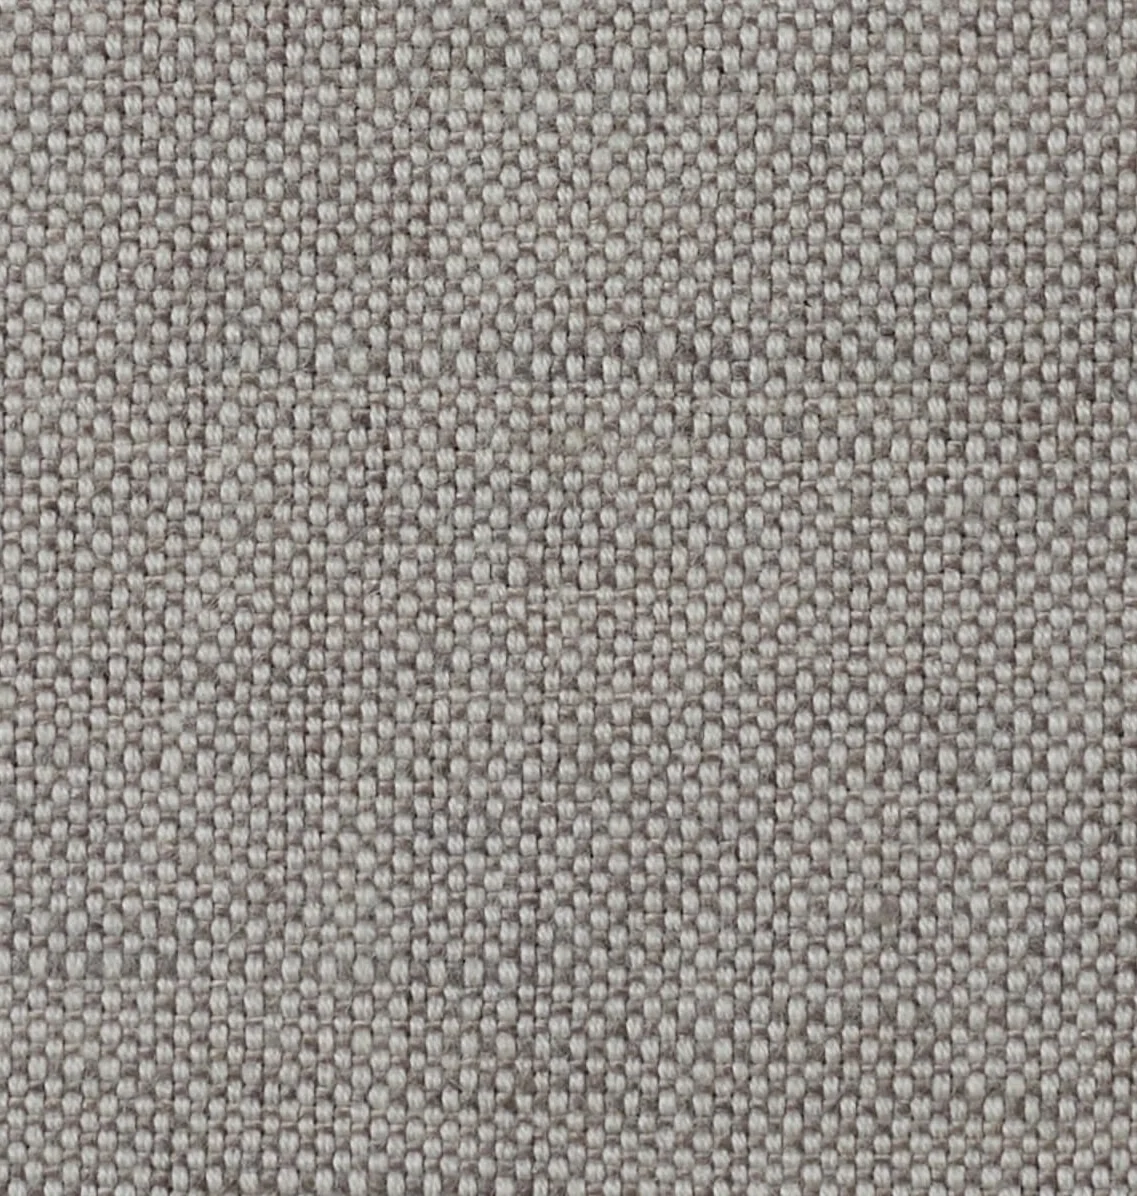
Ash
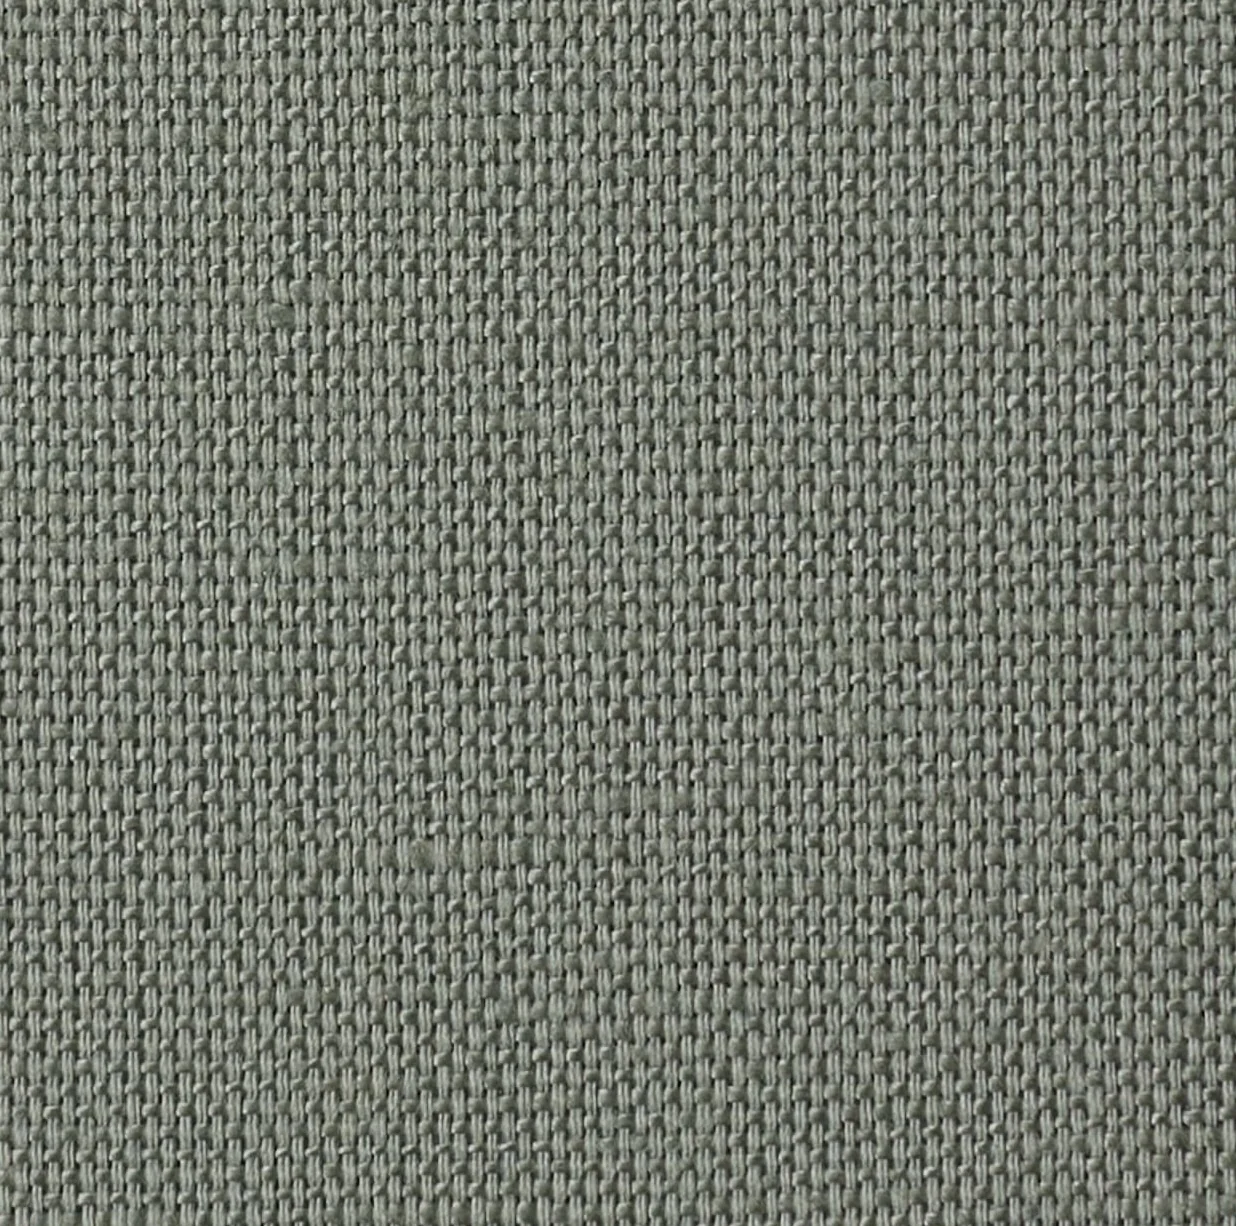
Sage
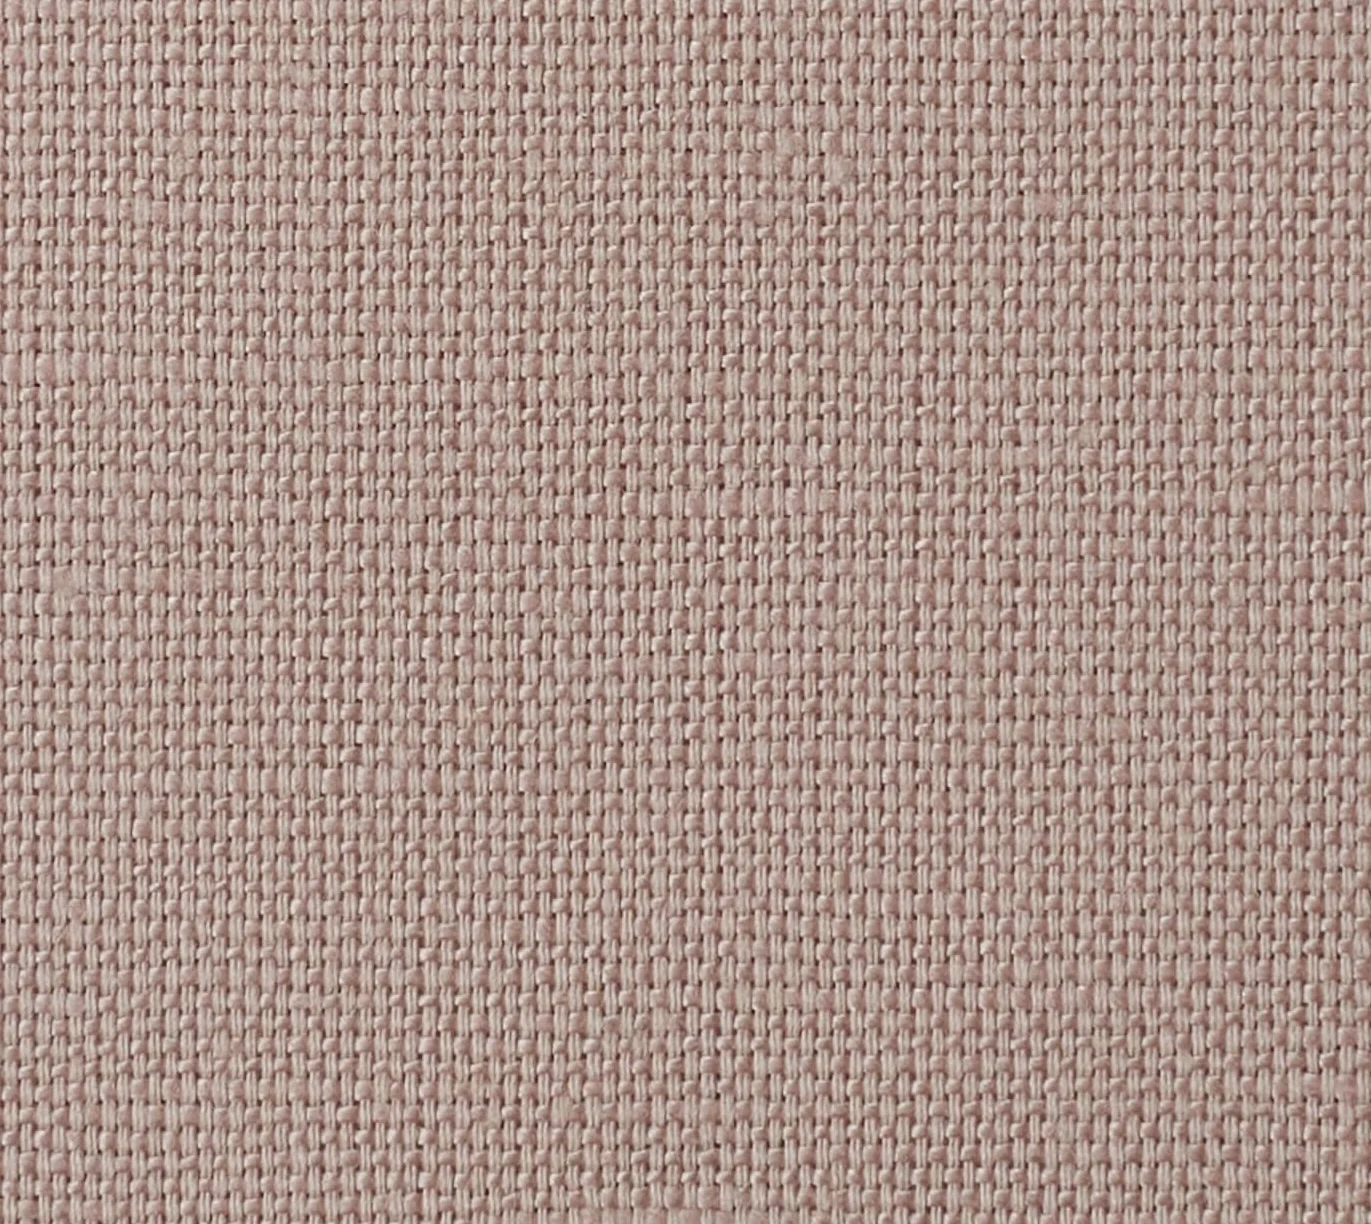
Rose
Jake Arnold for Everhem
11 fabrics
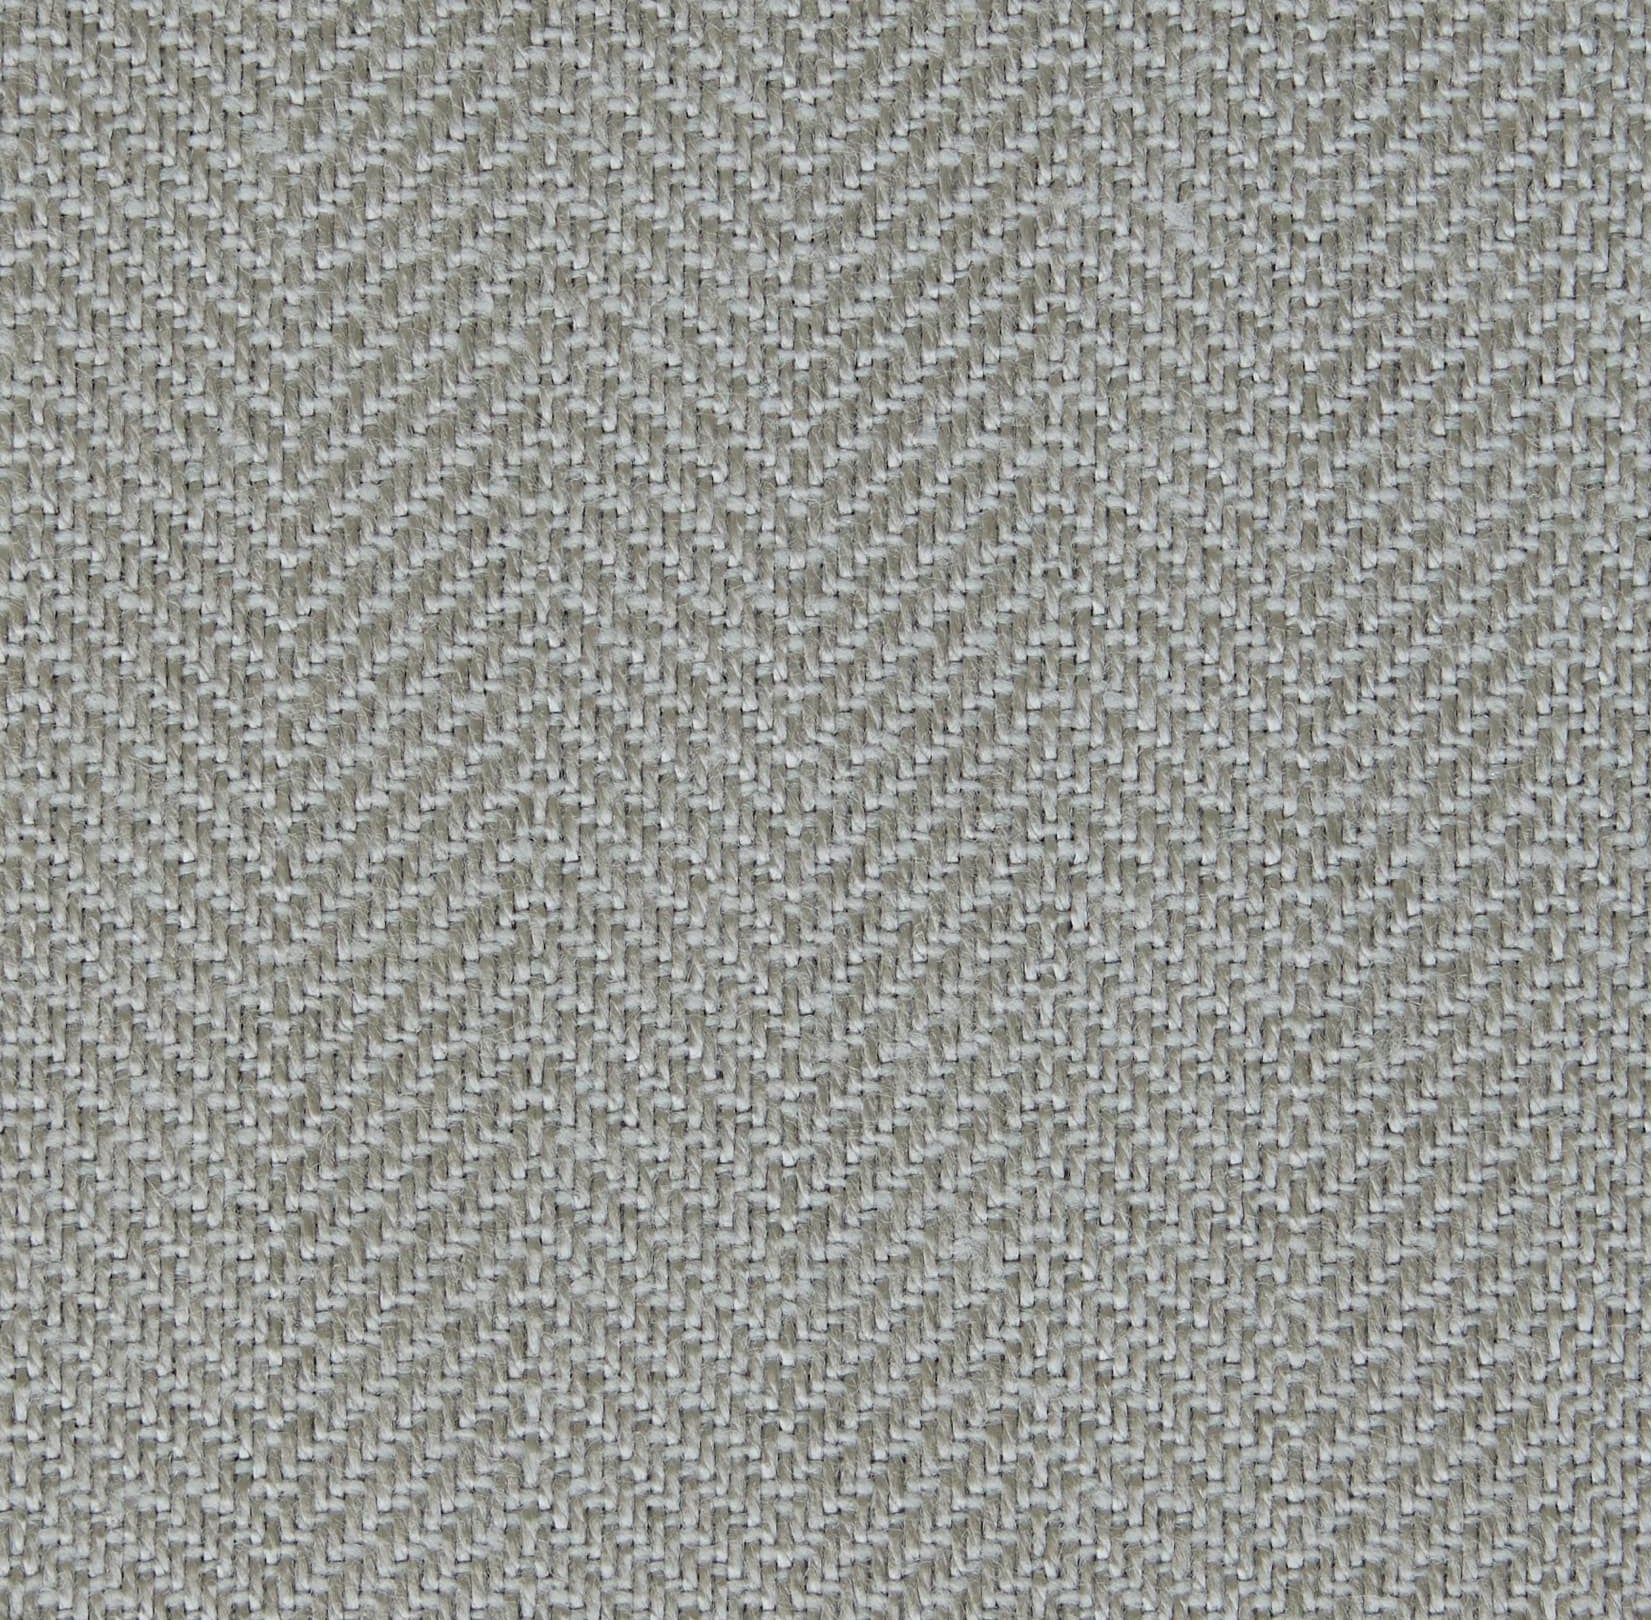
Haze
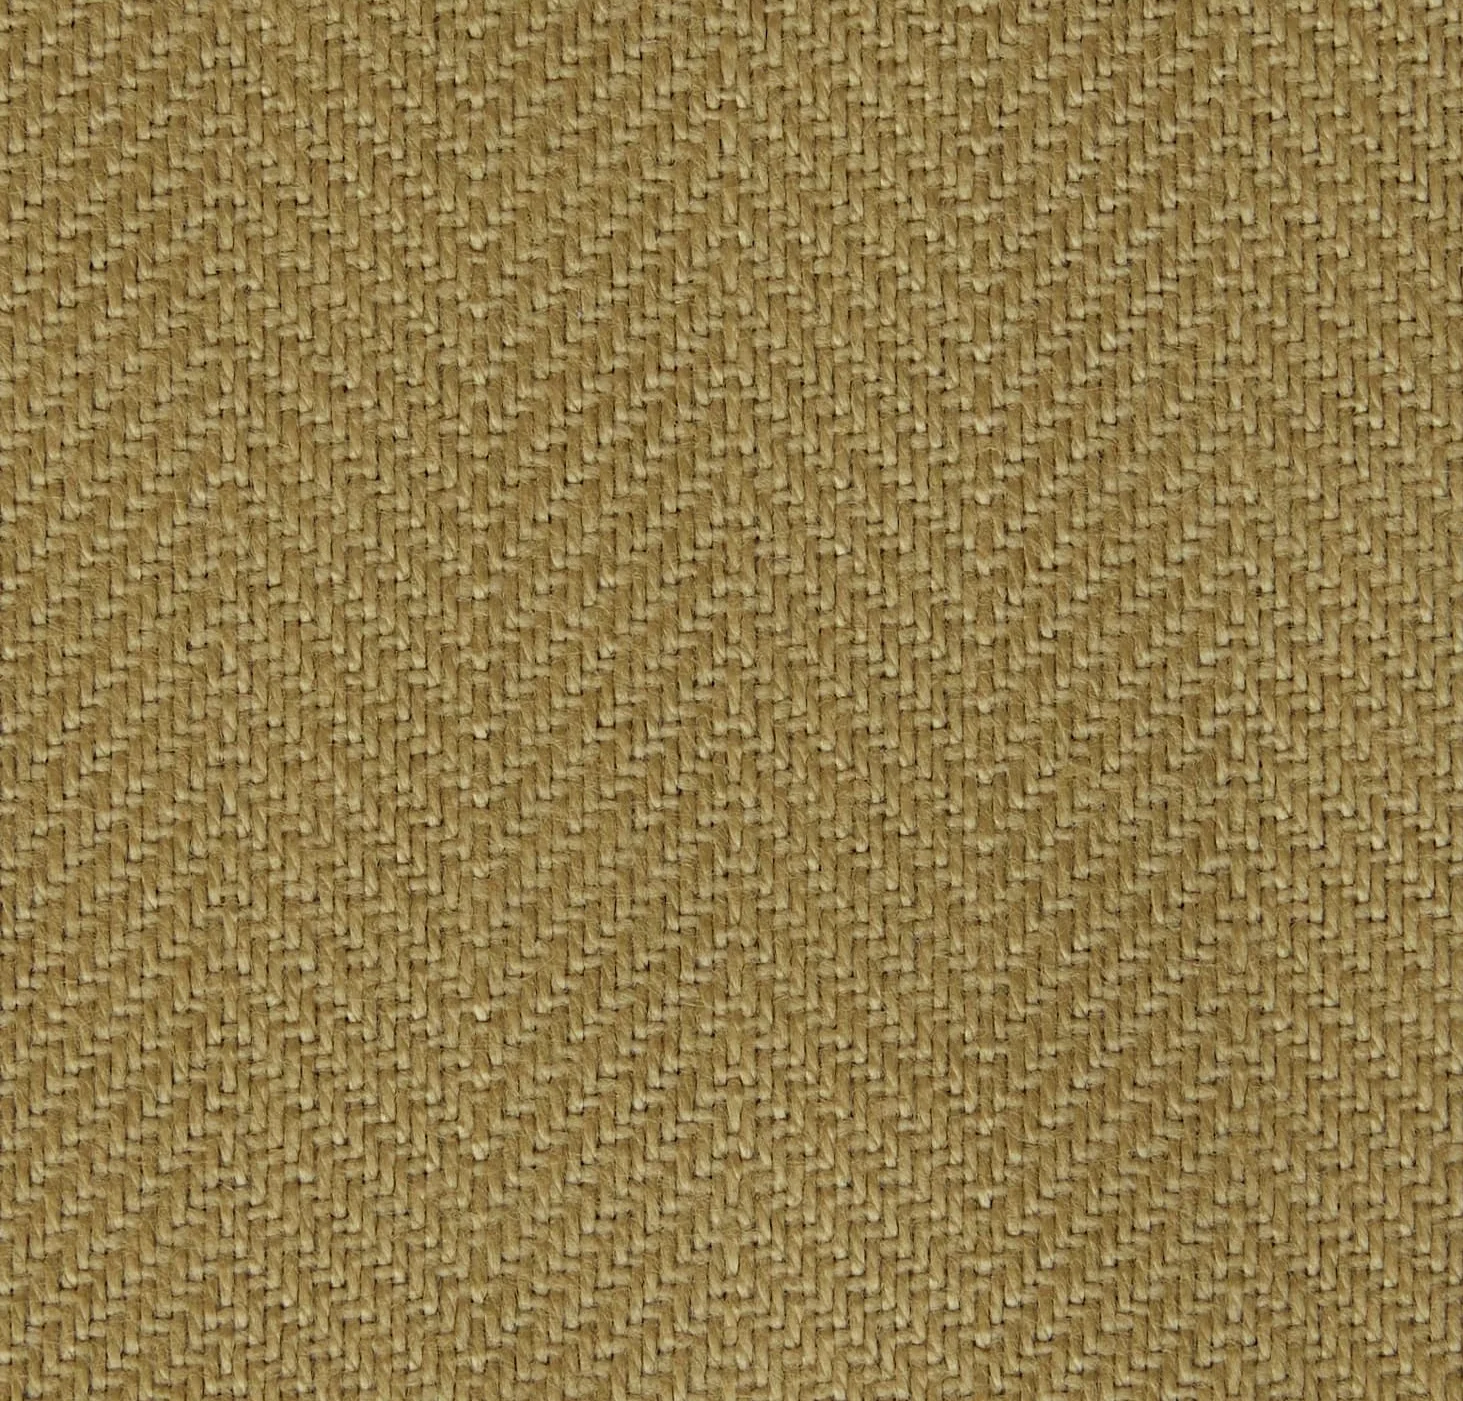
Saffron
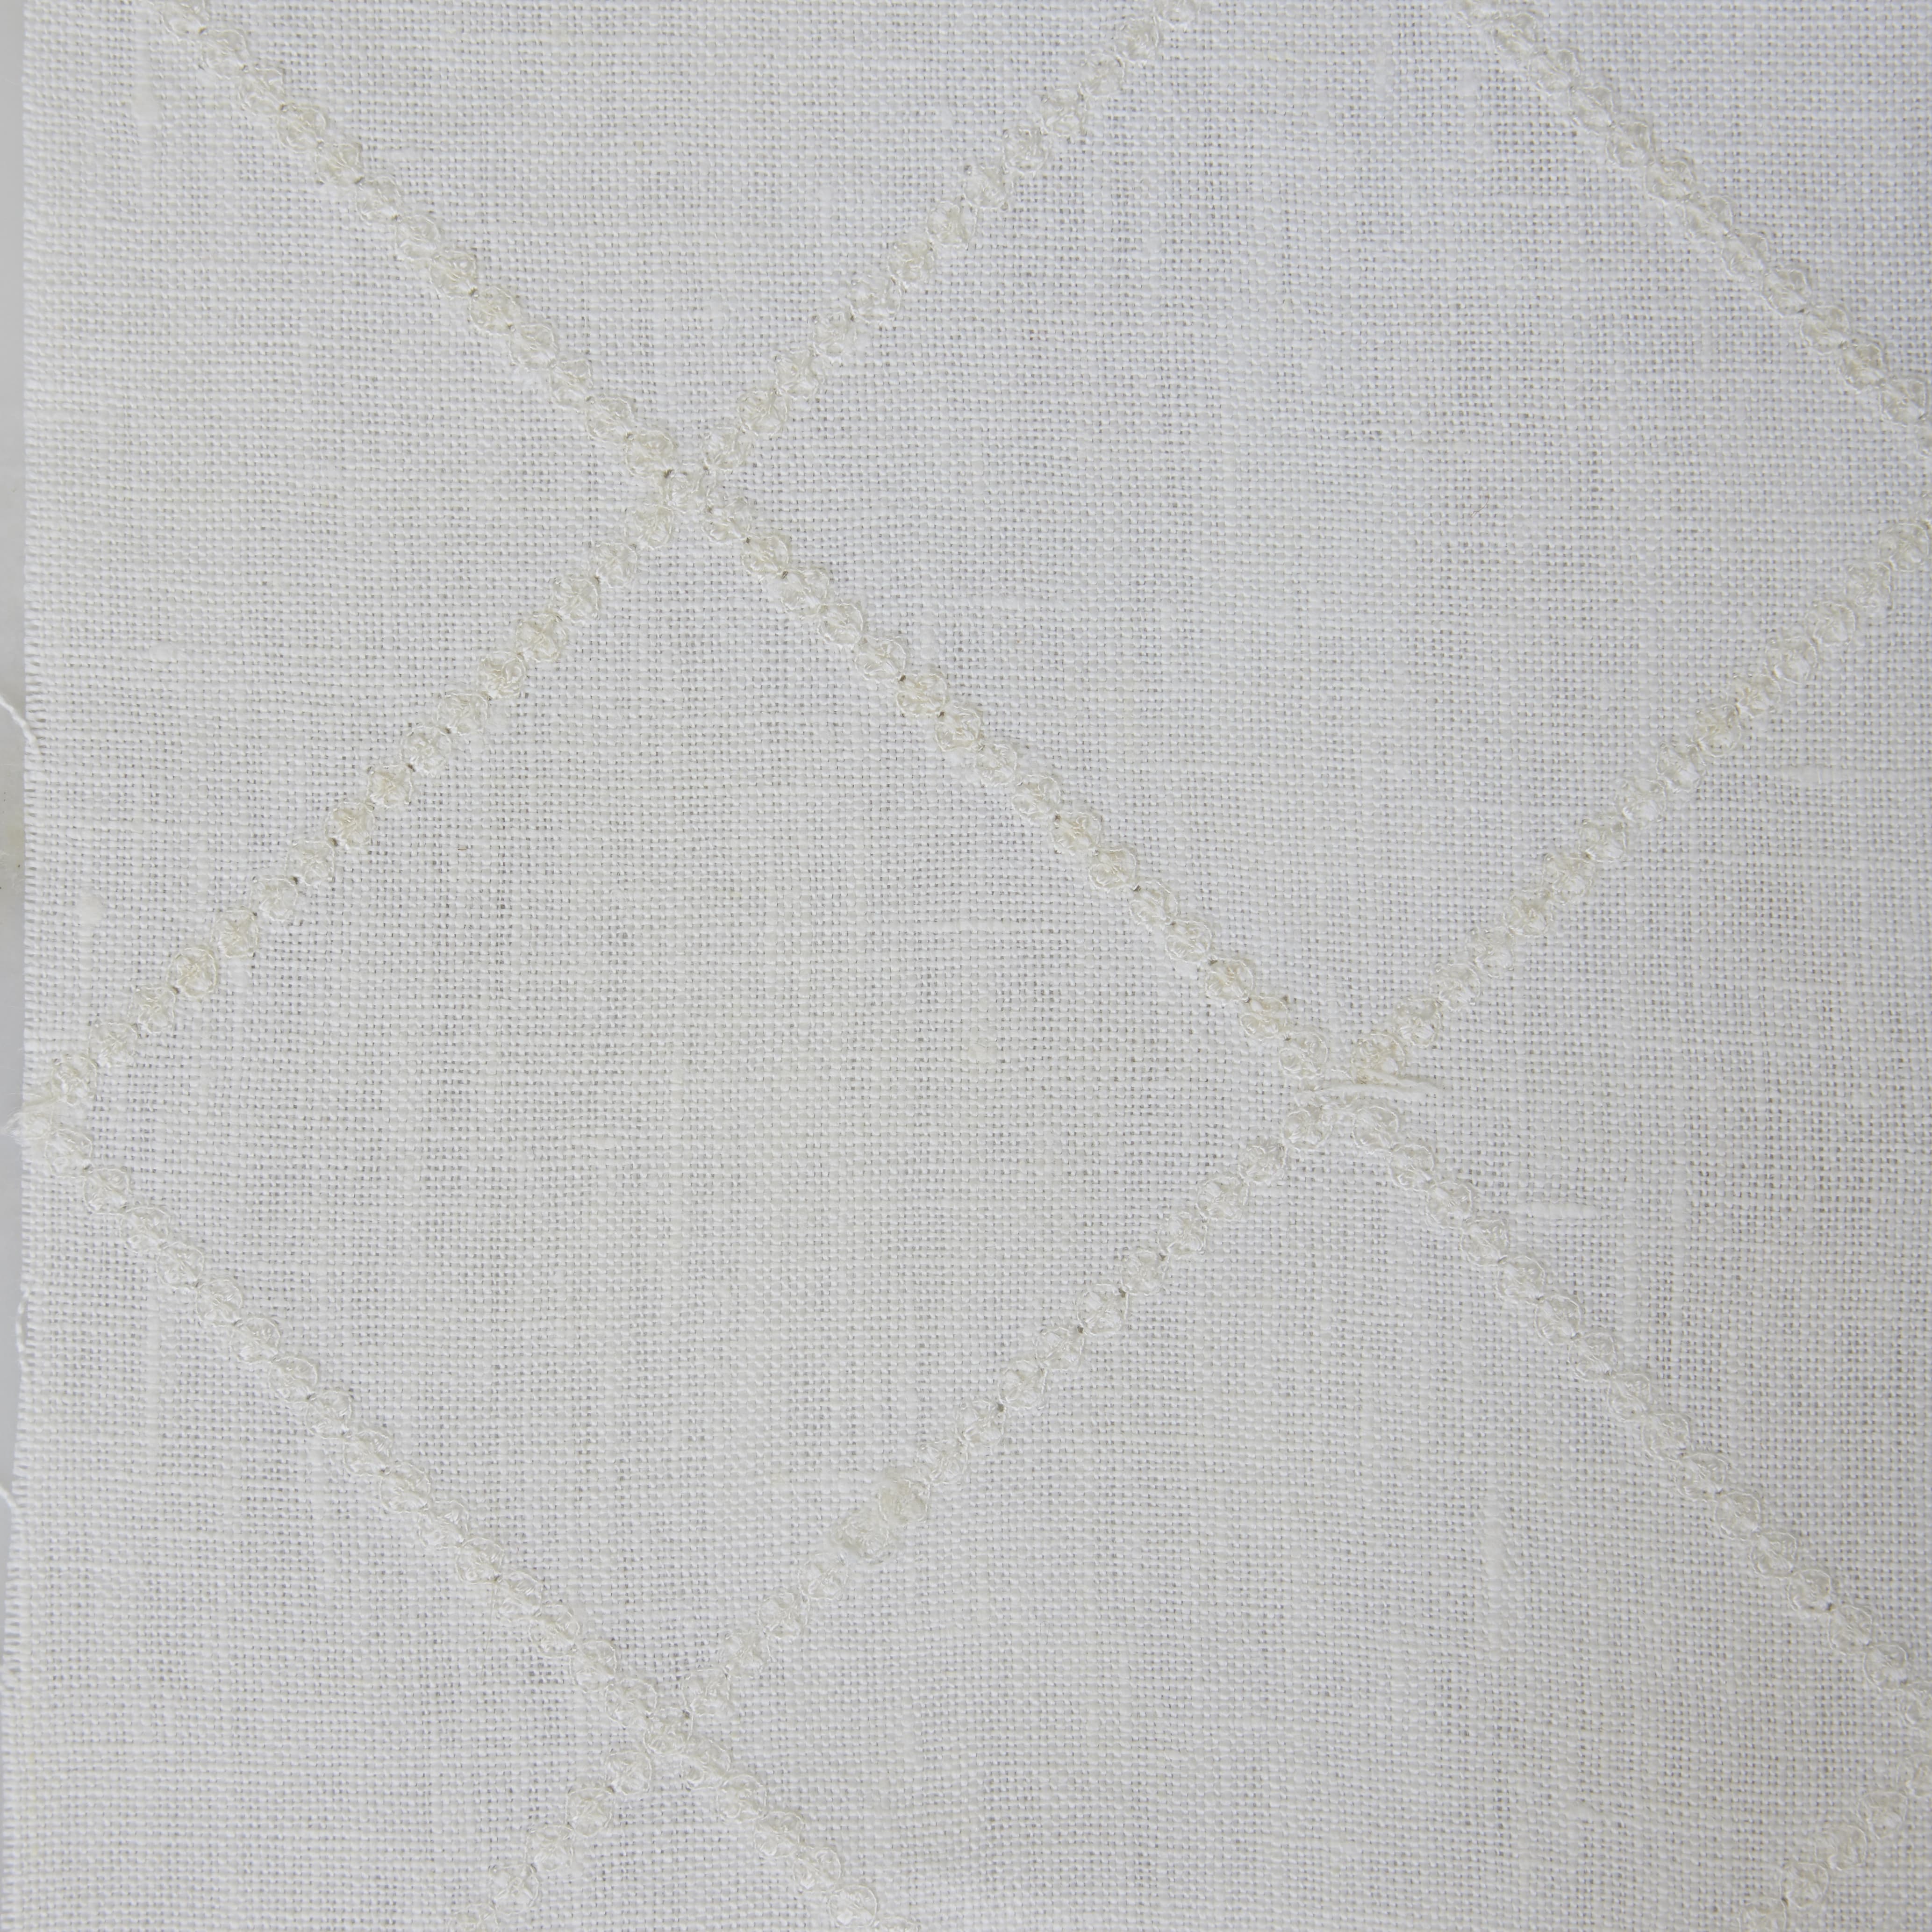
Diamond Magnolia
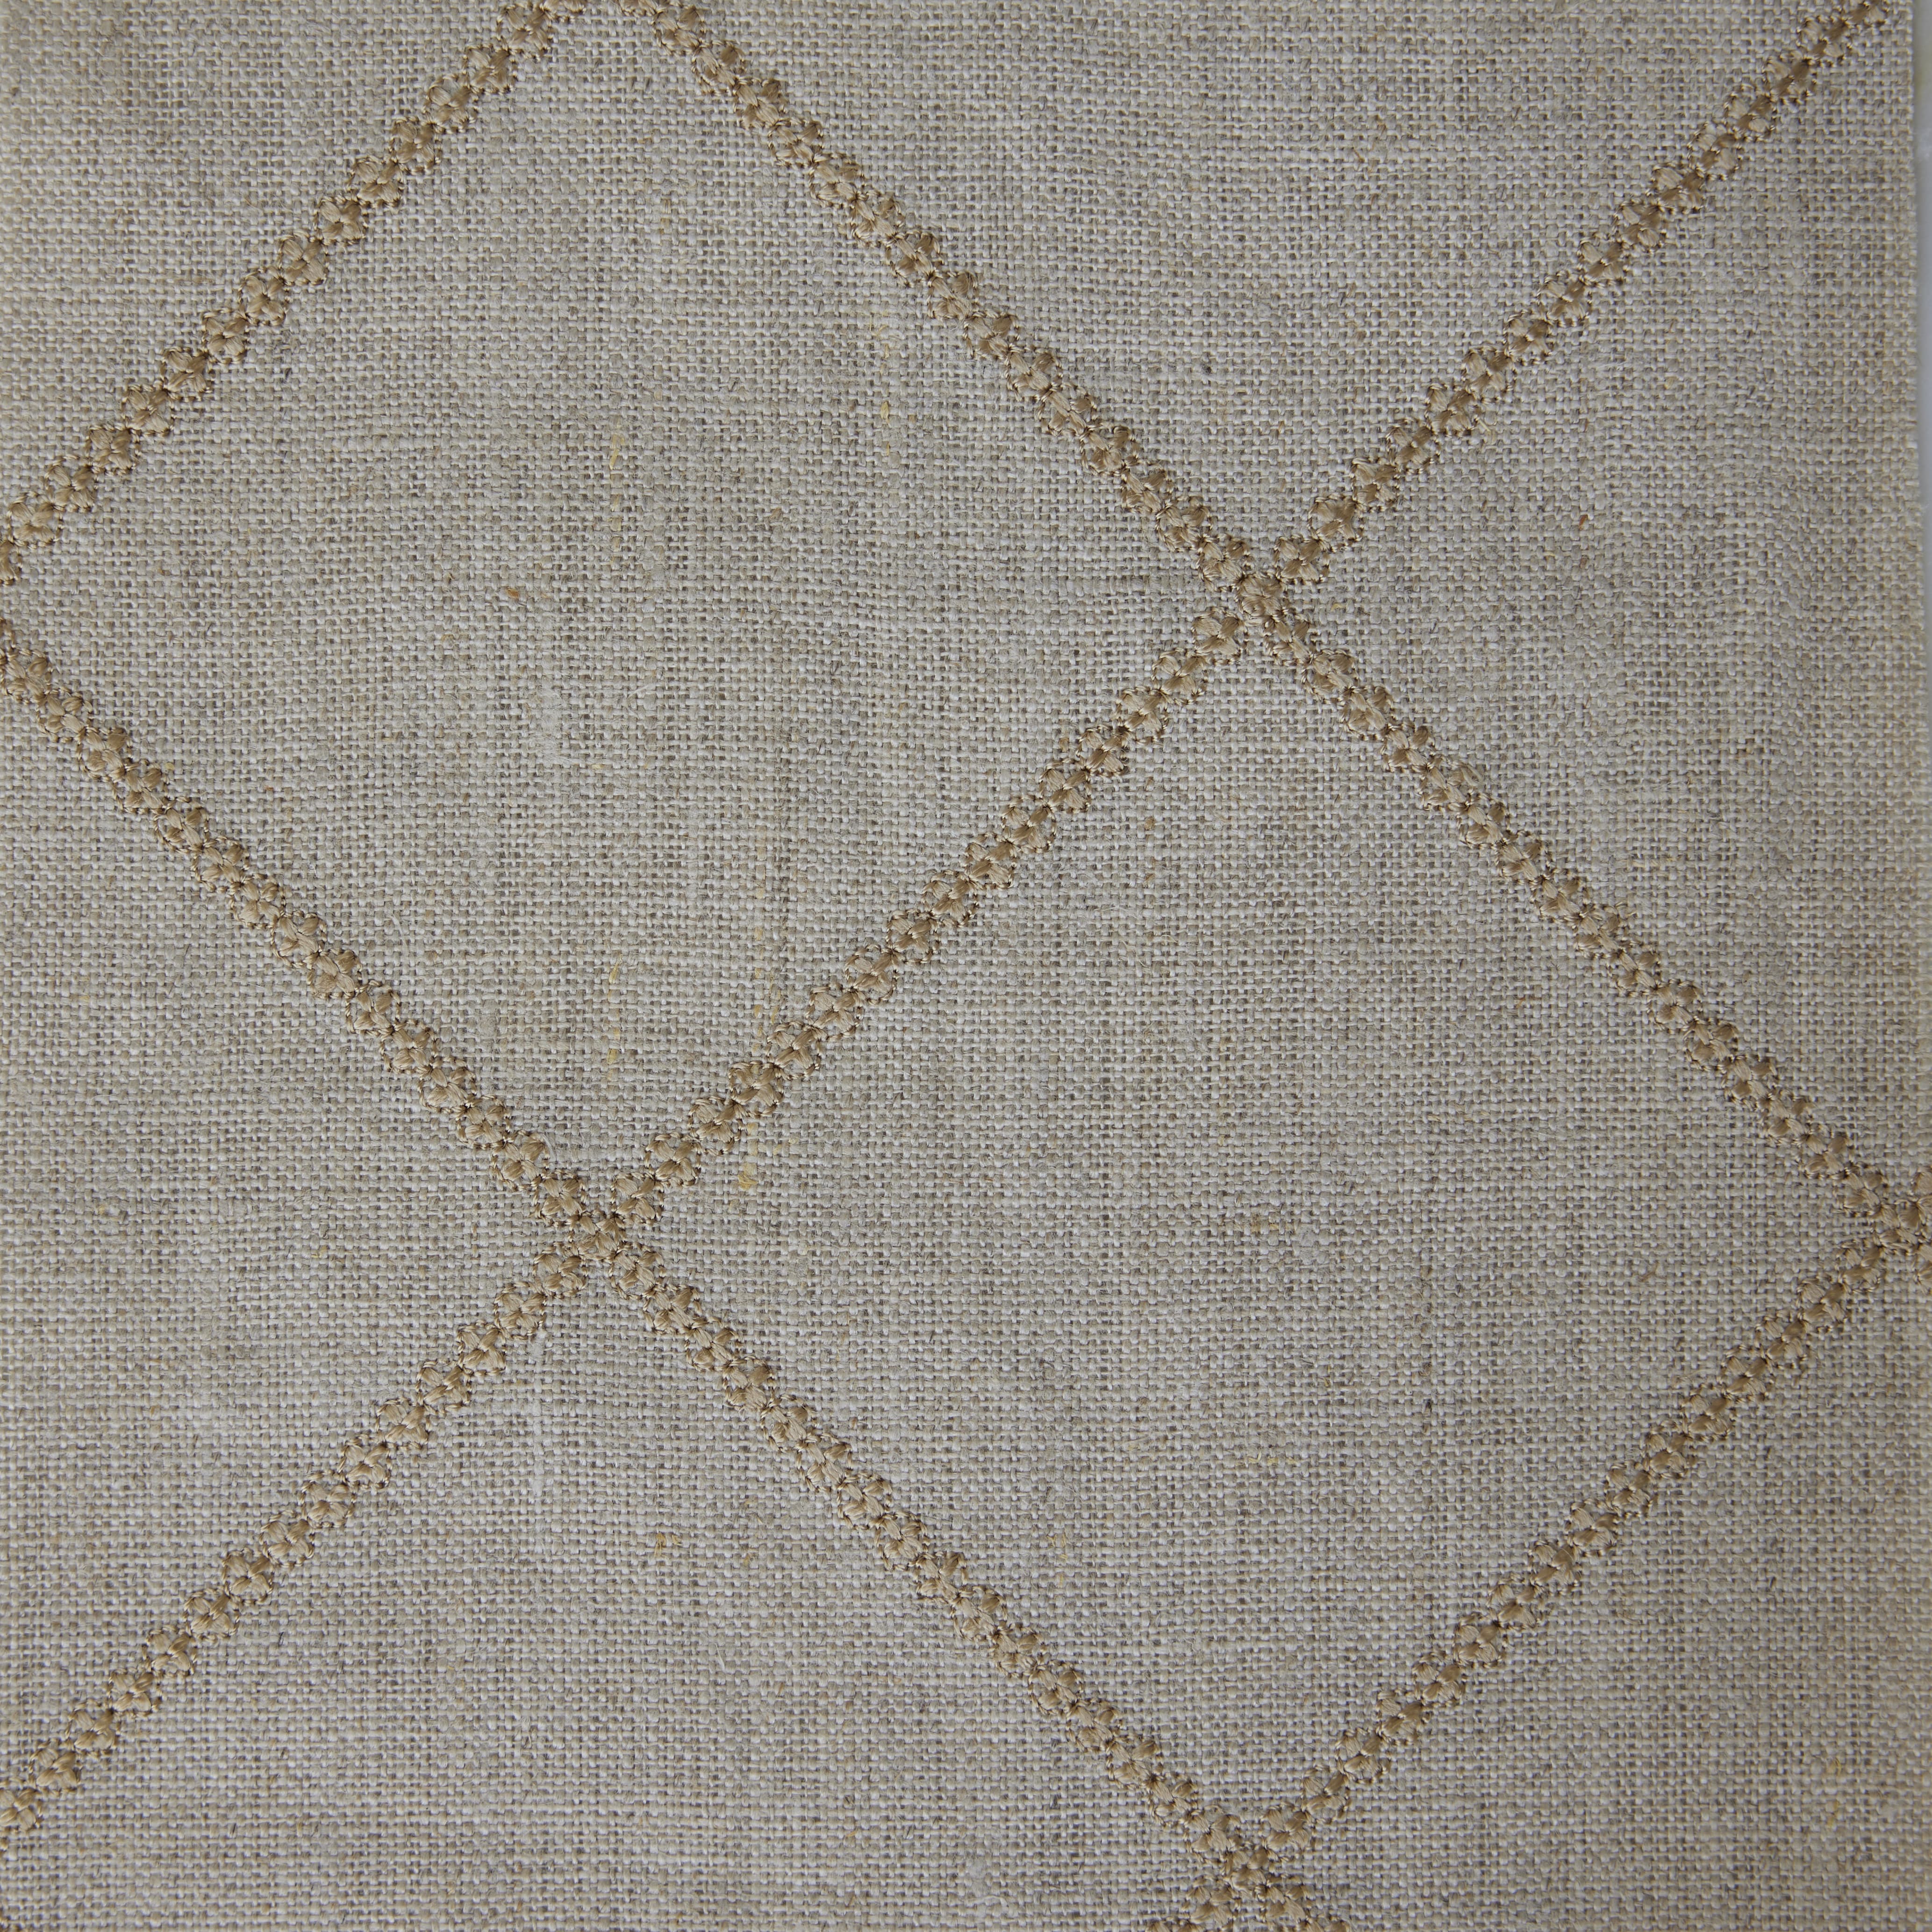
Parchment Magnolia

Gardenia
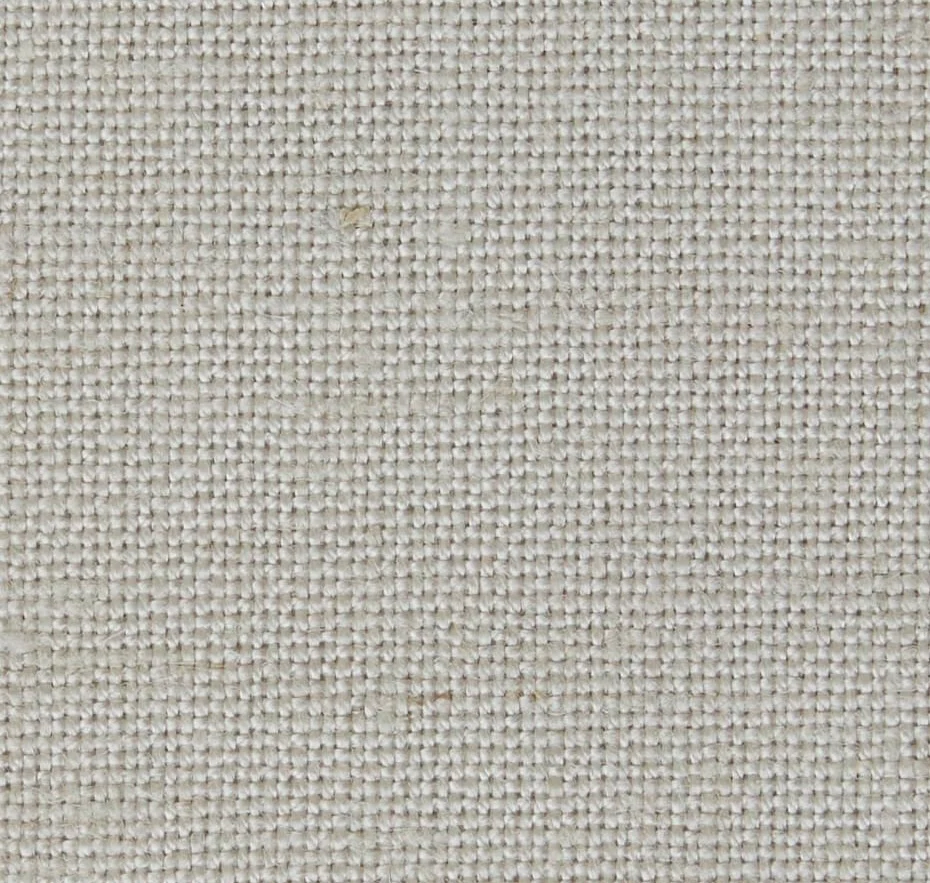
Limestone

Mist

Citrine

Magnolia Sheer

Parchment Sheer
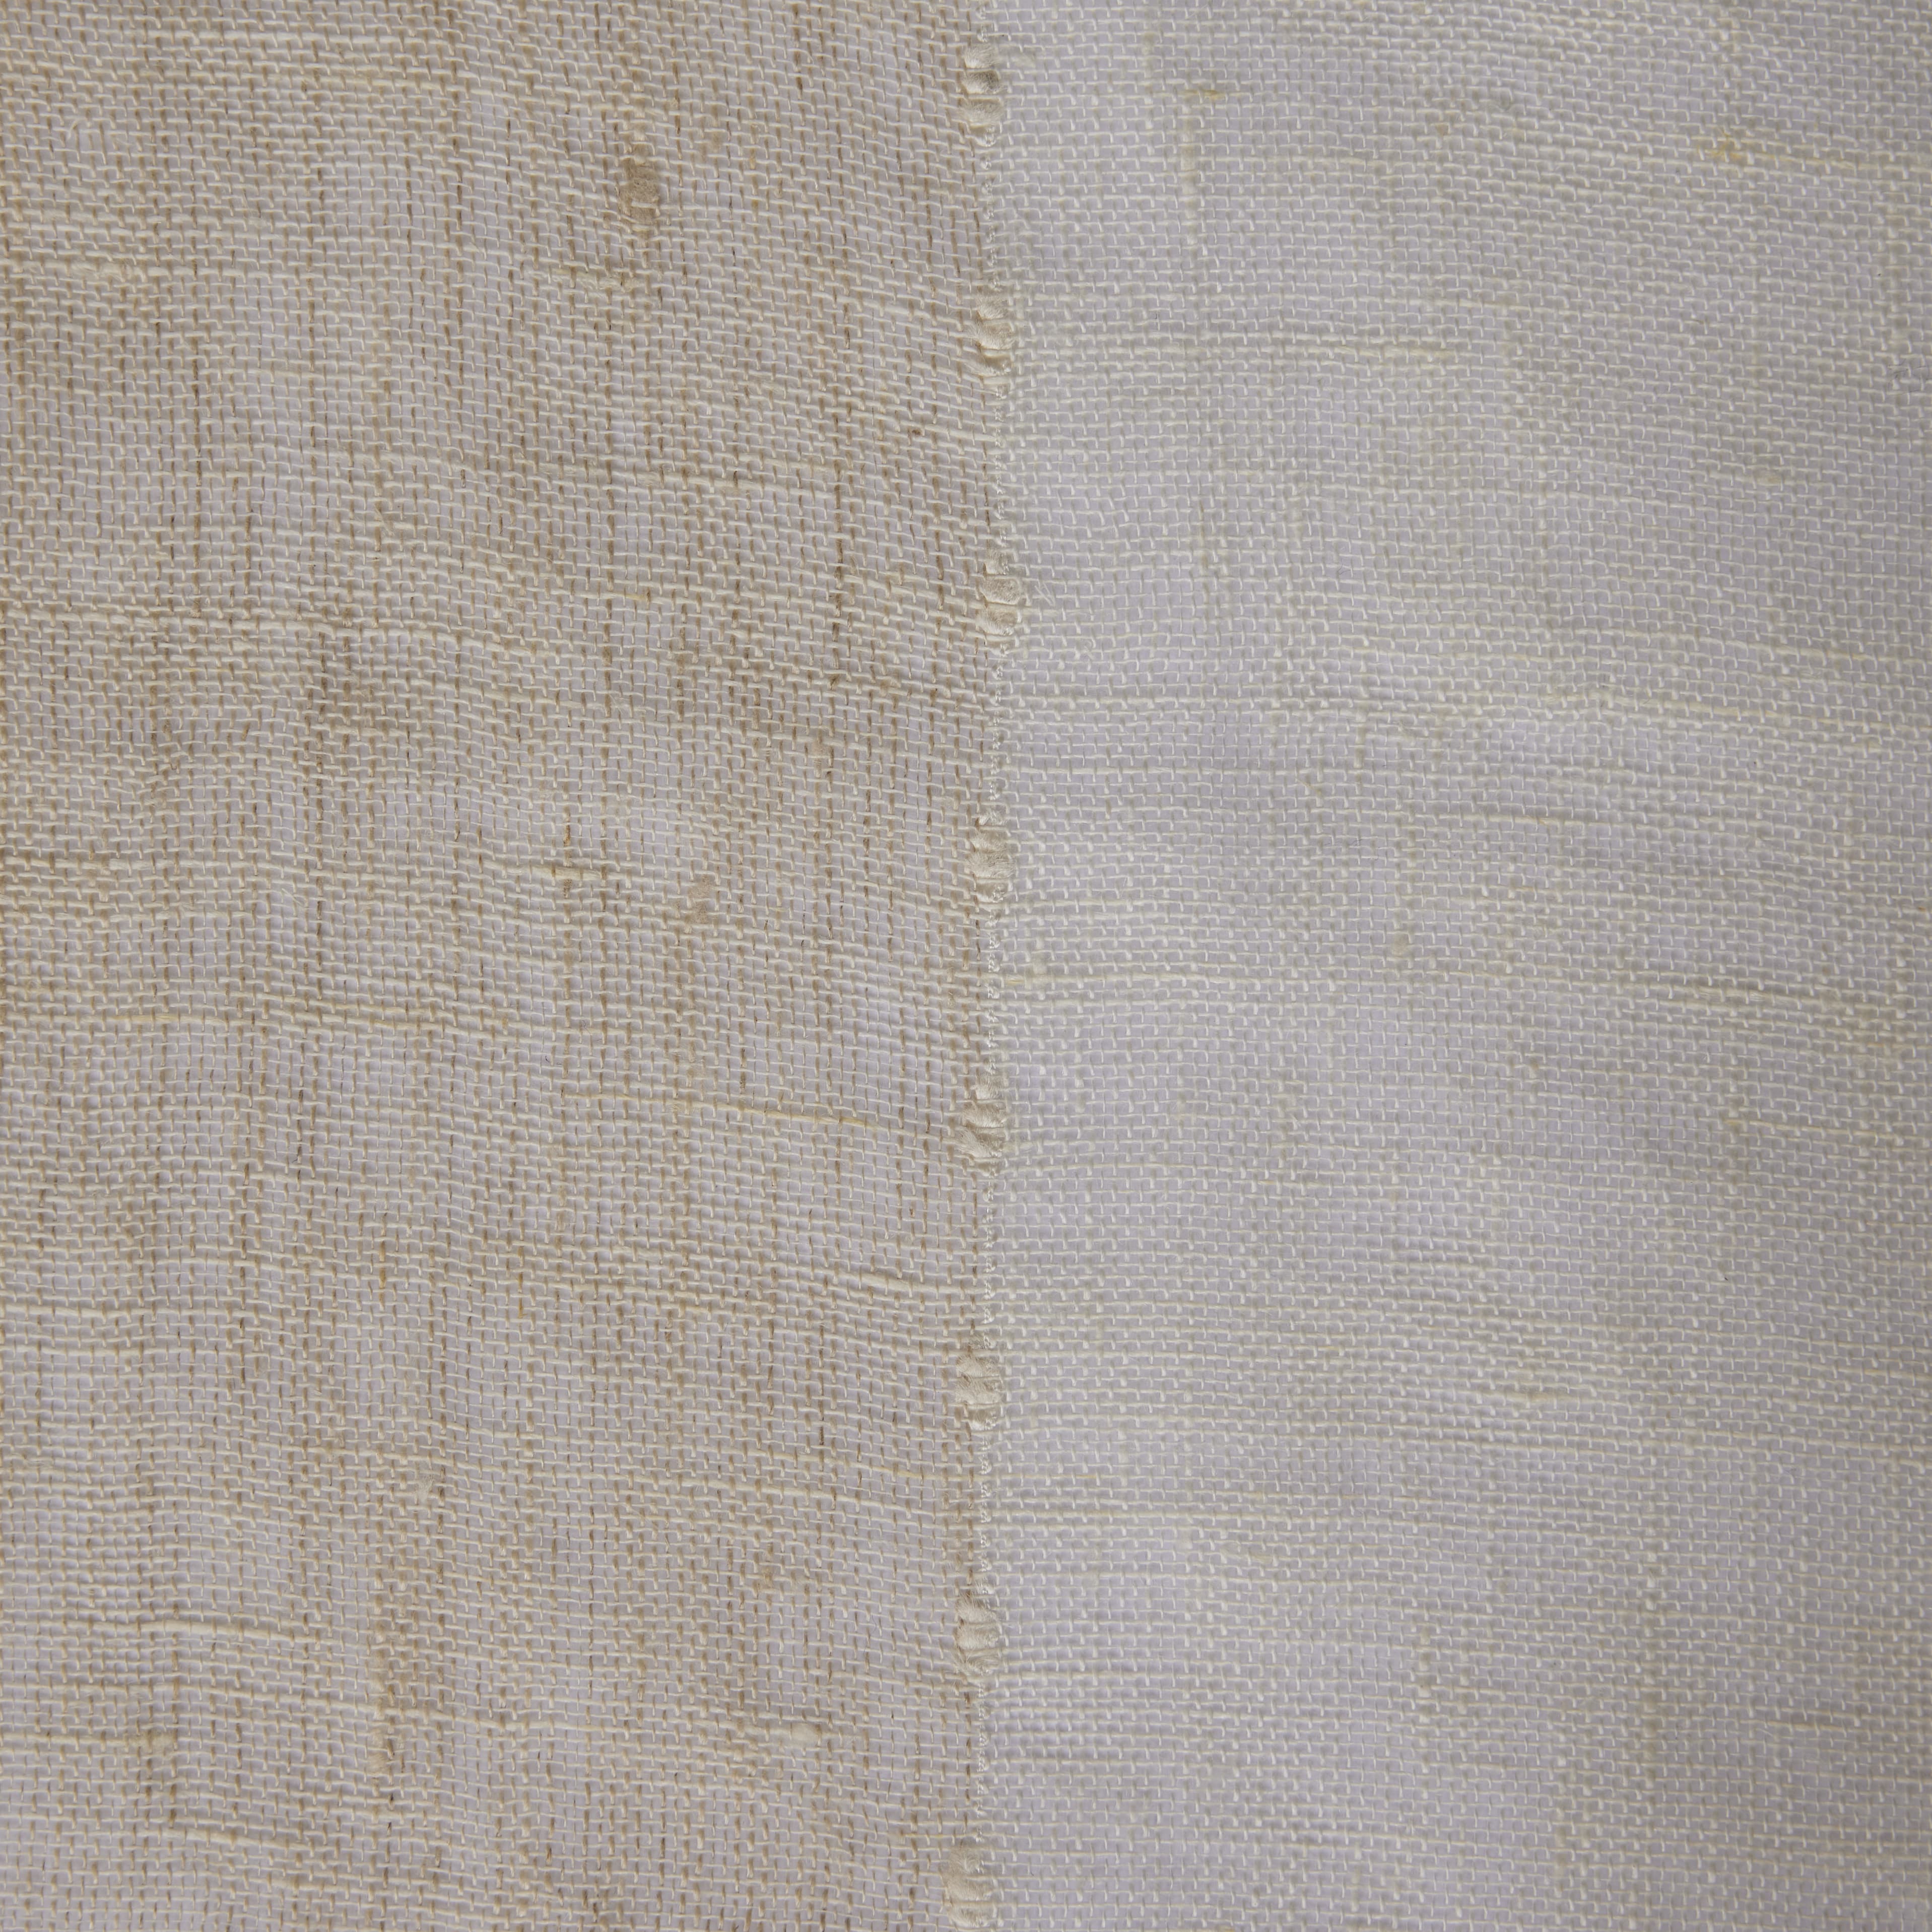
Parlor Stripe Sheer
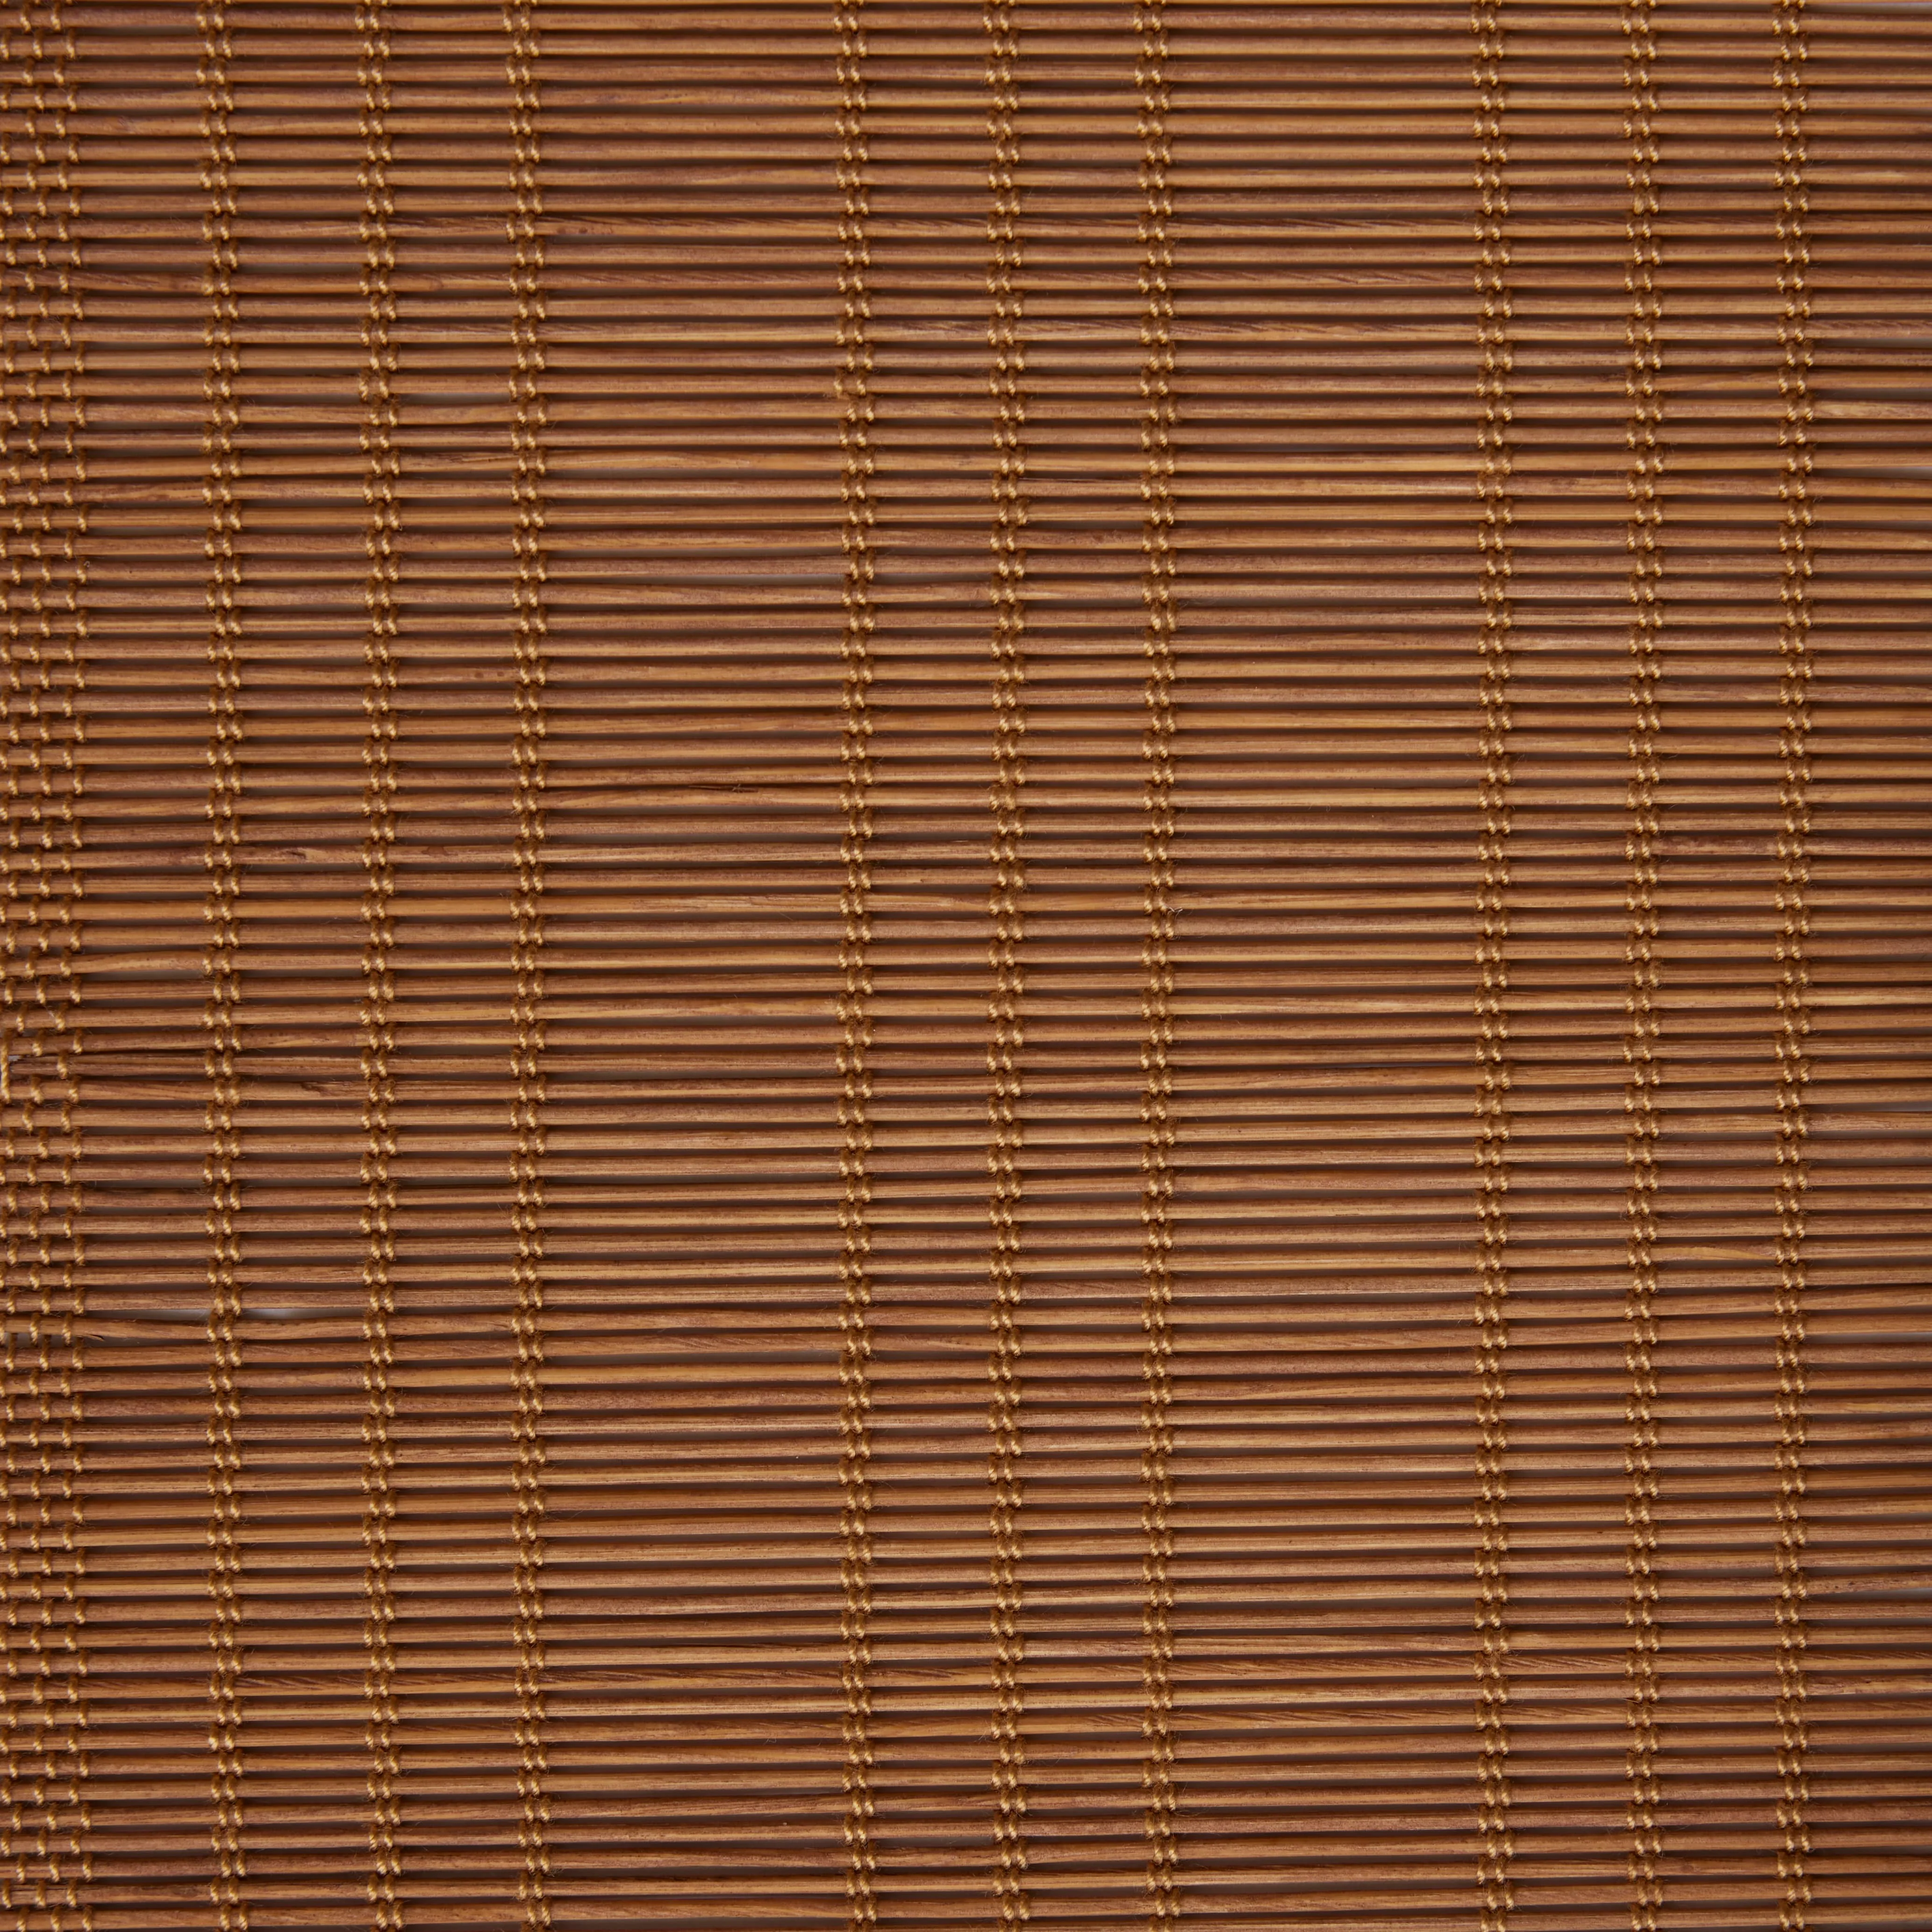
Sudare Kurumi
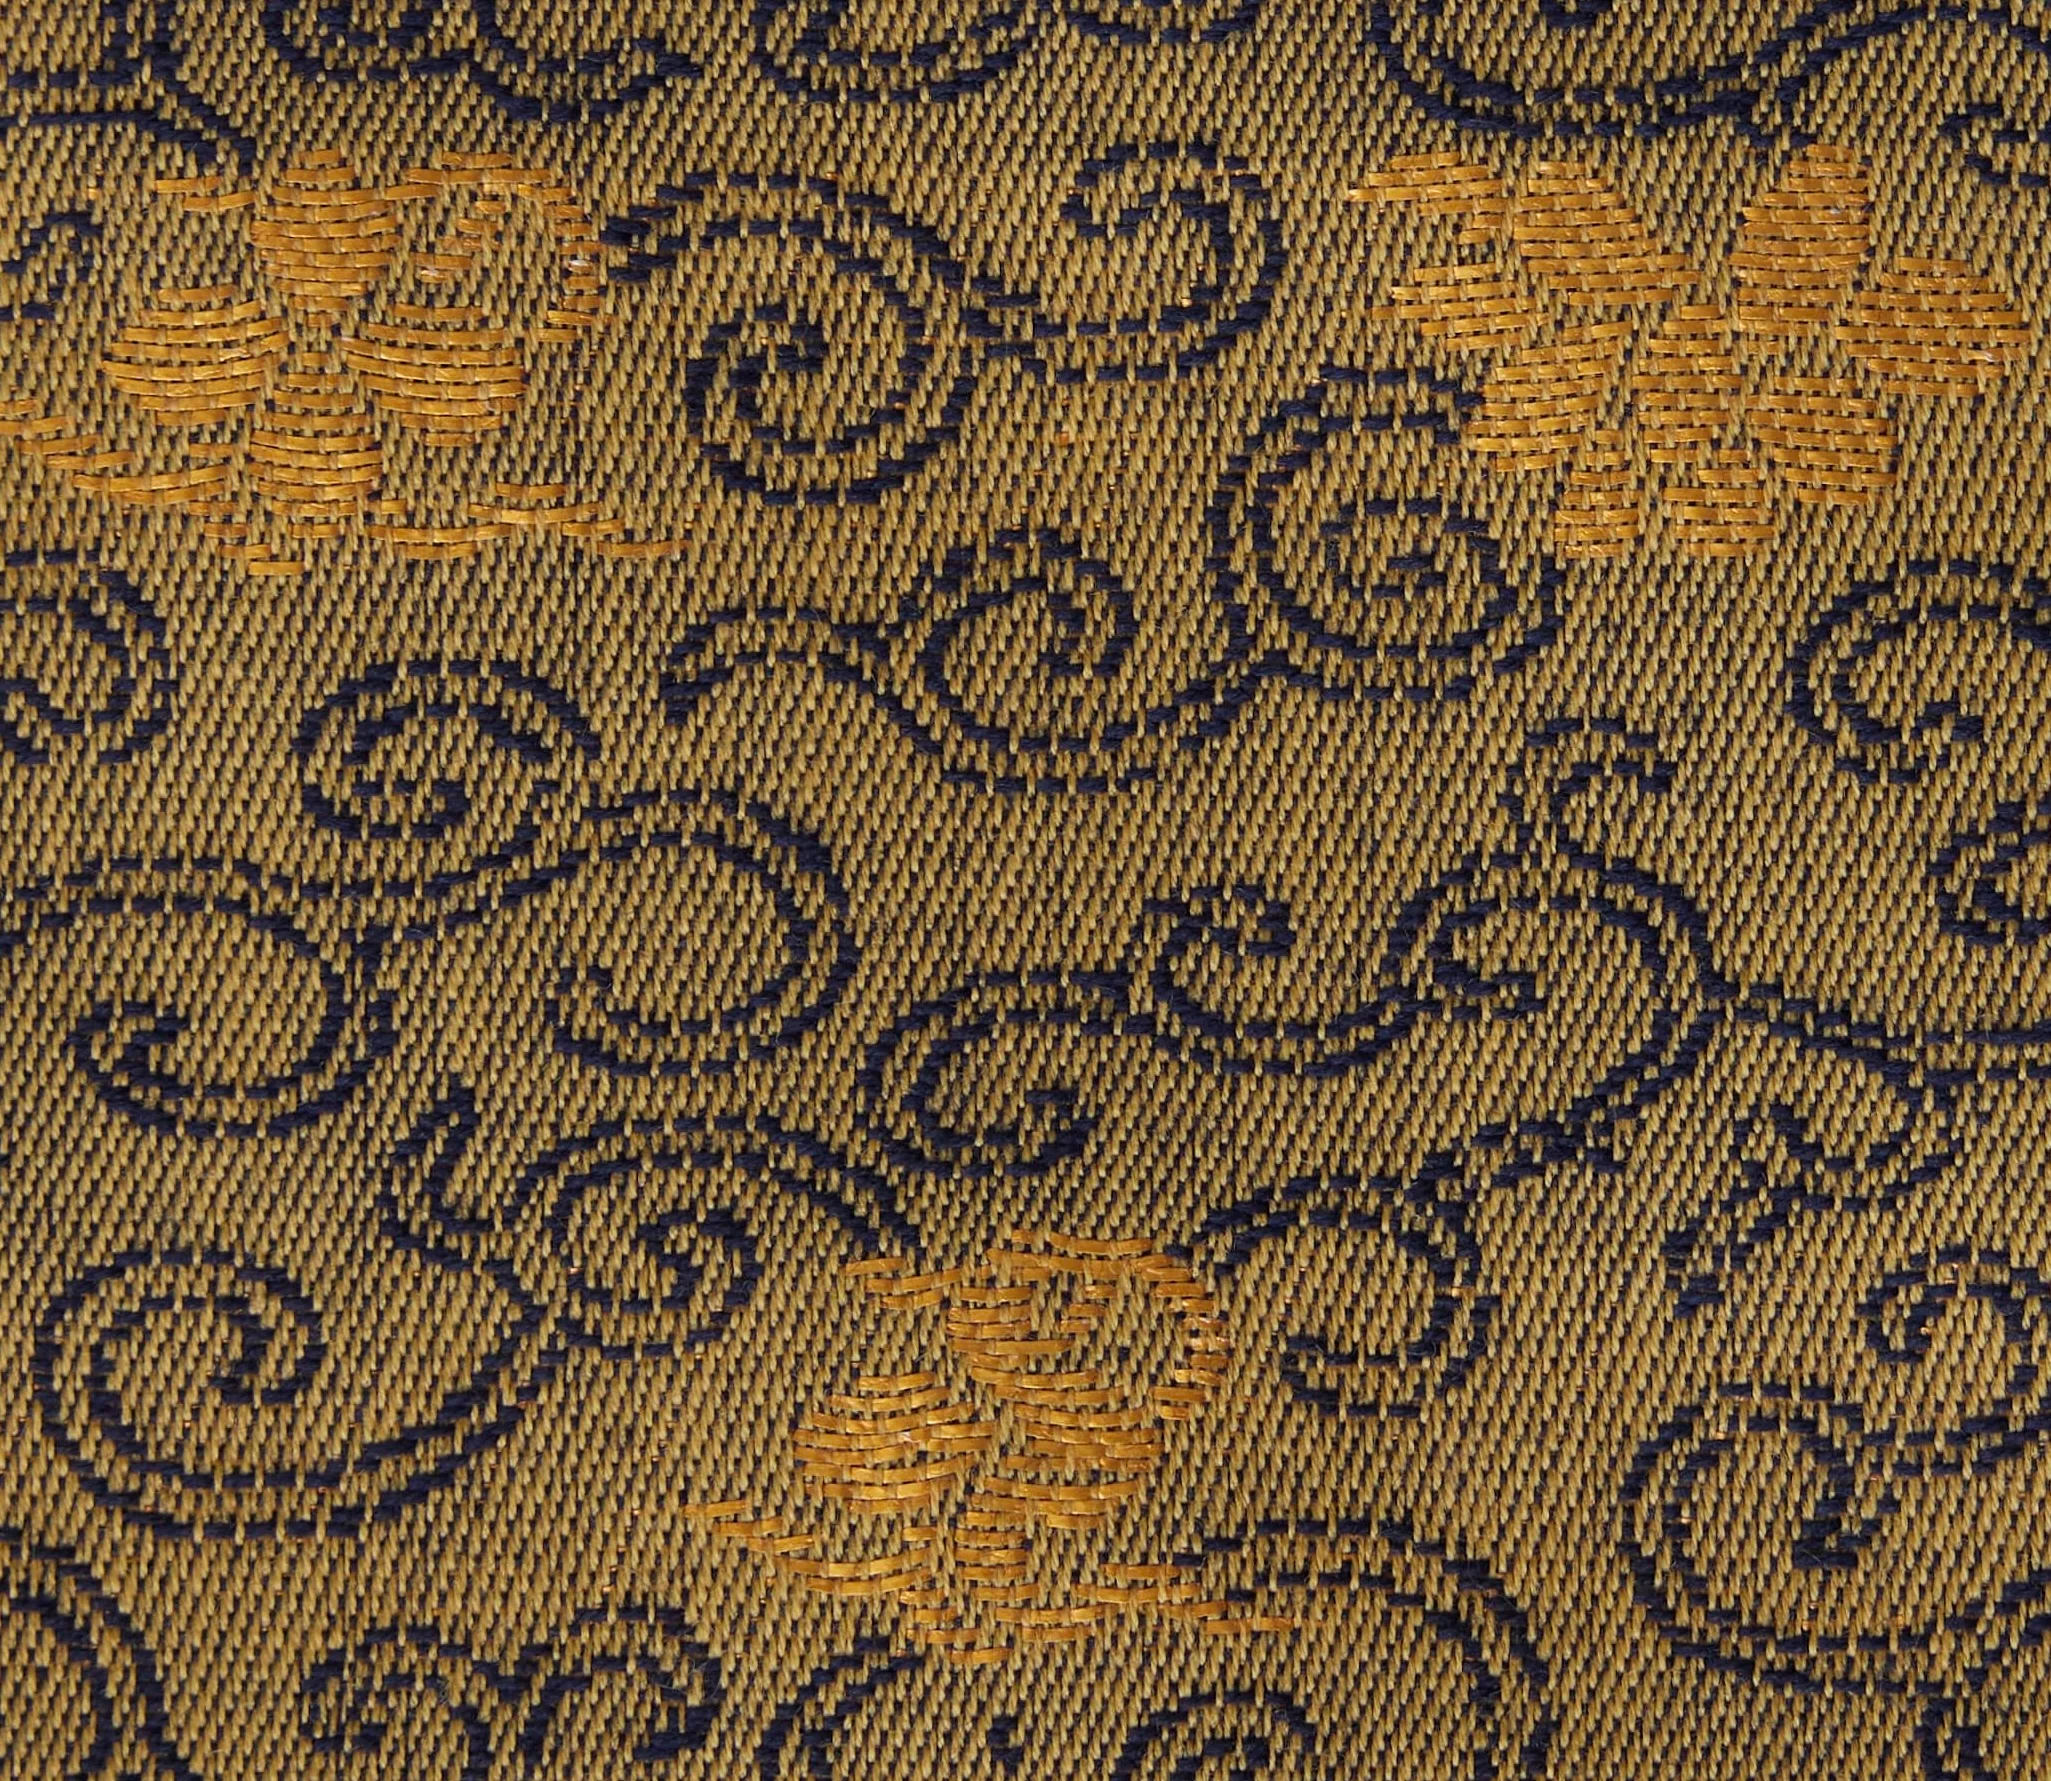
Lotus Trim
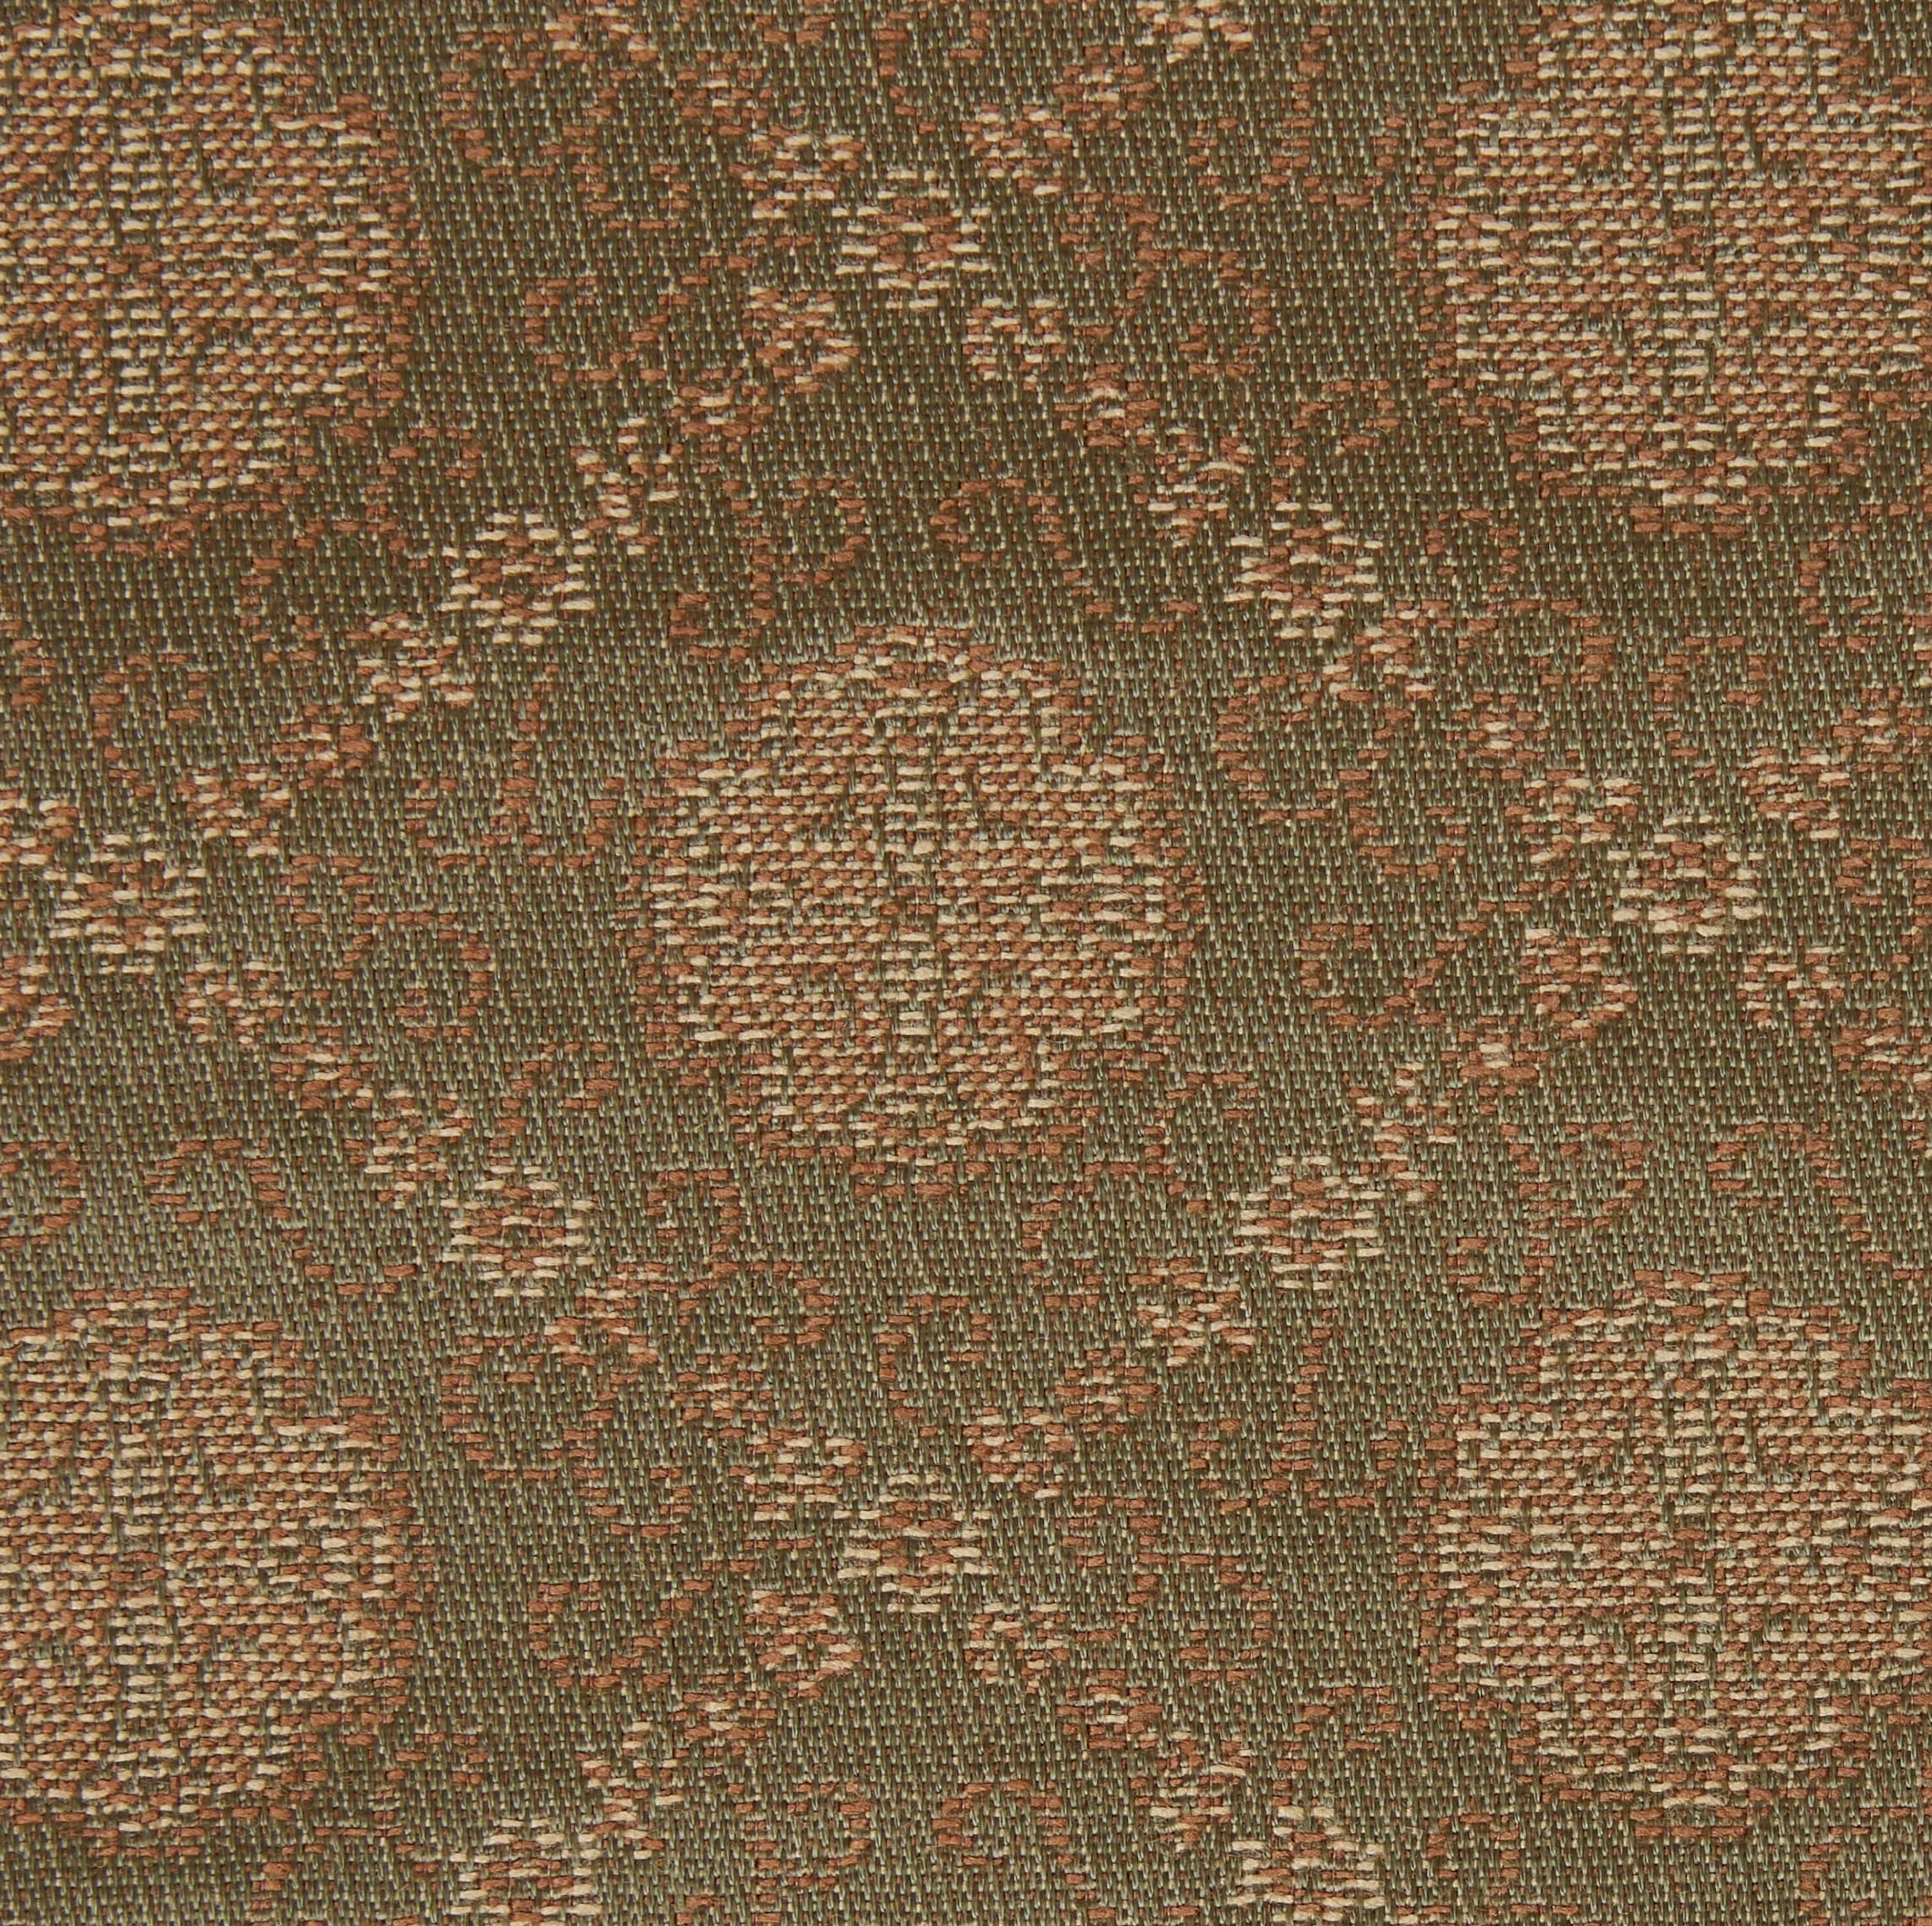
Medallion Trim
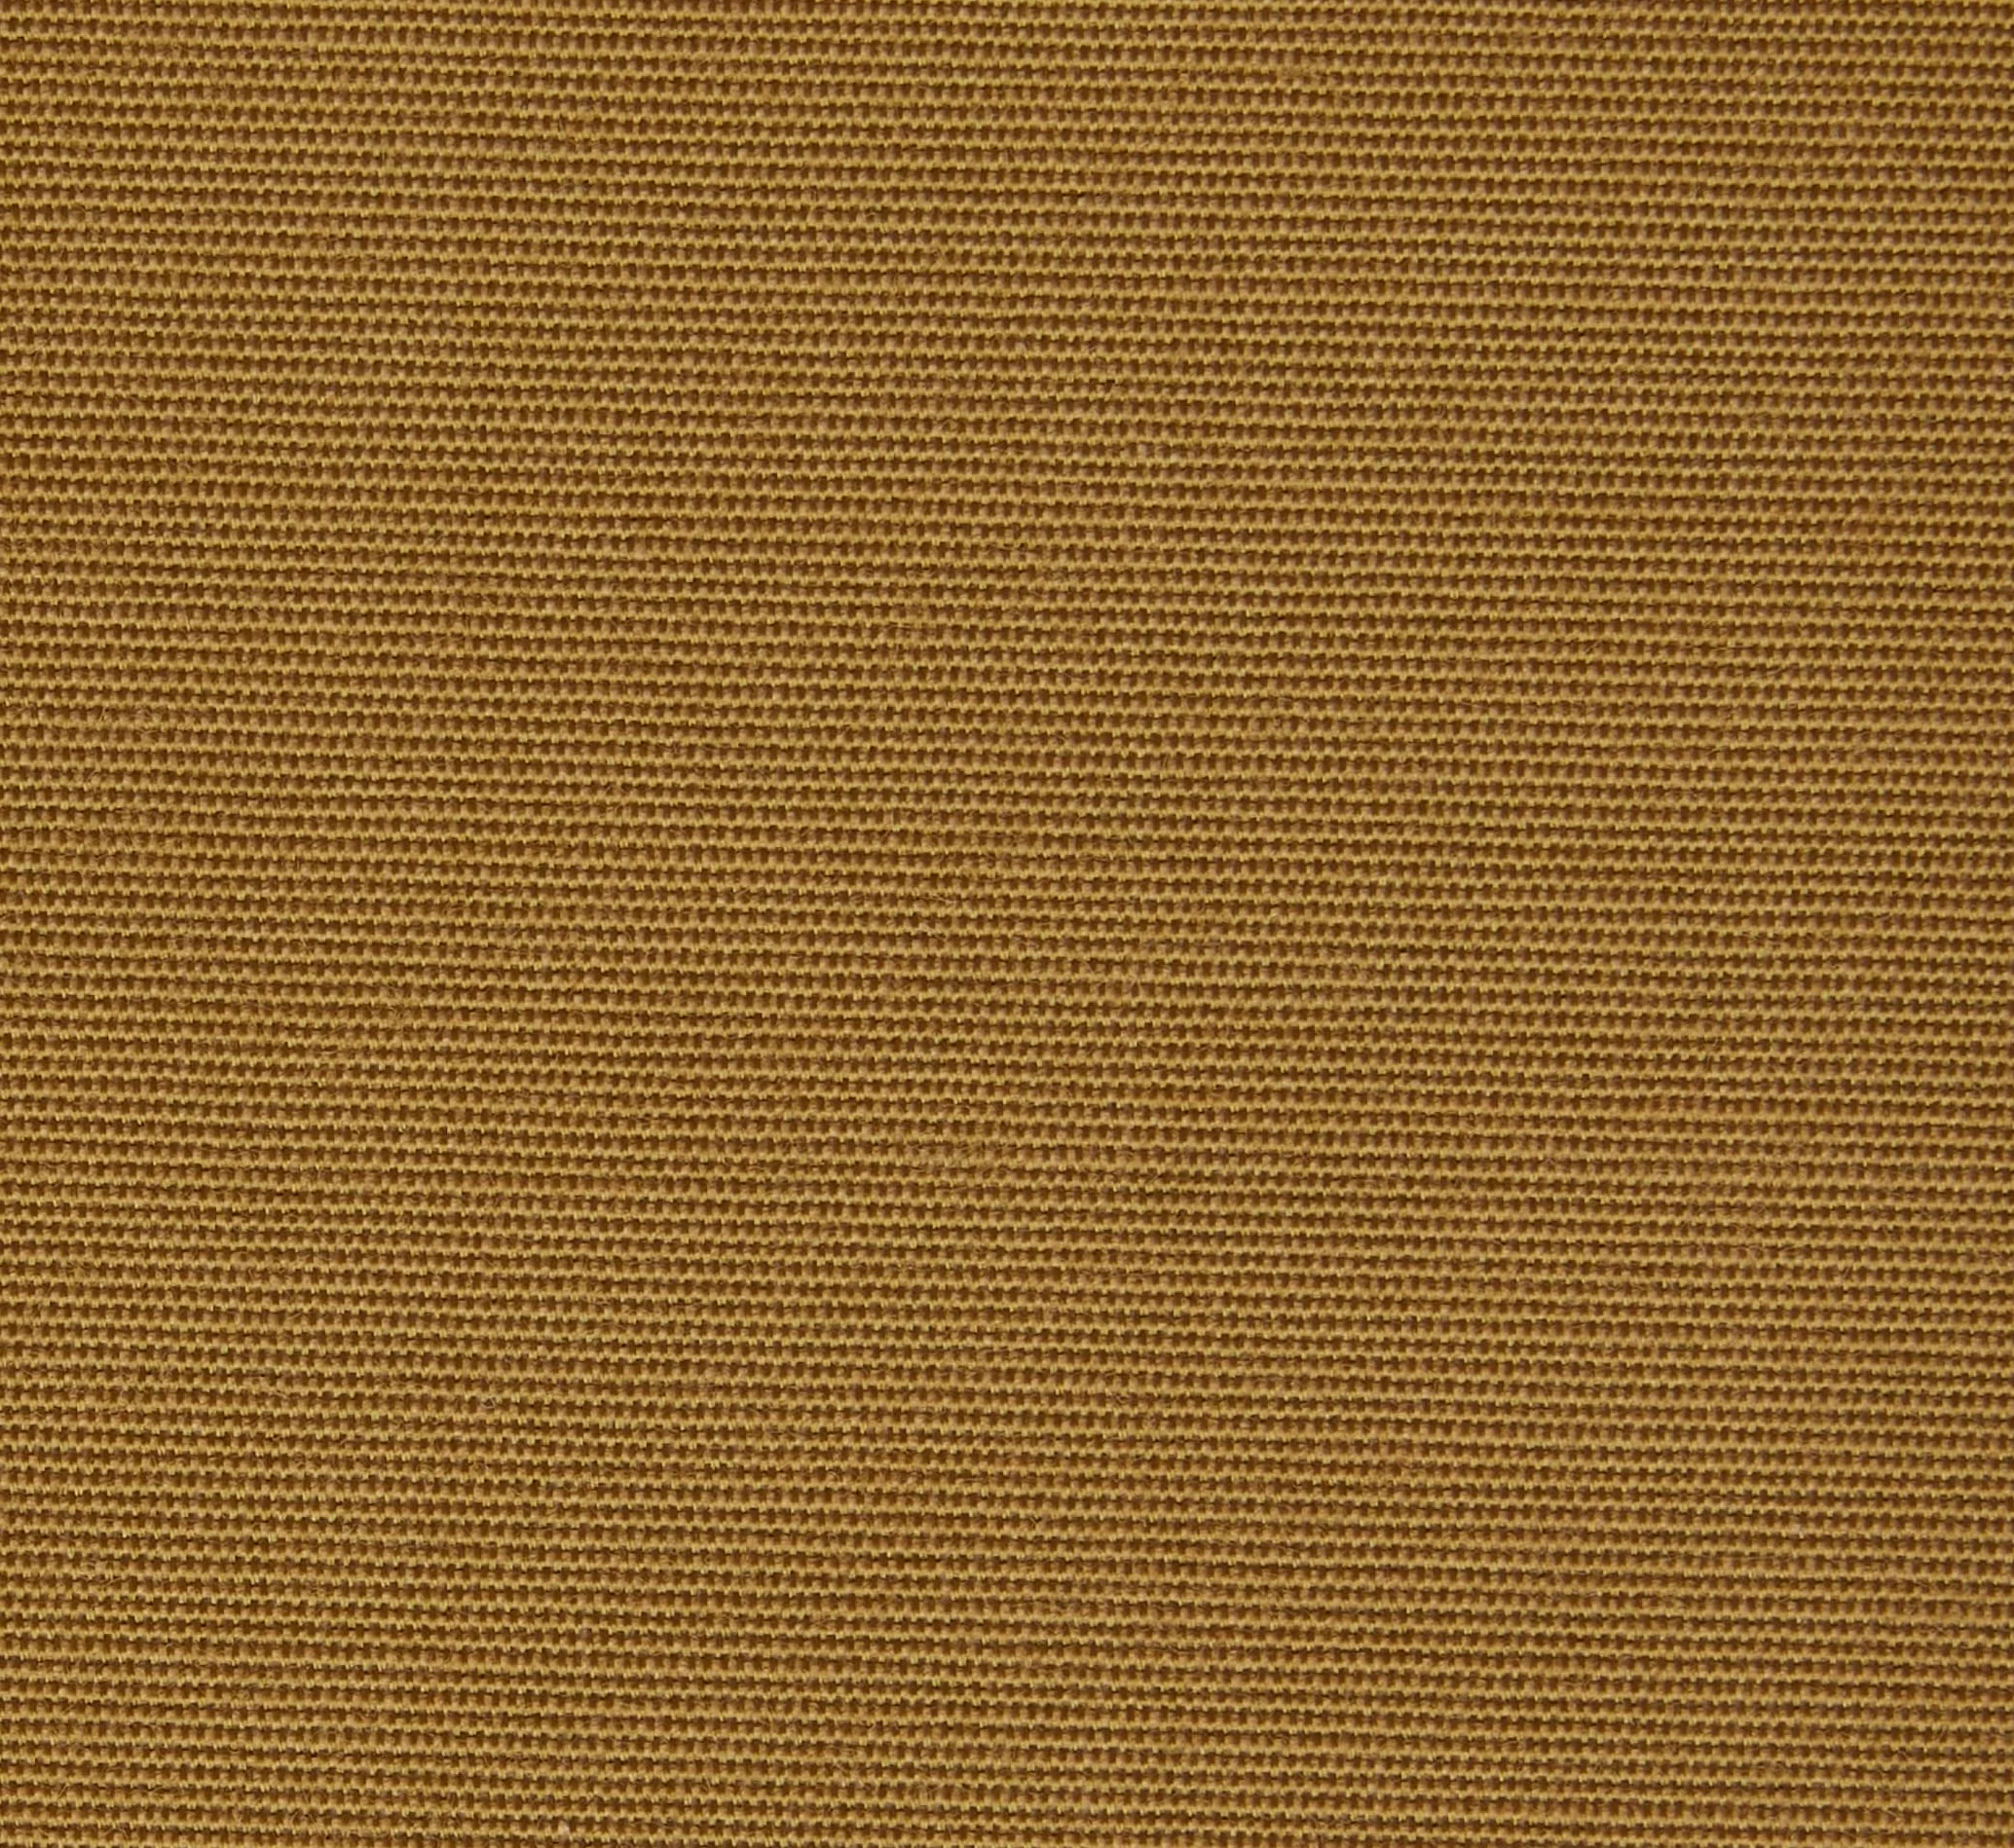
Willow Trim
Sheers
54% Linen, 32% Cotton, 14% Polyester
3 fabrics

Moon Sheer

Bone Sheer
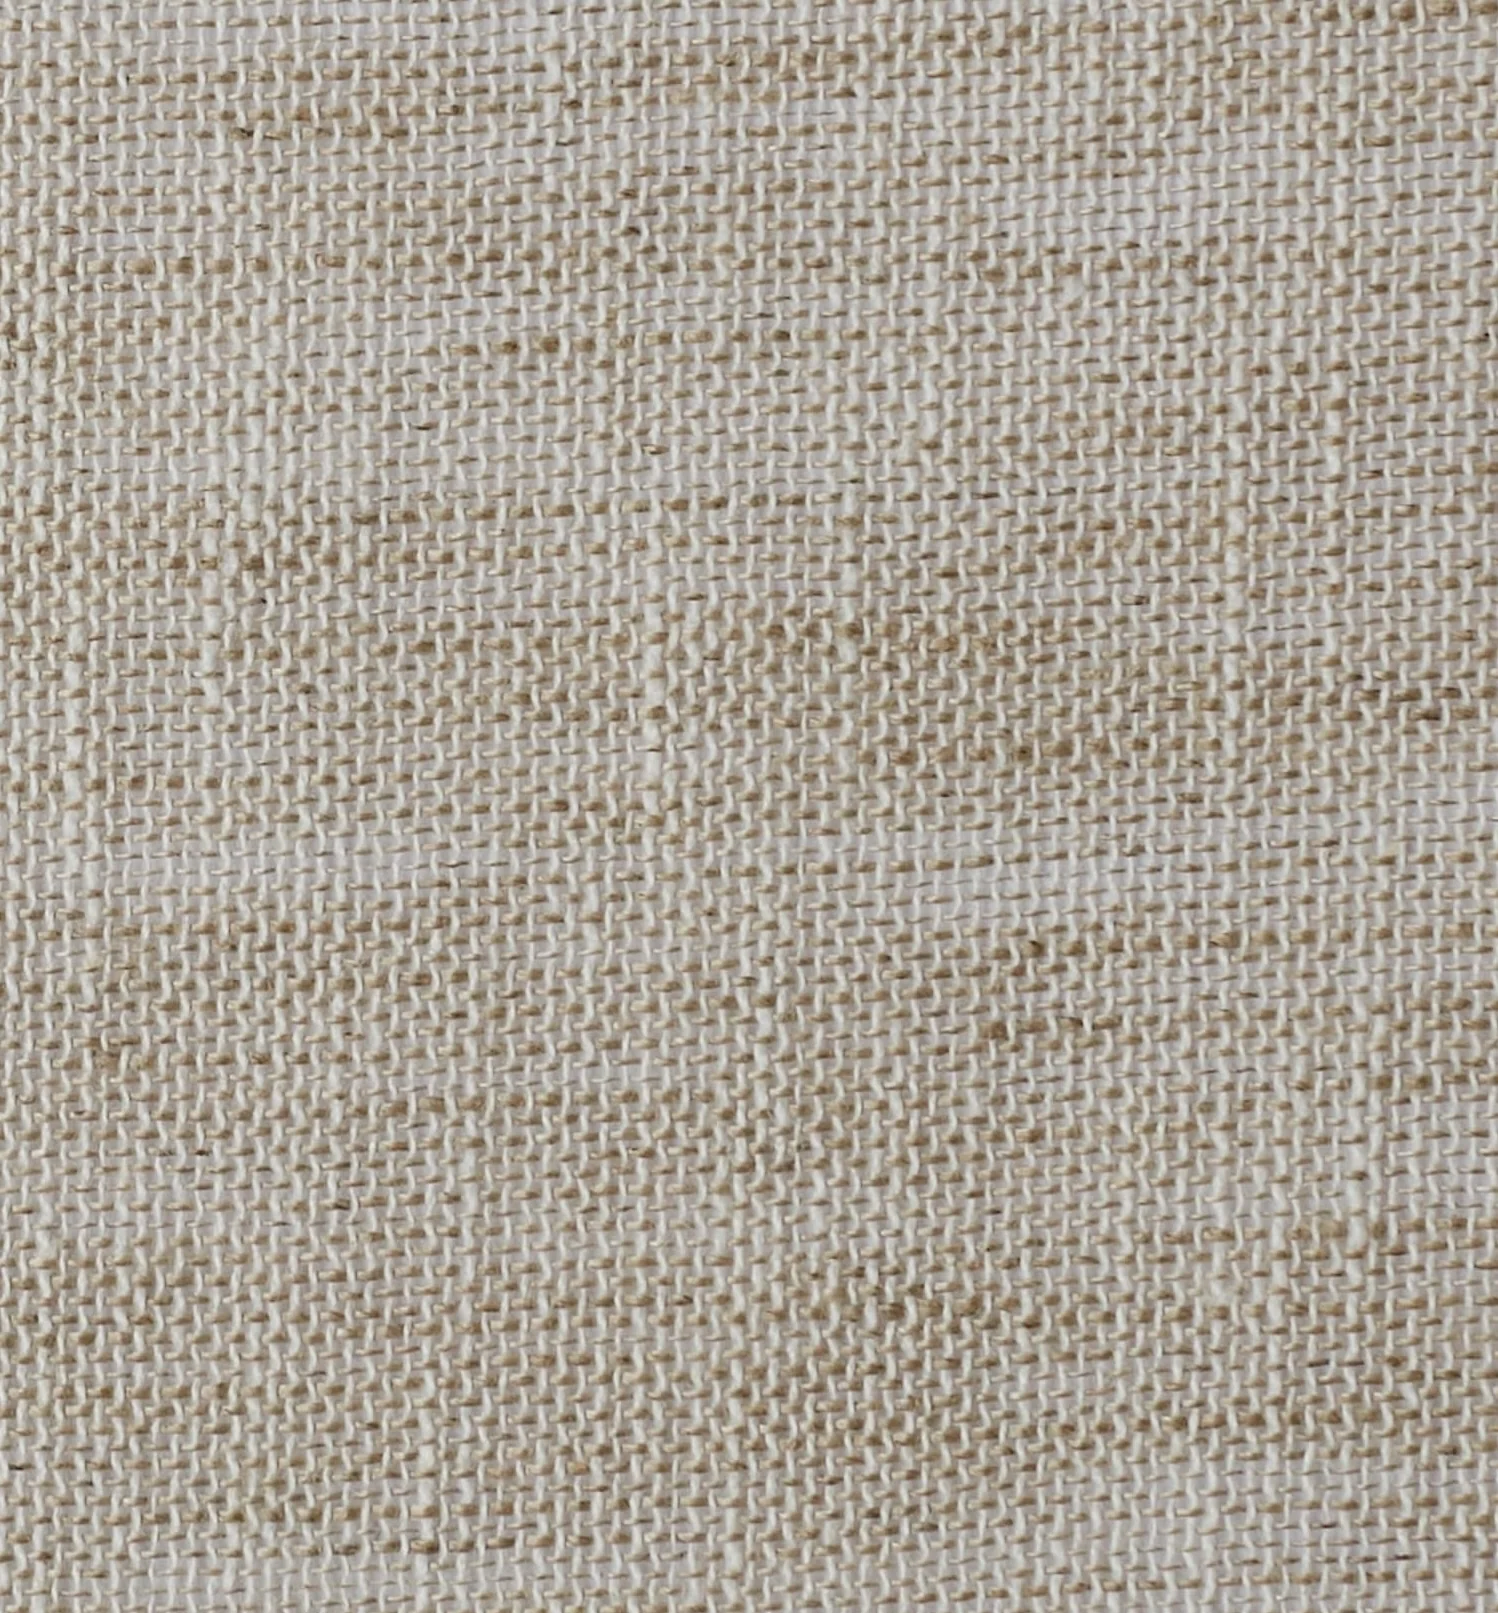
Pebble Sheer
Carly Kuhn Collection
95% Linen, 5% Cotton
4 fabrics
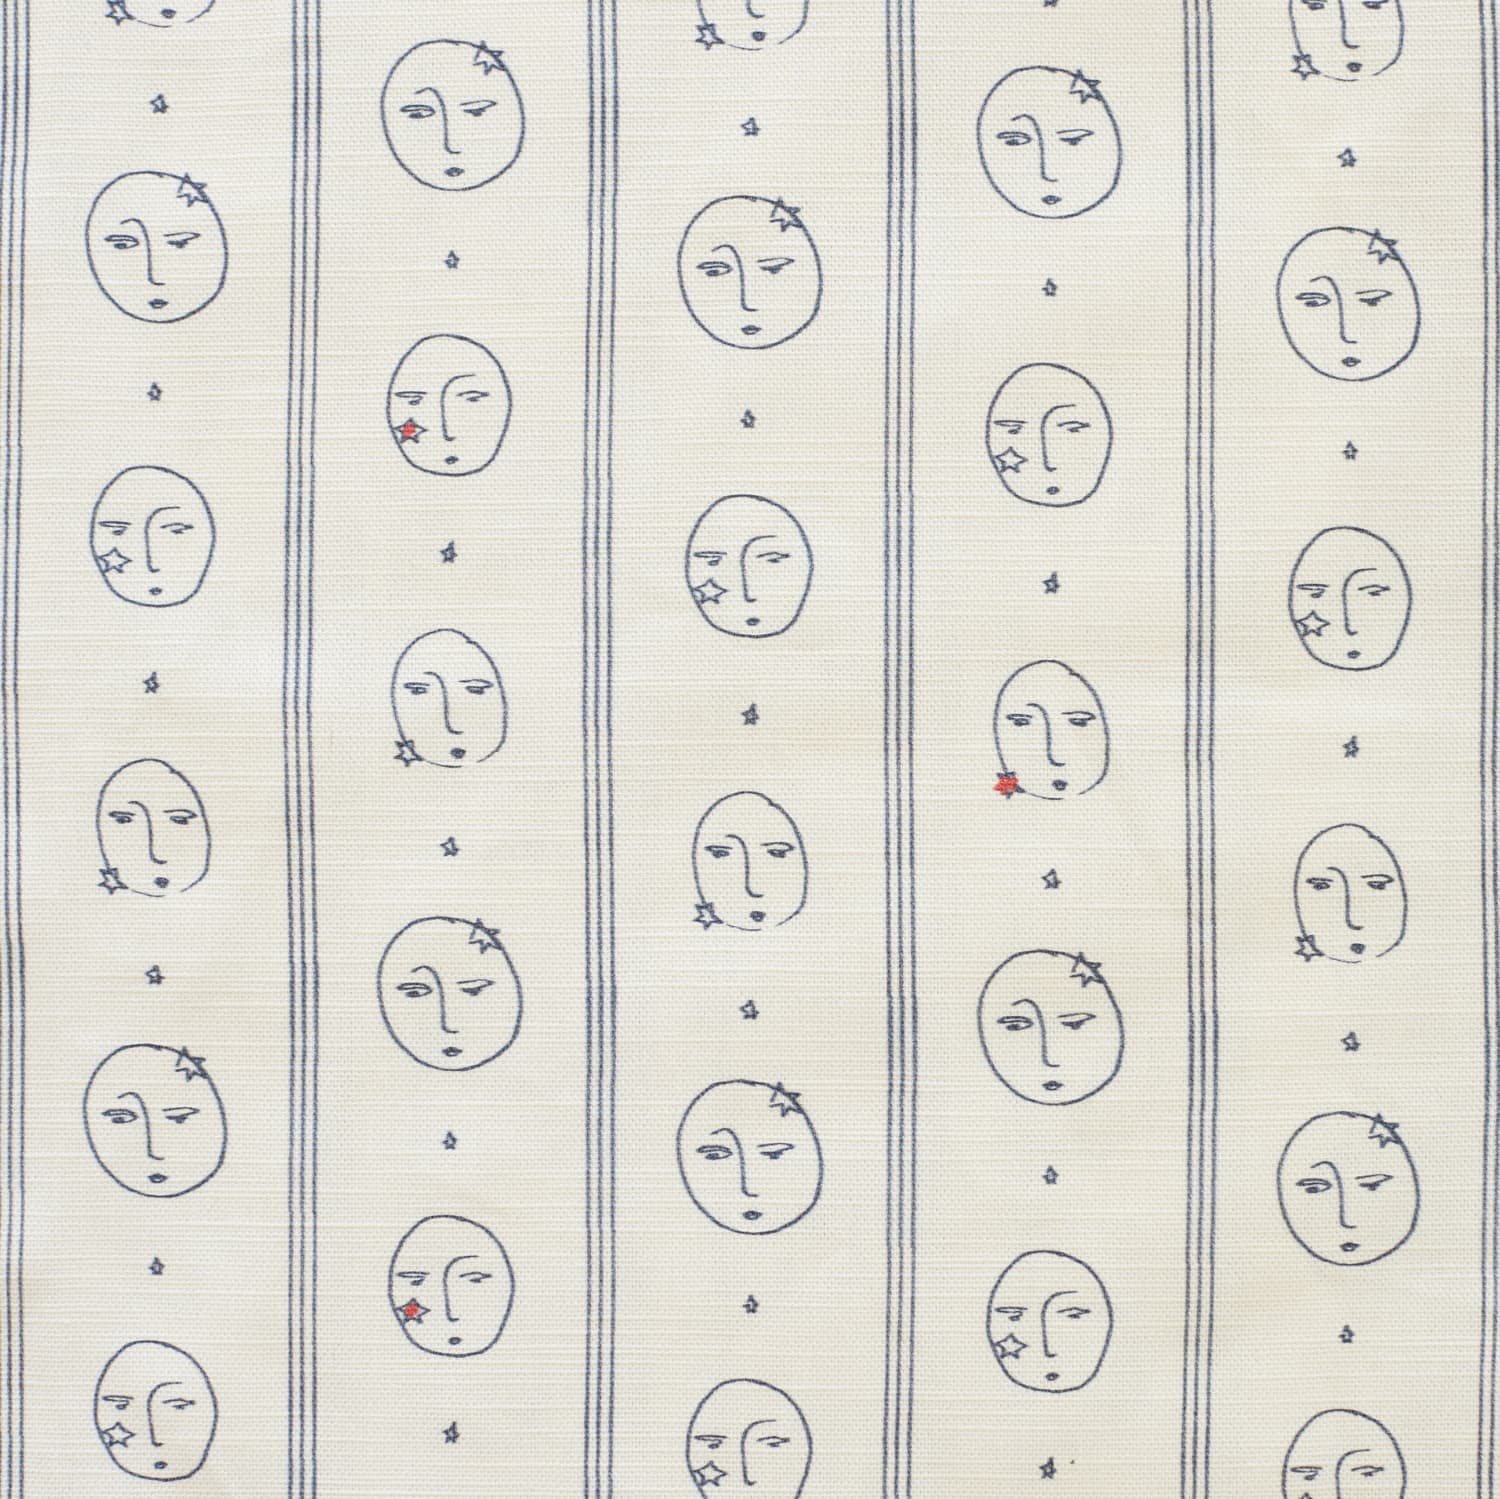
Starry Moons
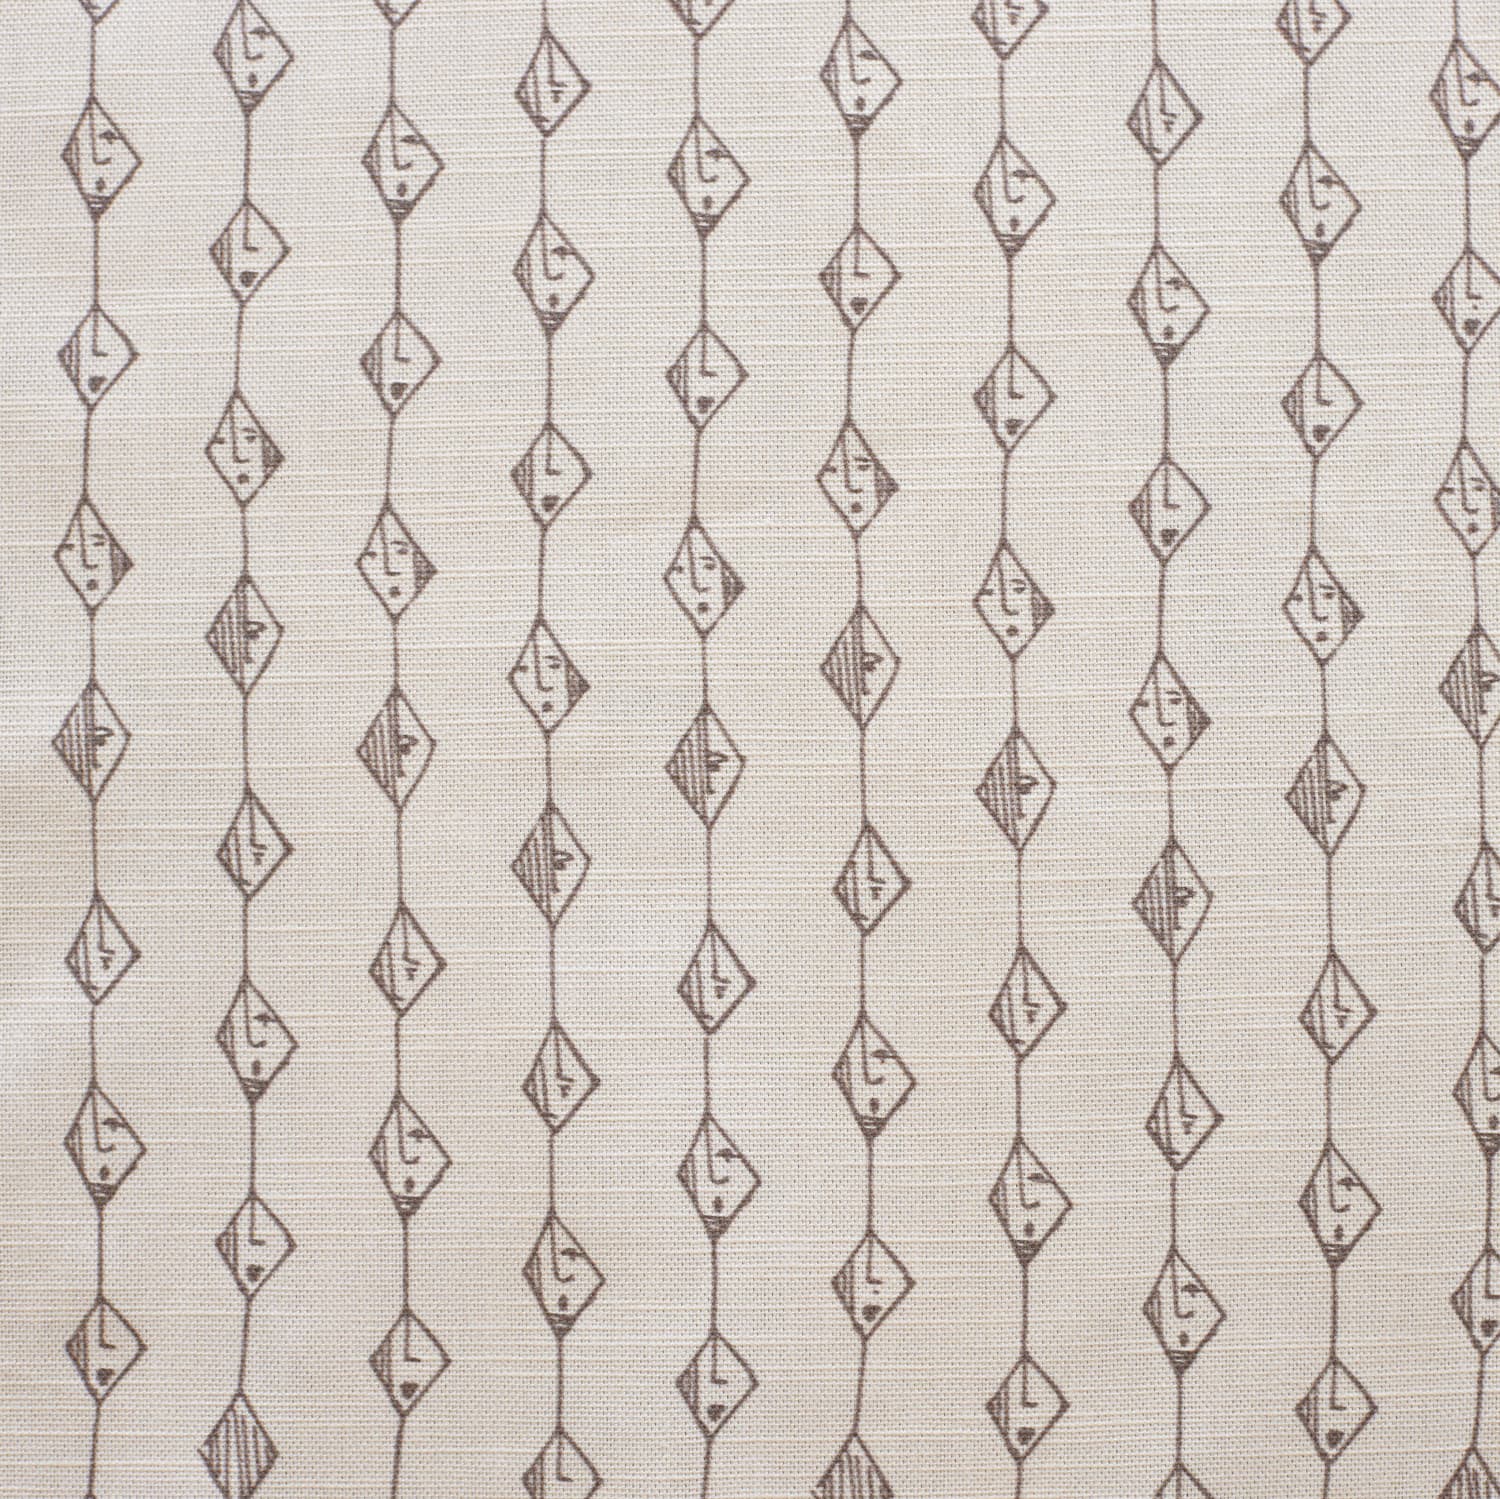
Winking Diamonds
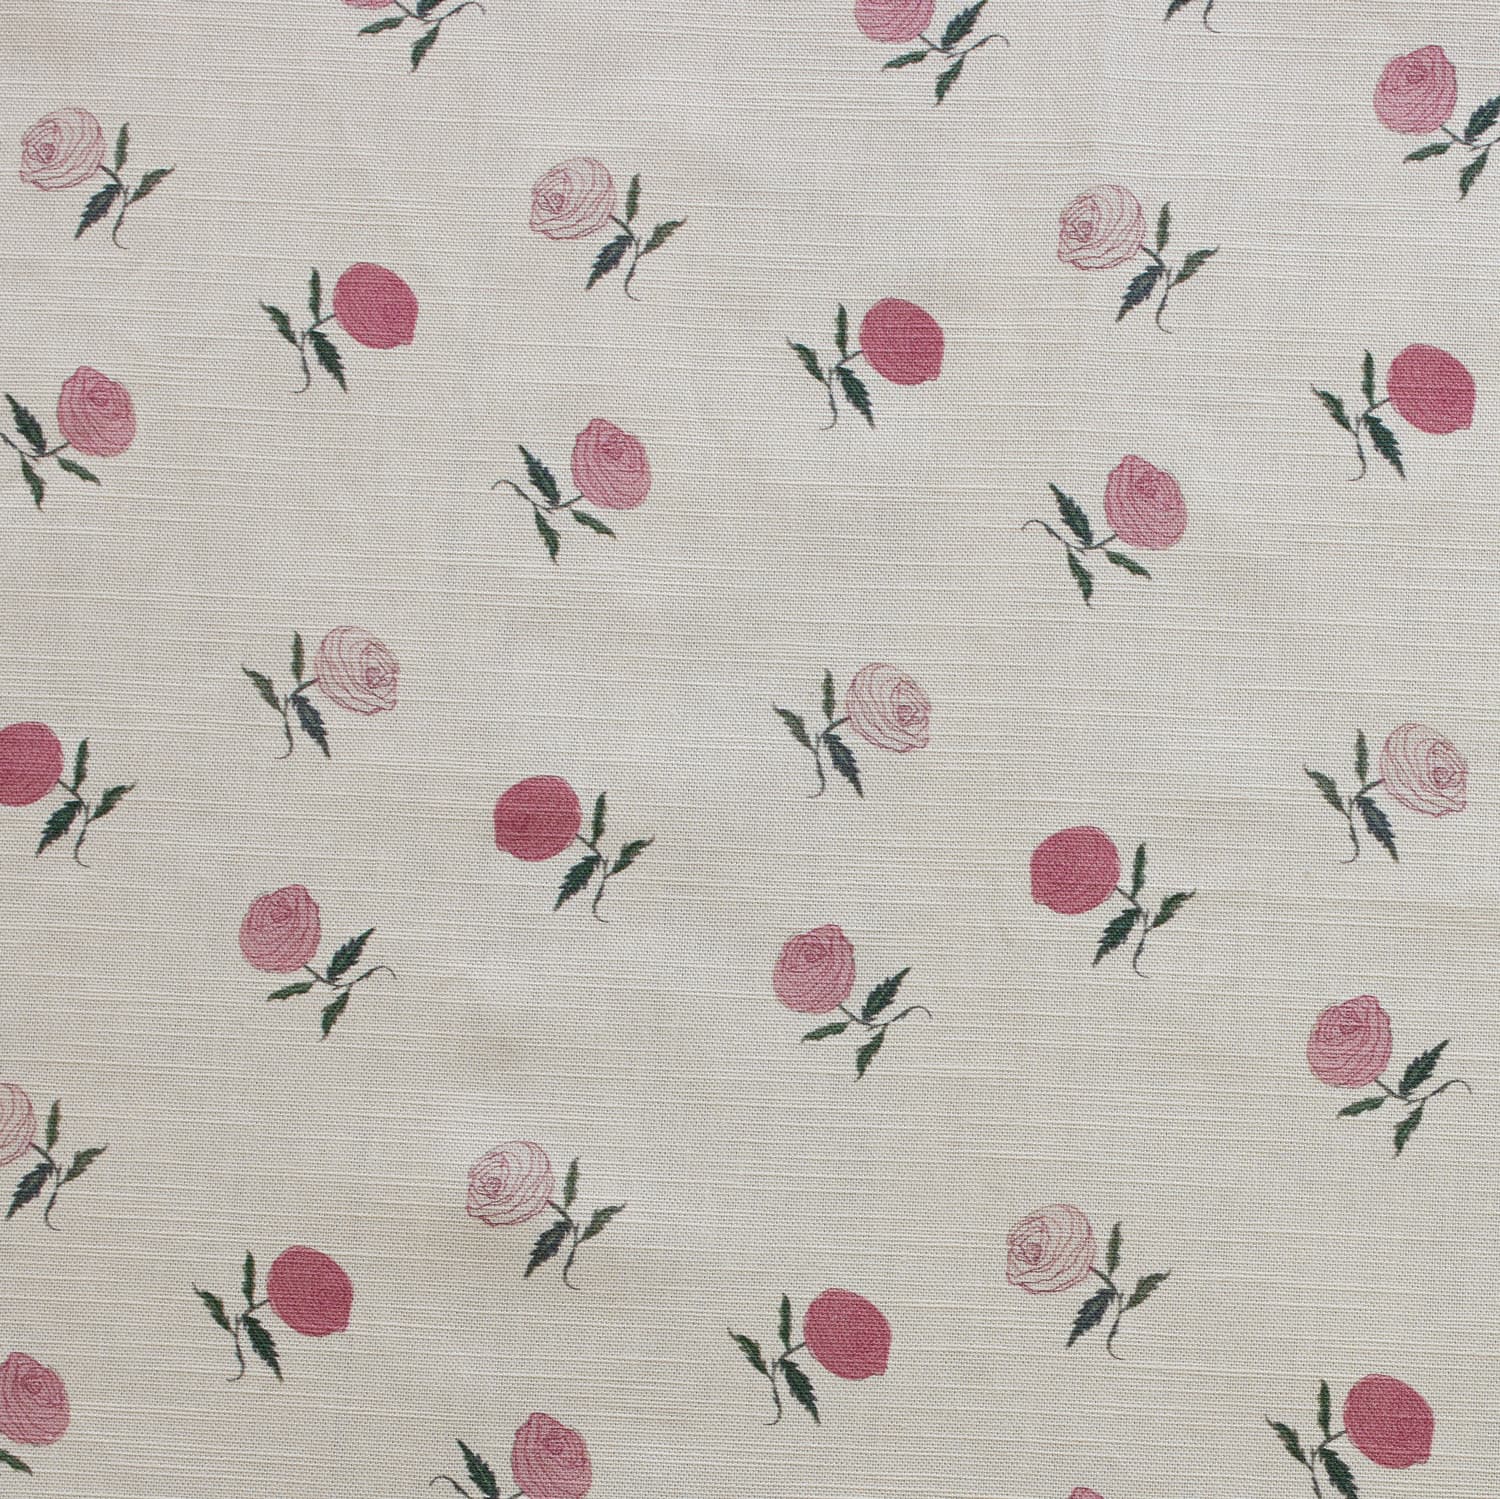
Dainty Rose
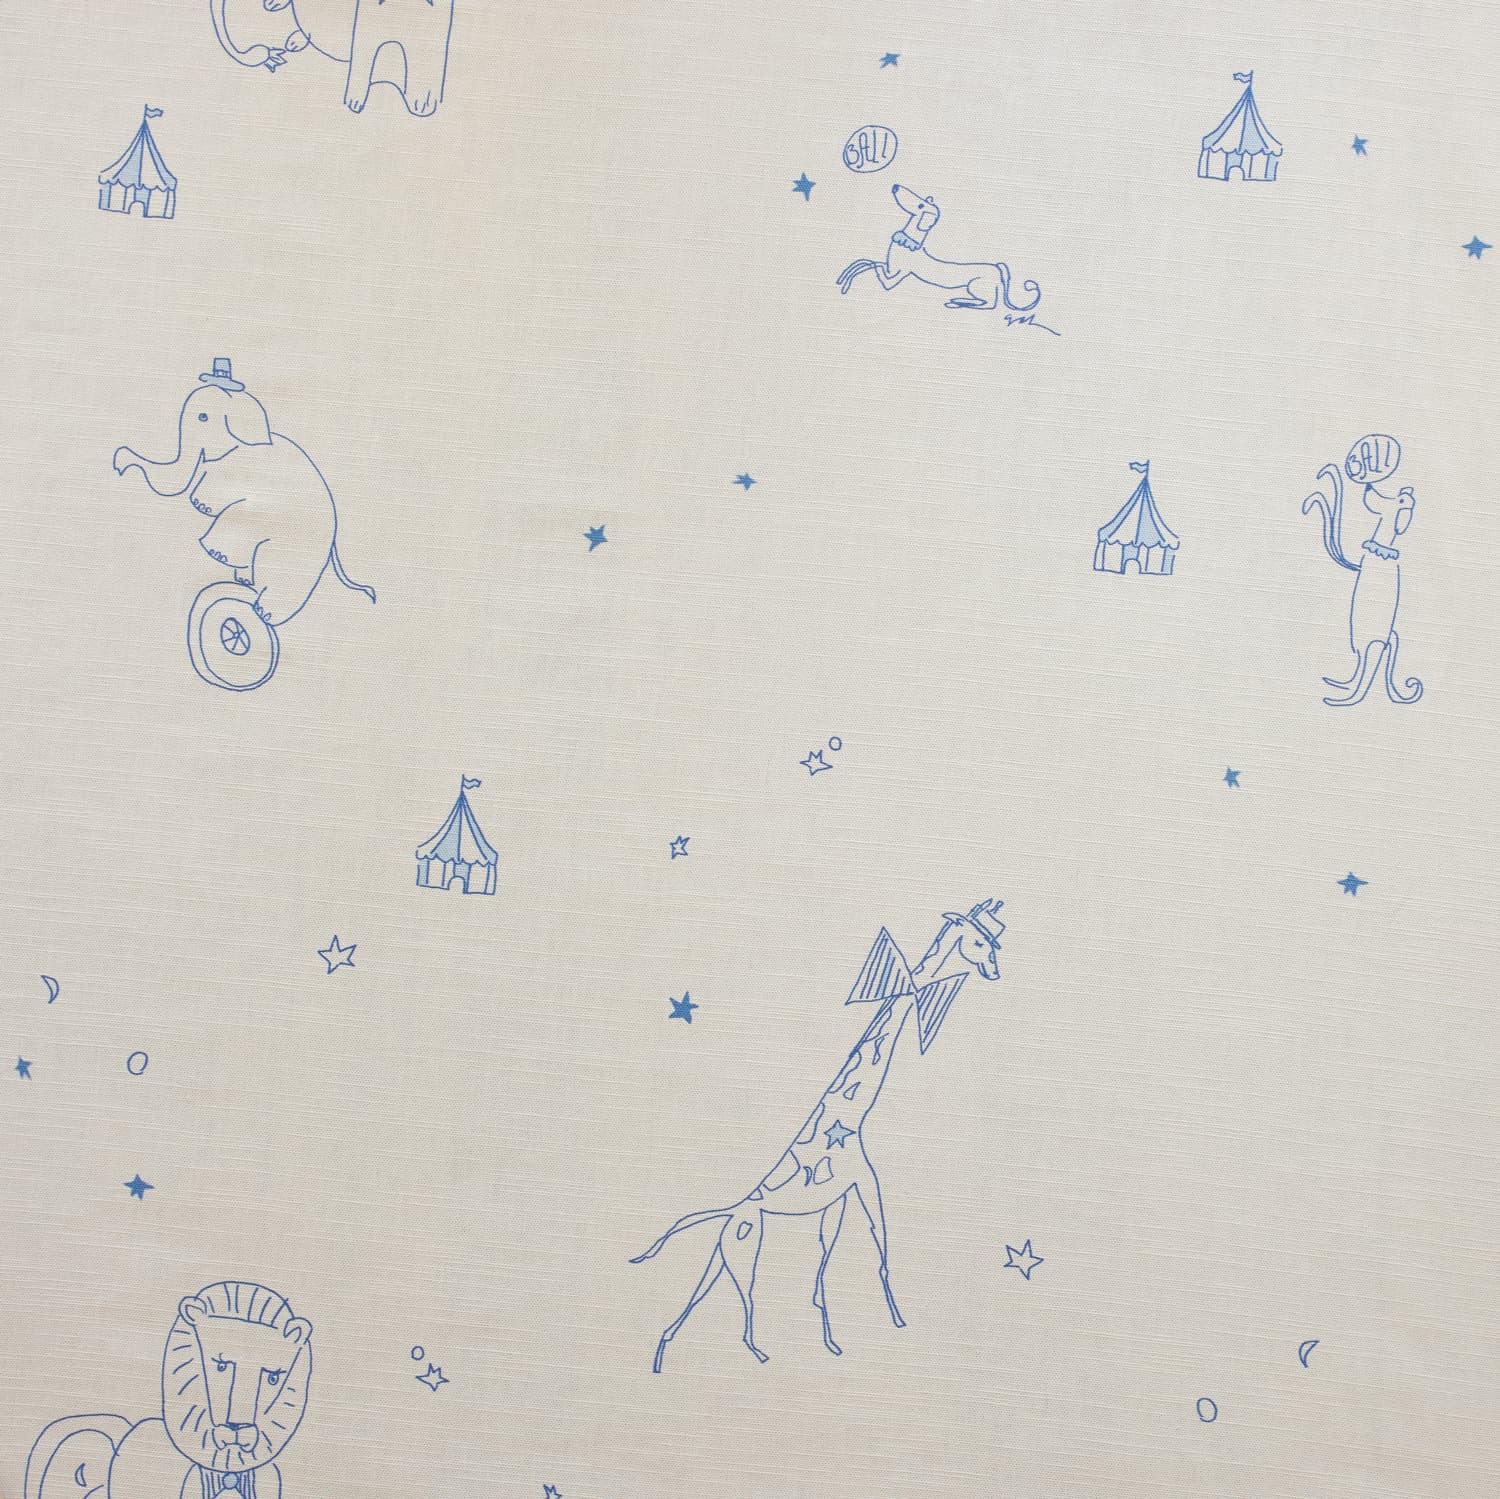
Circus Circus
03 — Lining
Lining determines how much light moves through your shade. Choose based on the function of your space, how it's used, and how much privacy and light control you want.
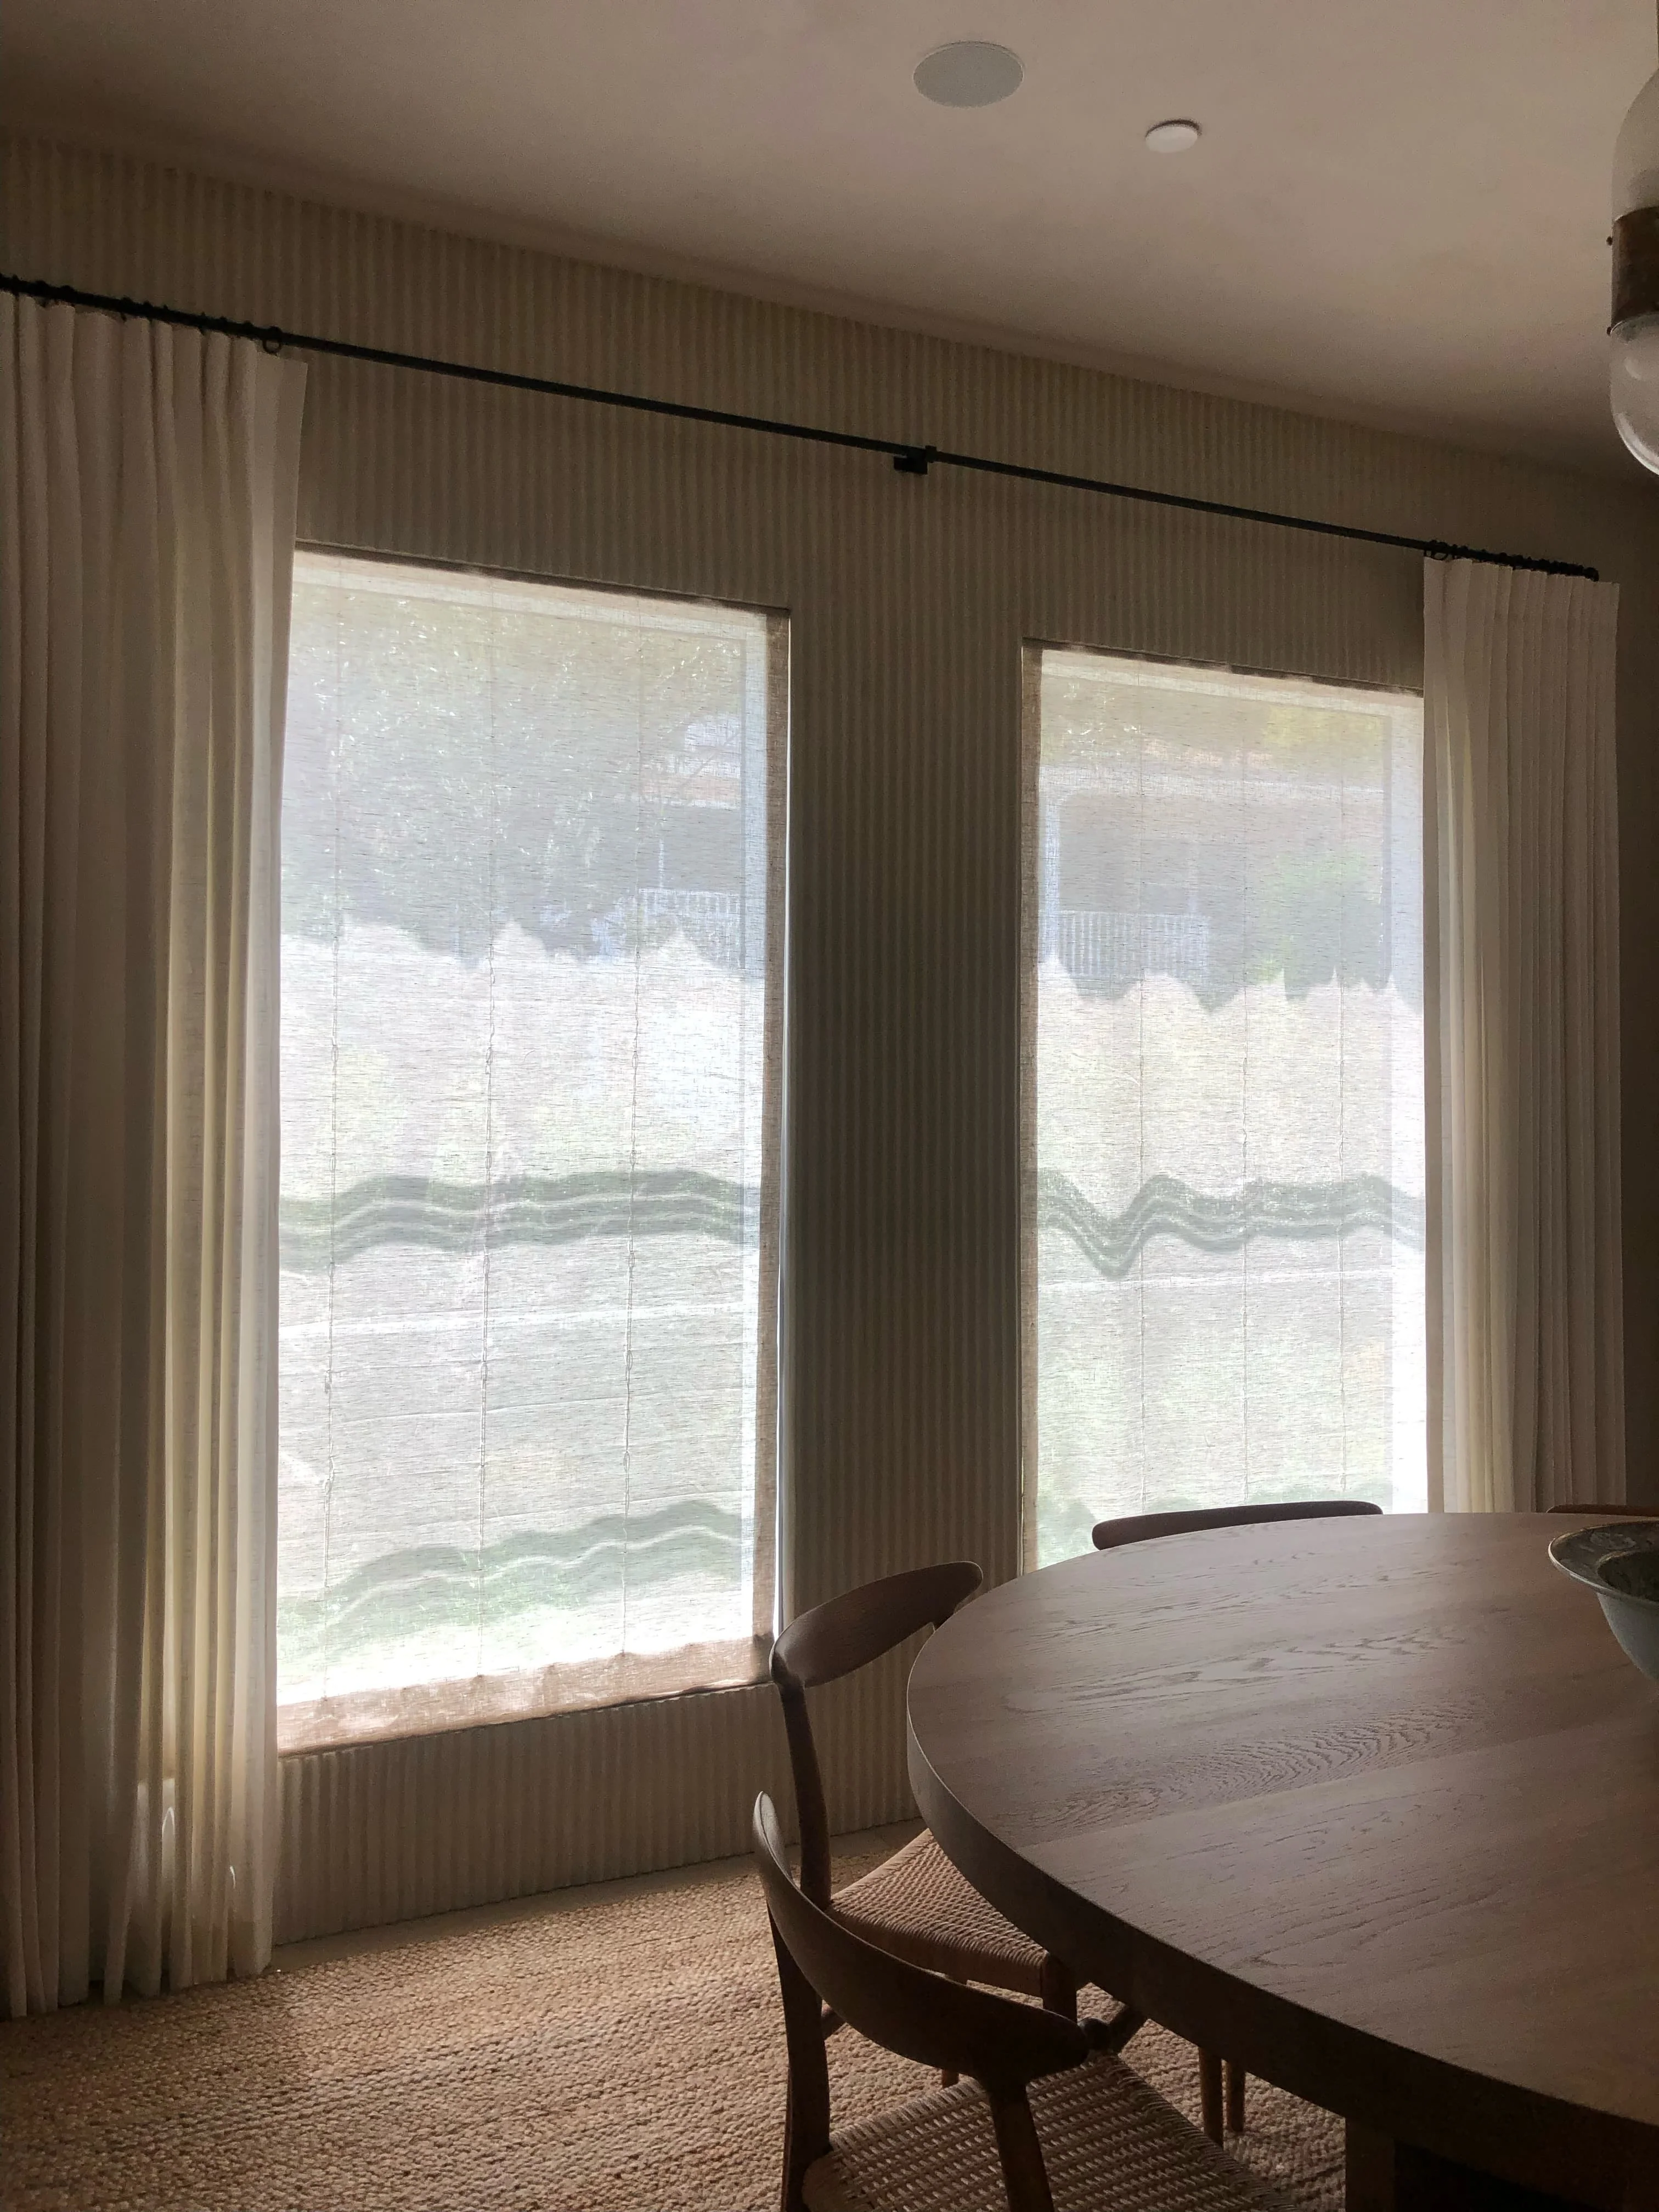
Choose a sheer fabric for the softest diffused light and an airy presence in the room.
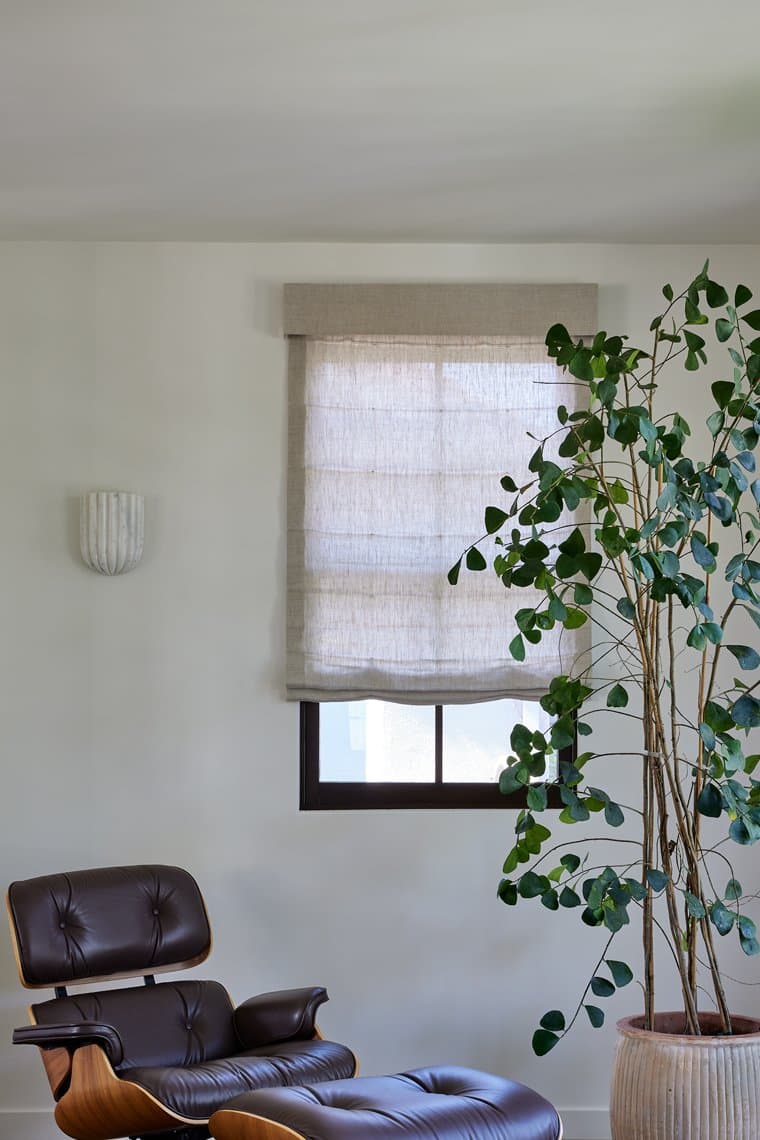
Fabric-focused, with gentle daytime privacy and warm, filtered light.
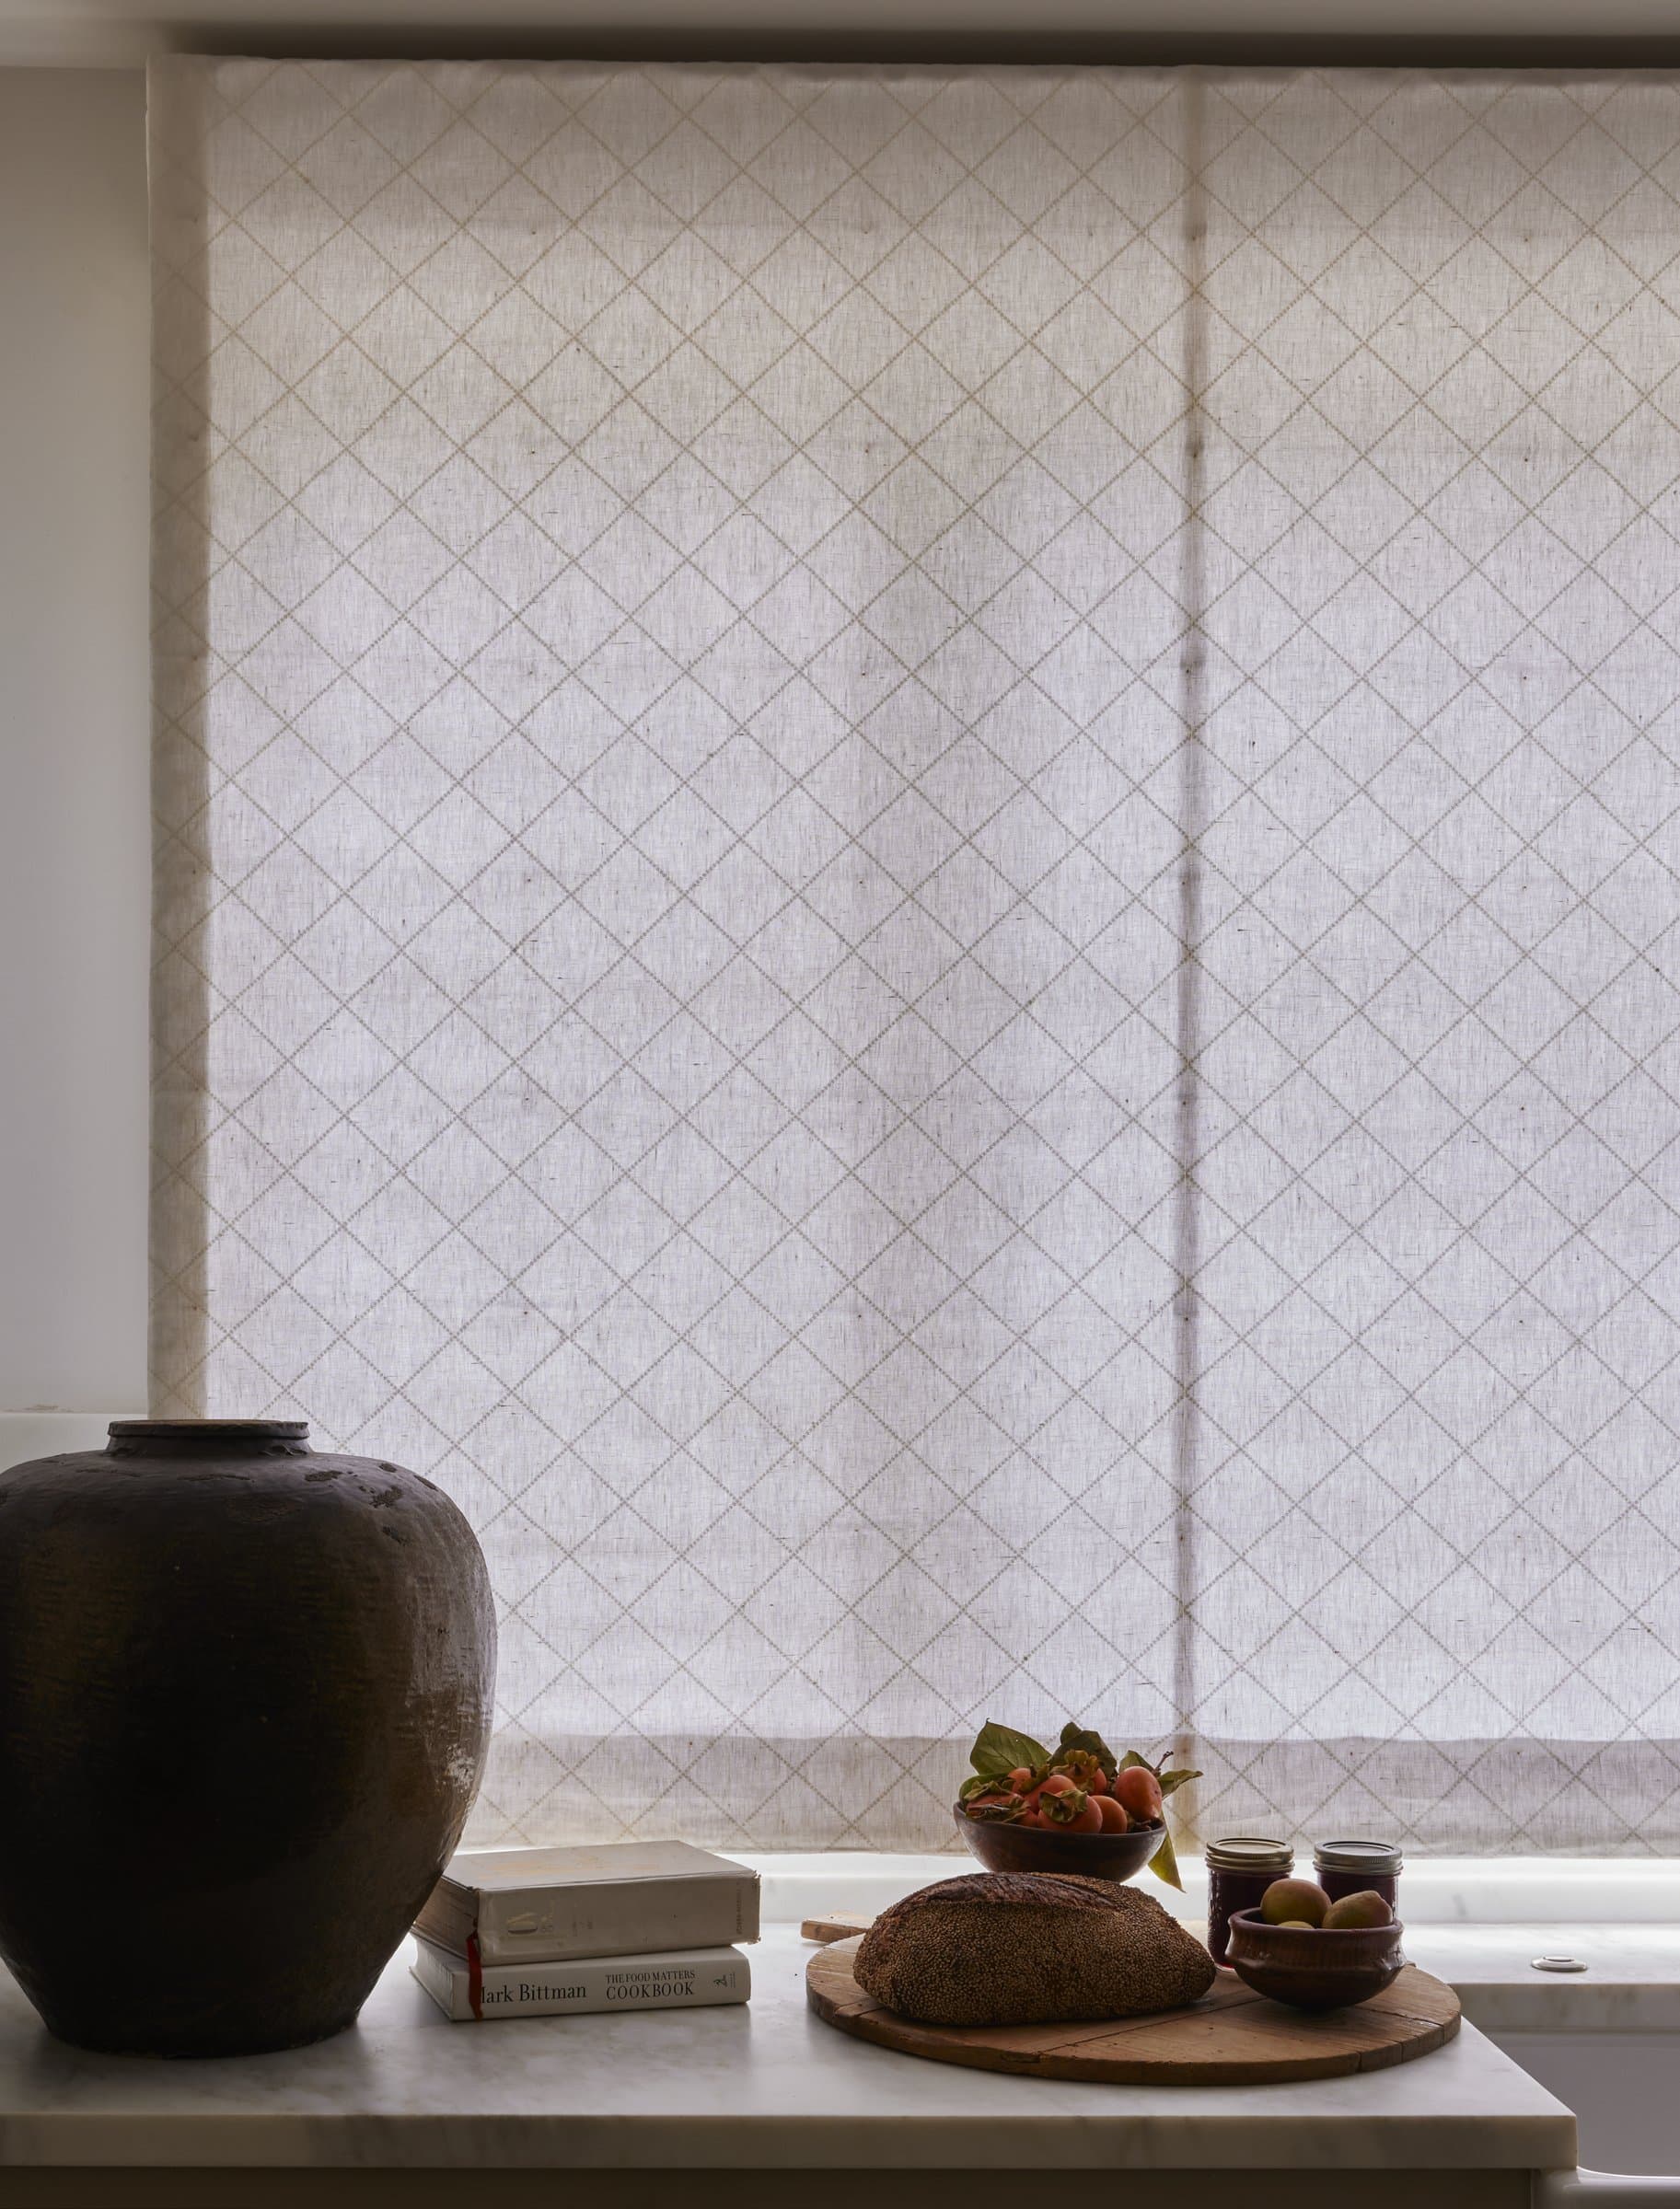
A lining added to your selected fabric — blocks sightlines while diffusing soft, ambient light through.
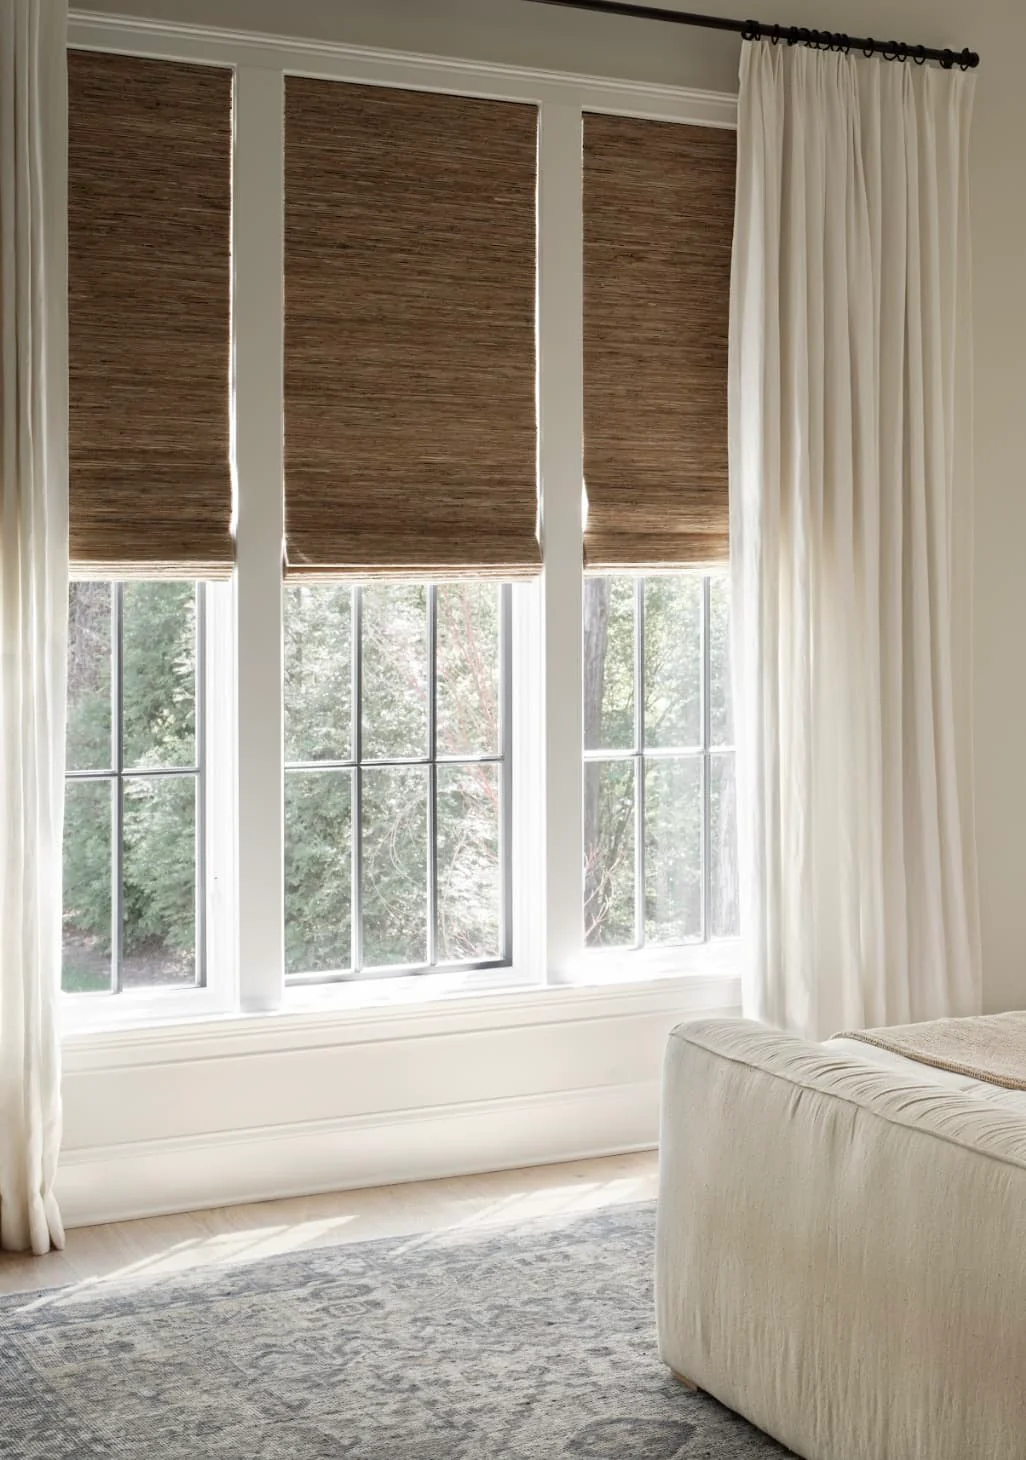
A lining added to your selected fabric — room-darkening for bedrooms, media rooms, and sleep spaces.
04 — Mount Position
Where the shade lives on your window.
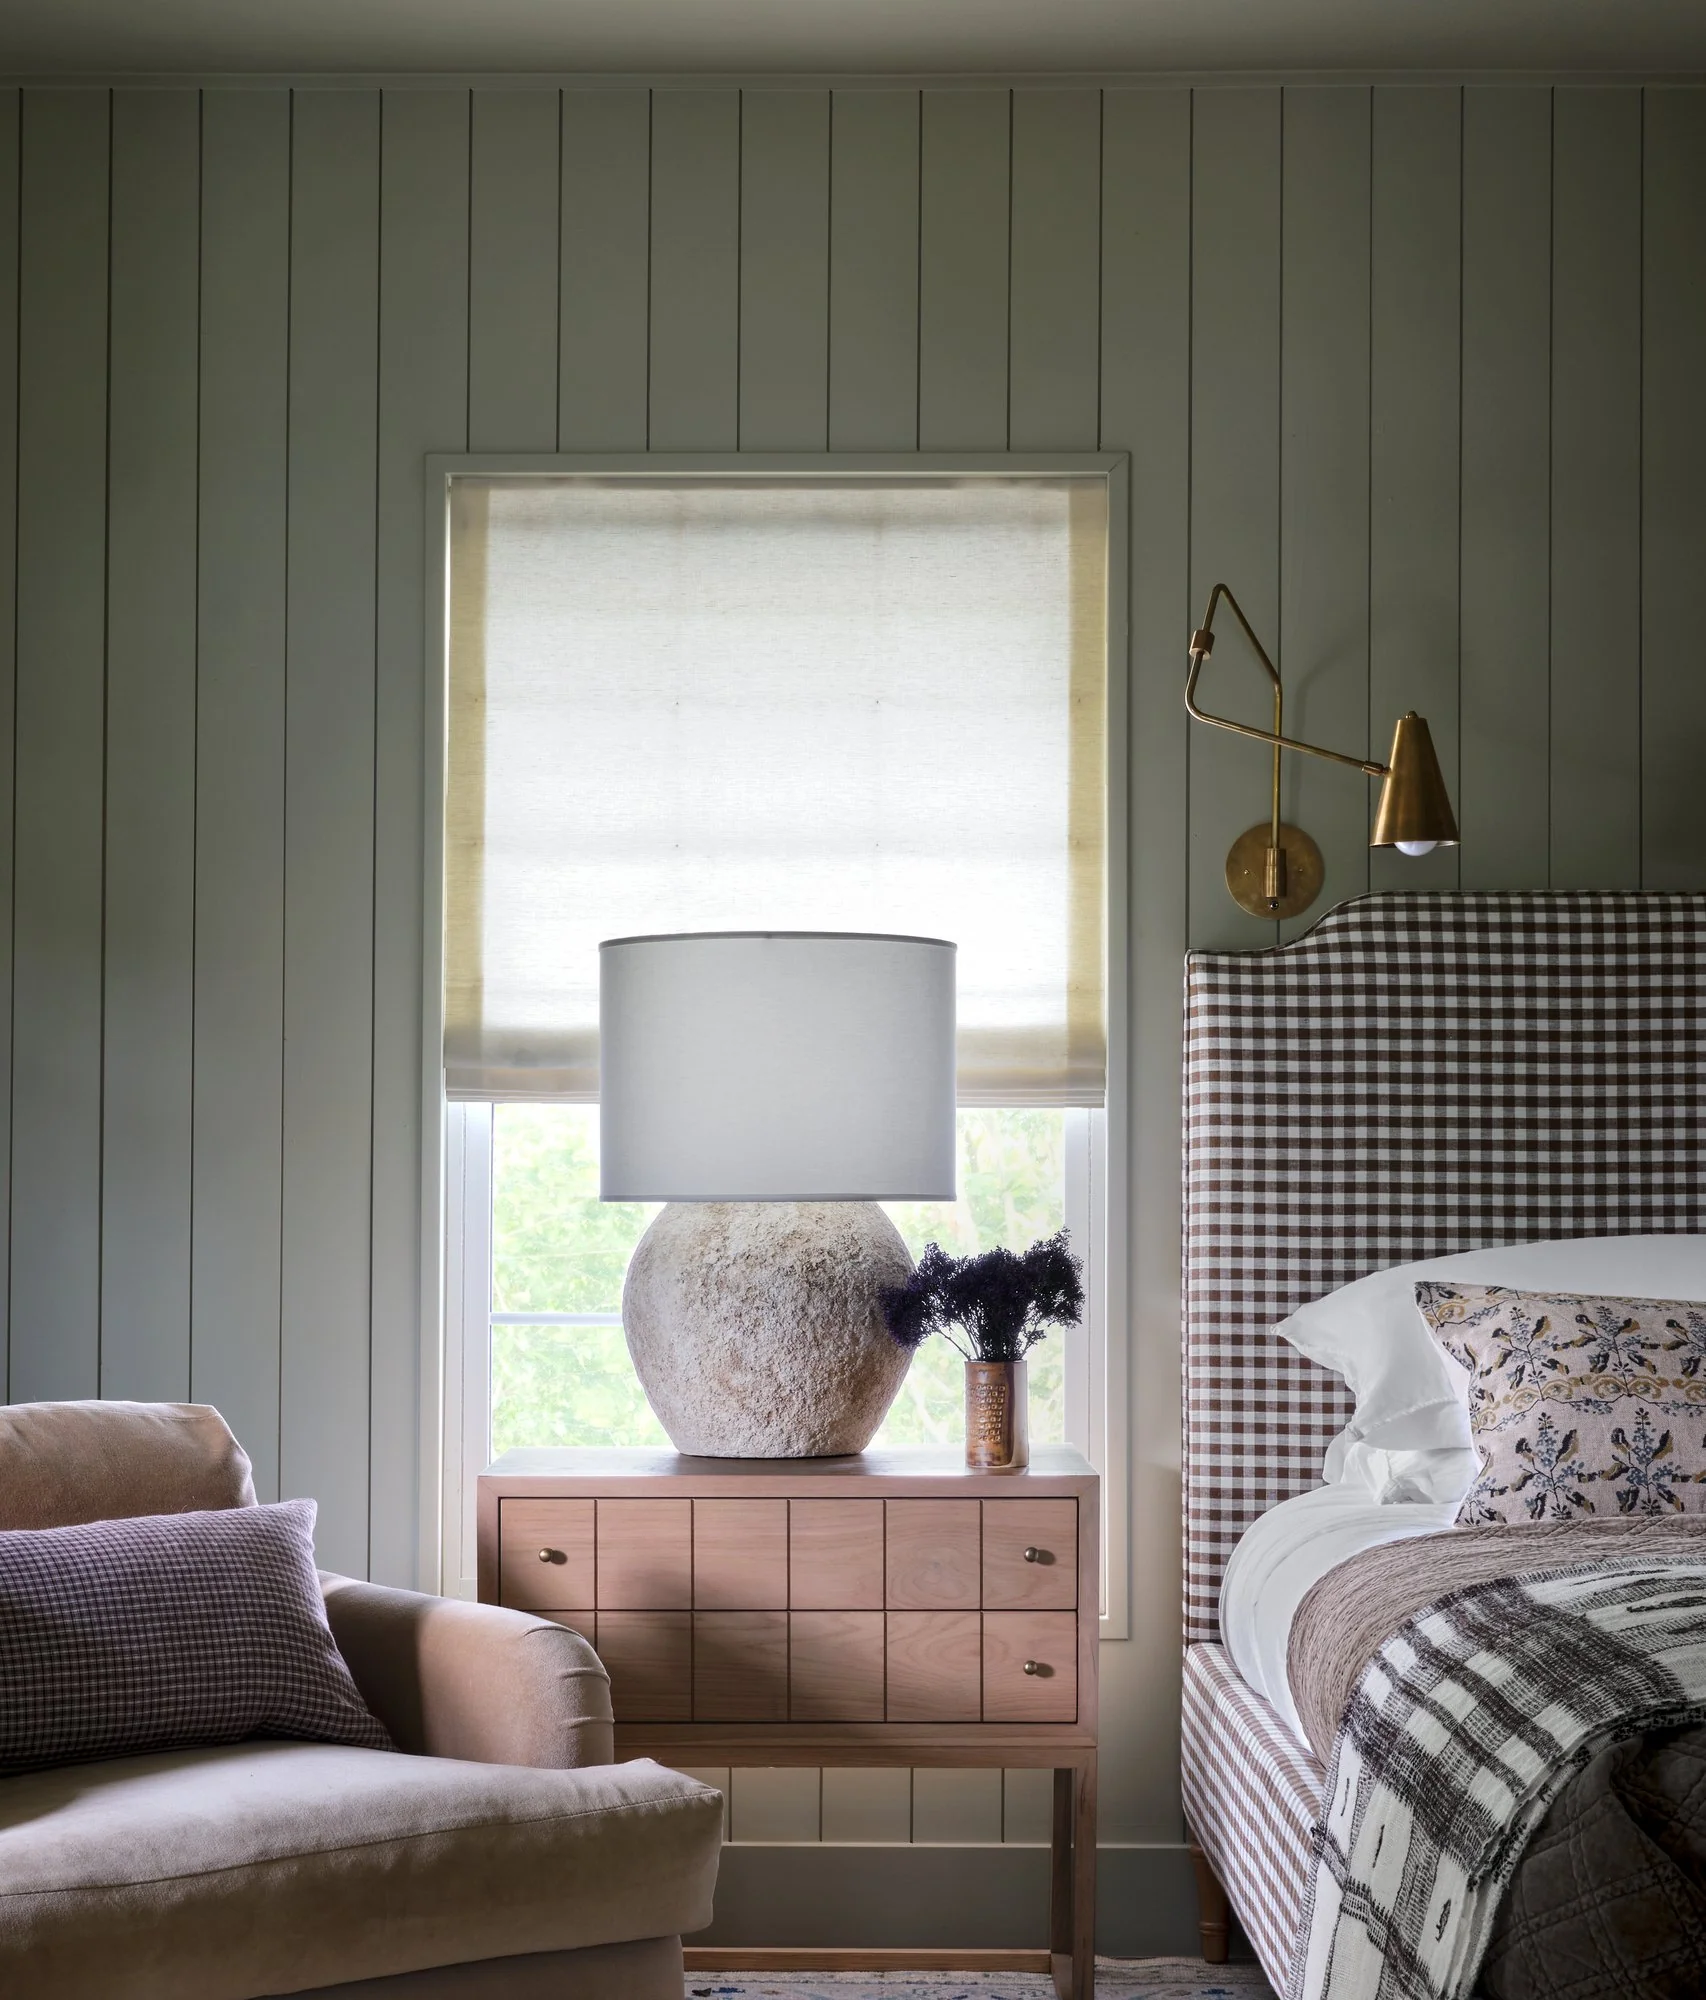
Sits inside the window frame for a clean, built-in look.
Best for: trim you want to show, deeper windows, architectural moments.
Depth requirement
2.5" minimum
We require 2.5" of depth to inside mount. Measure the flat mounting surface available on your window.
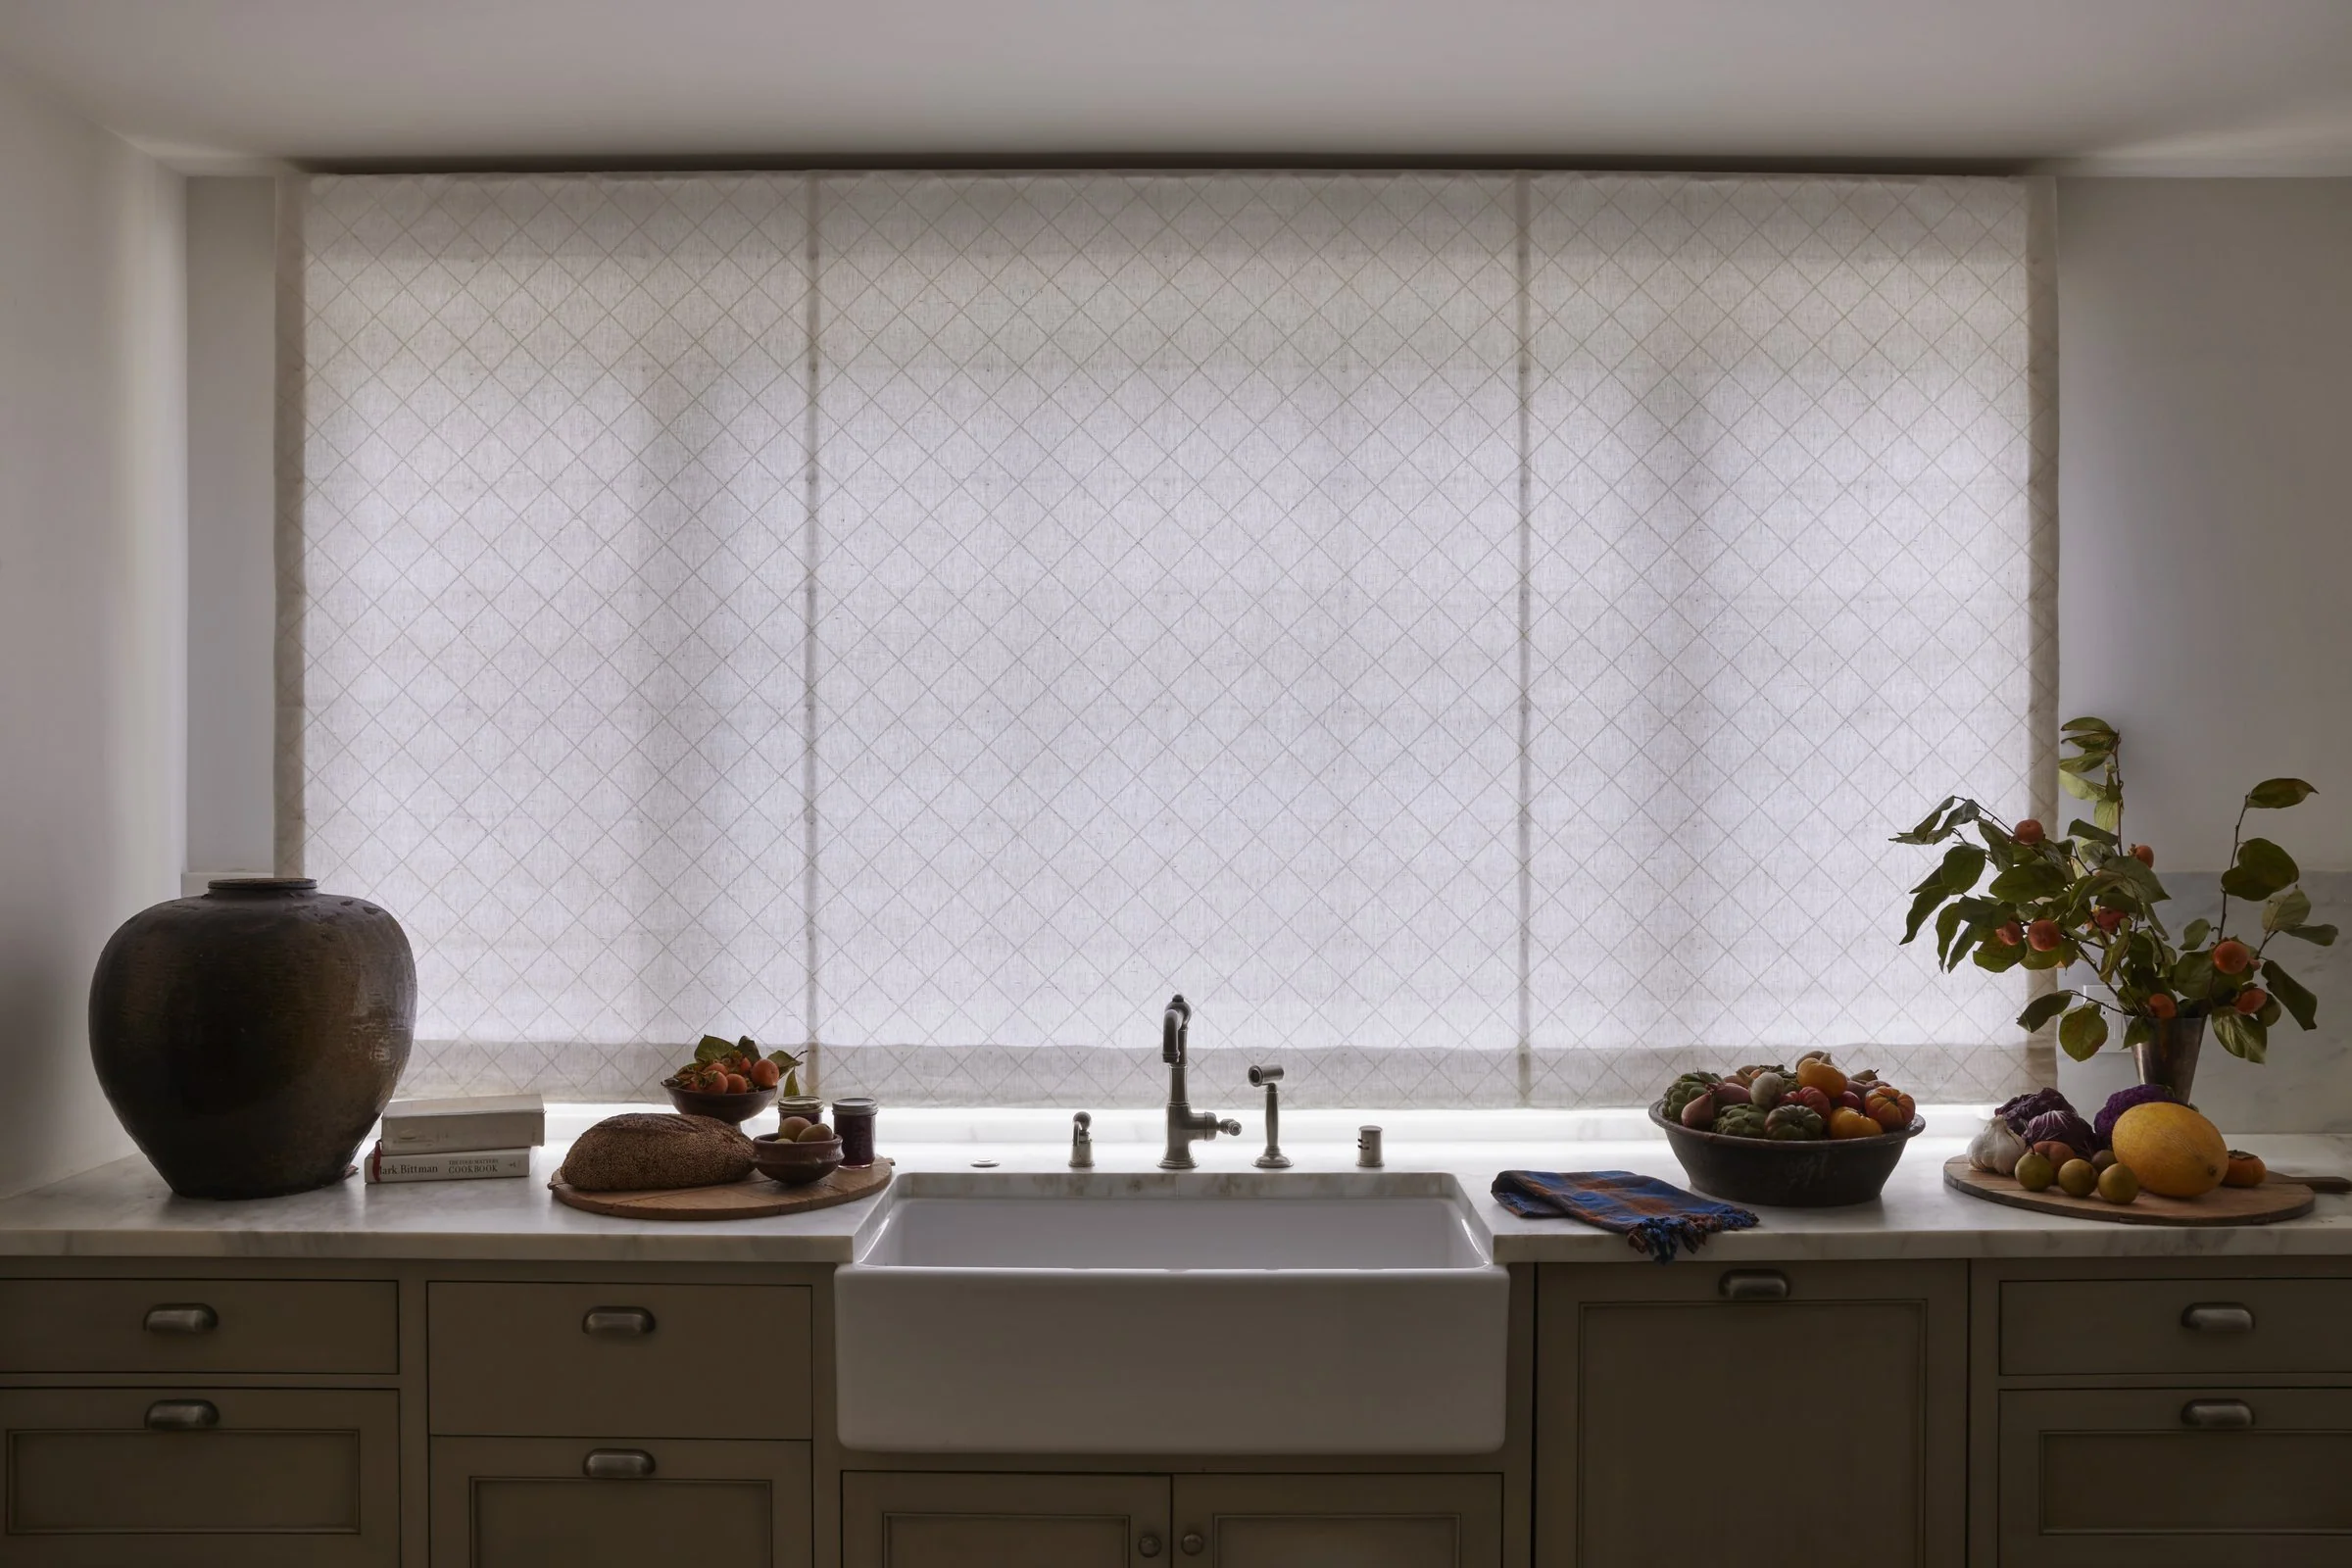
Installs on the wall or trim above the window. Covers more area and blocks more light.
Best for: shallow windows, hiding imperfect trim, maximum light control.
Projection
2"–3" from the wall
Shades will have a 2"–3" projection depending on shade width.
05 — Custom Control
The control is the part you'll touch every day. Choose based on how the space is used — and who uses it.
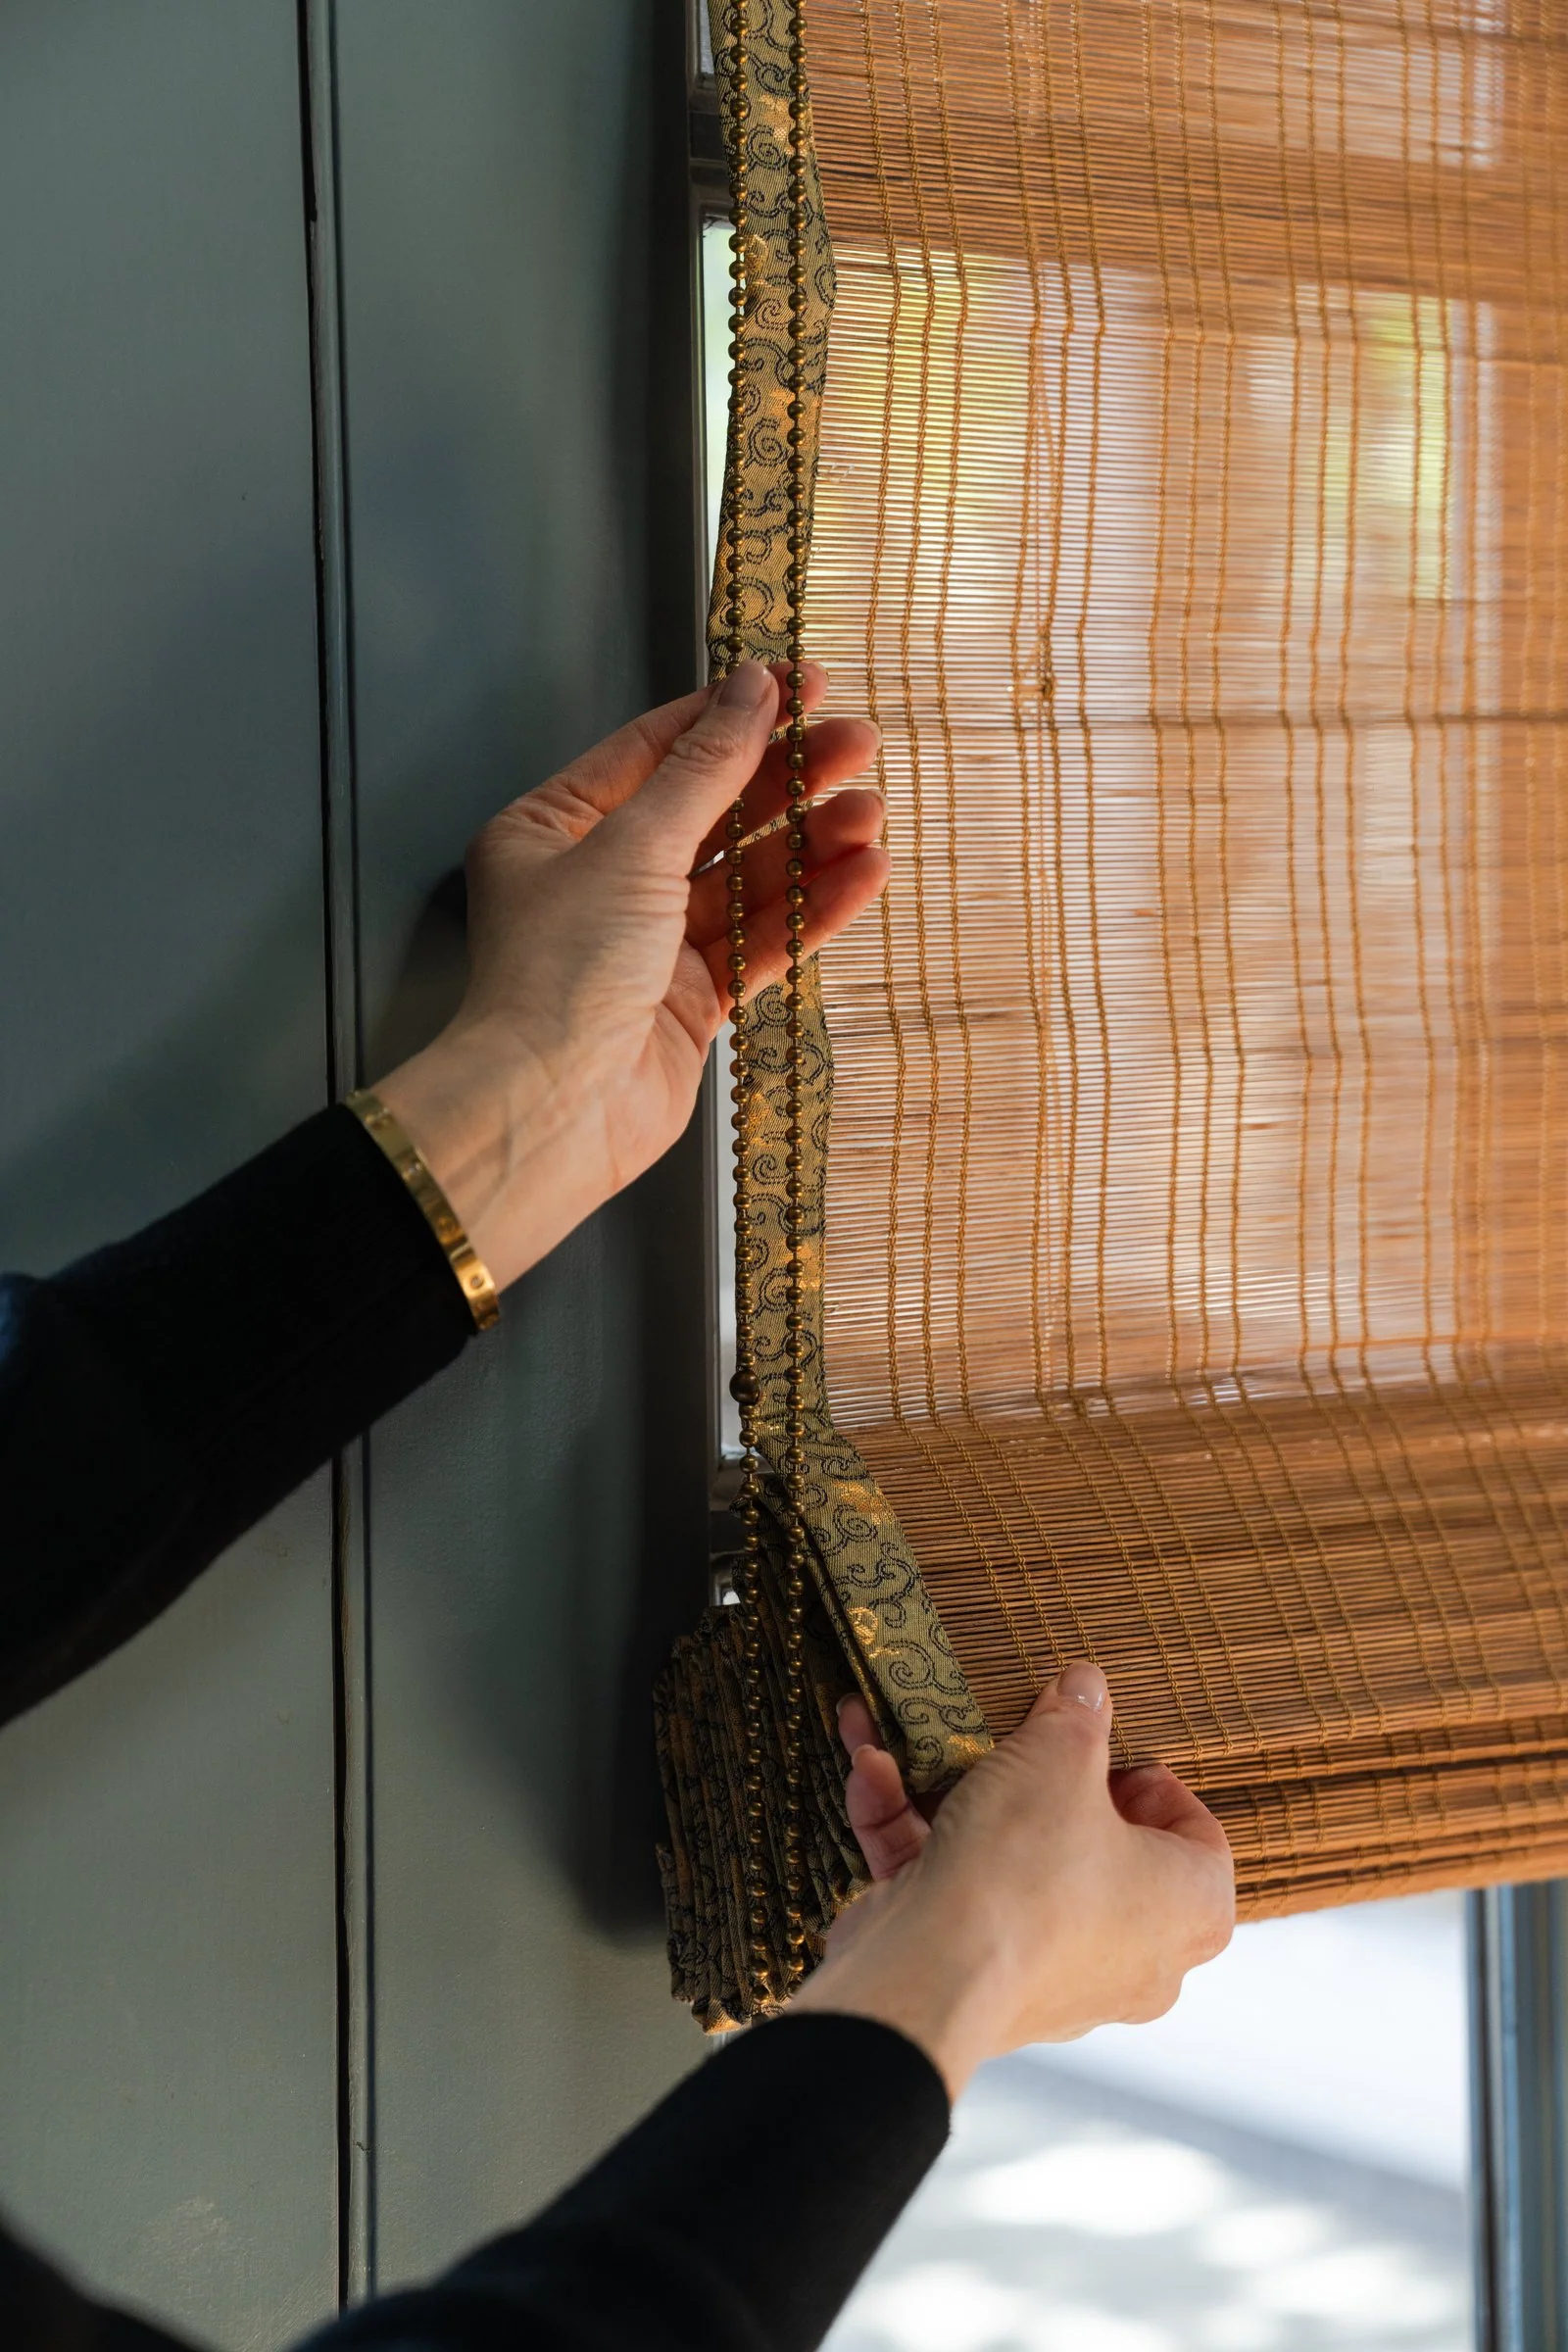
An antique brass metal chain, structured in a continuous loop. Durable and precise.
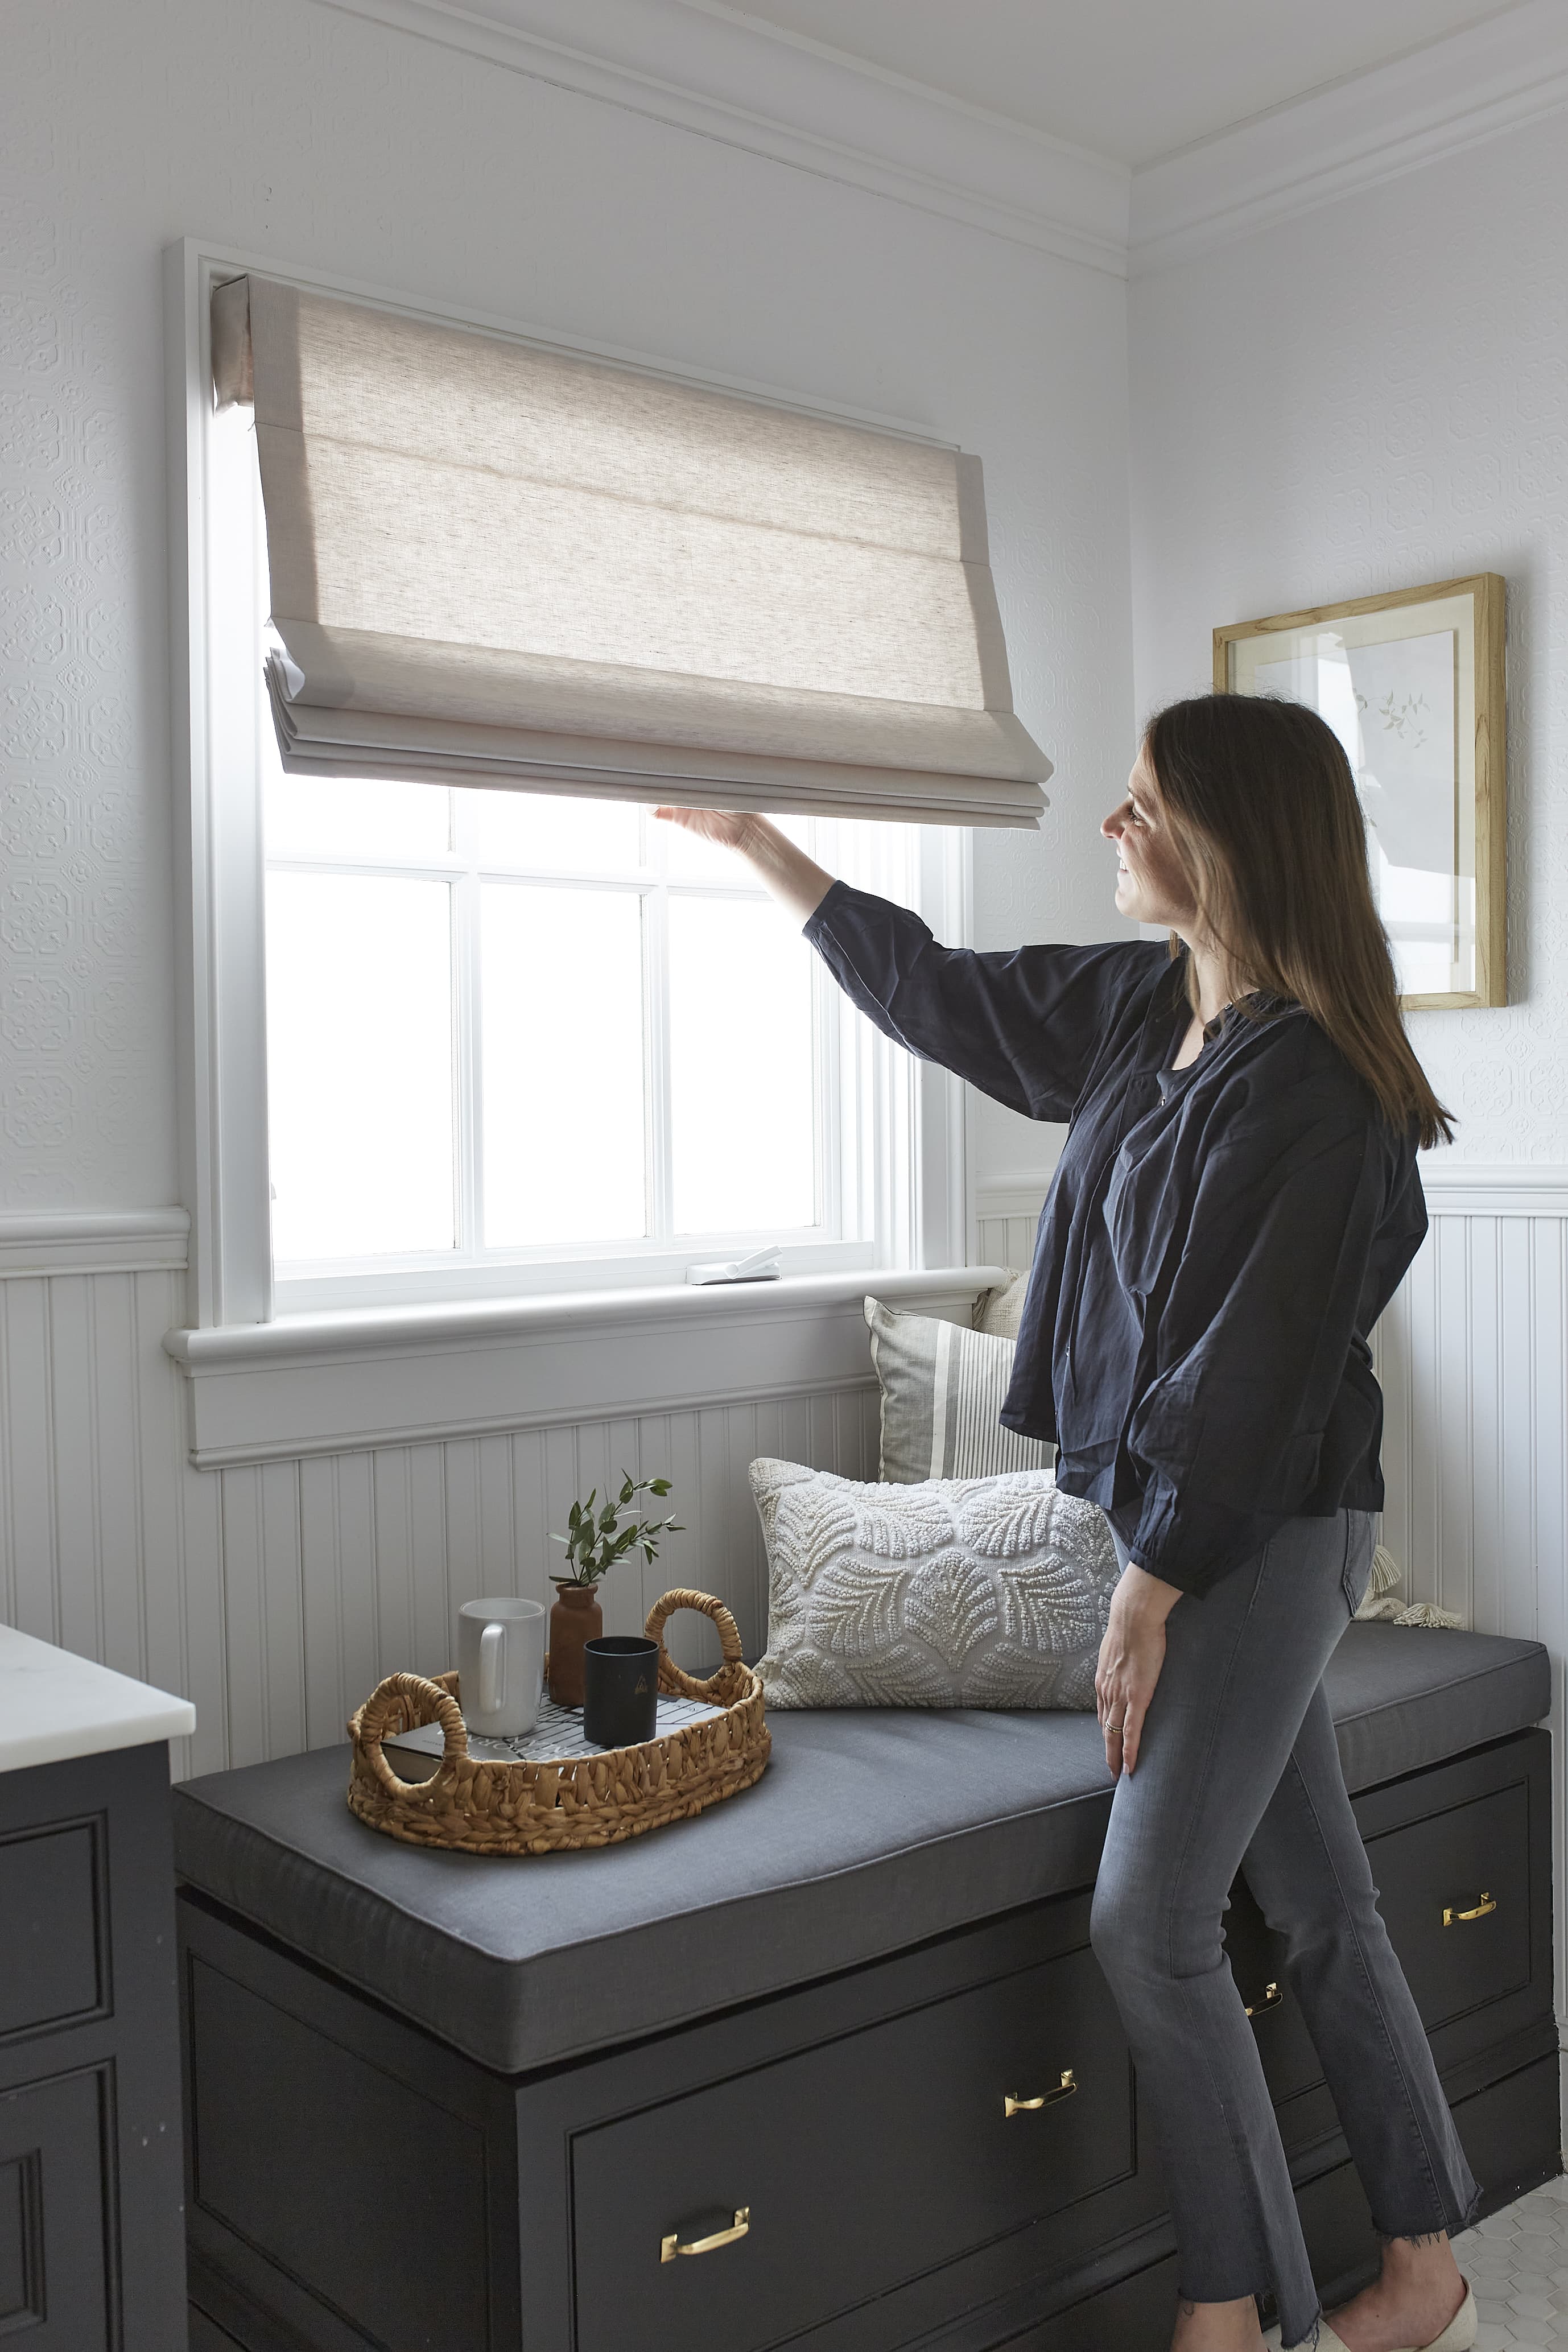
Operated by a wooden tassel that sits on the back of the shade at the bottom center — a retracting cordless mechanism, not a manual push-and-pull. Child- and pet-safe by design.
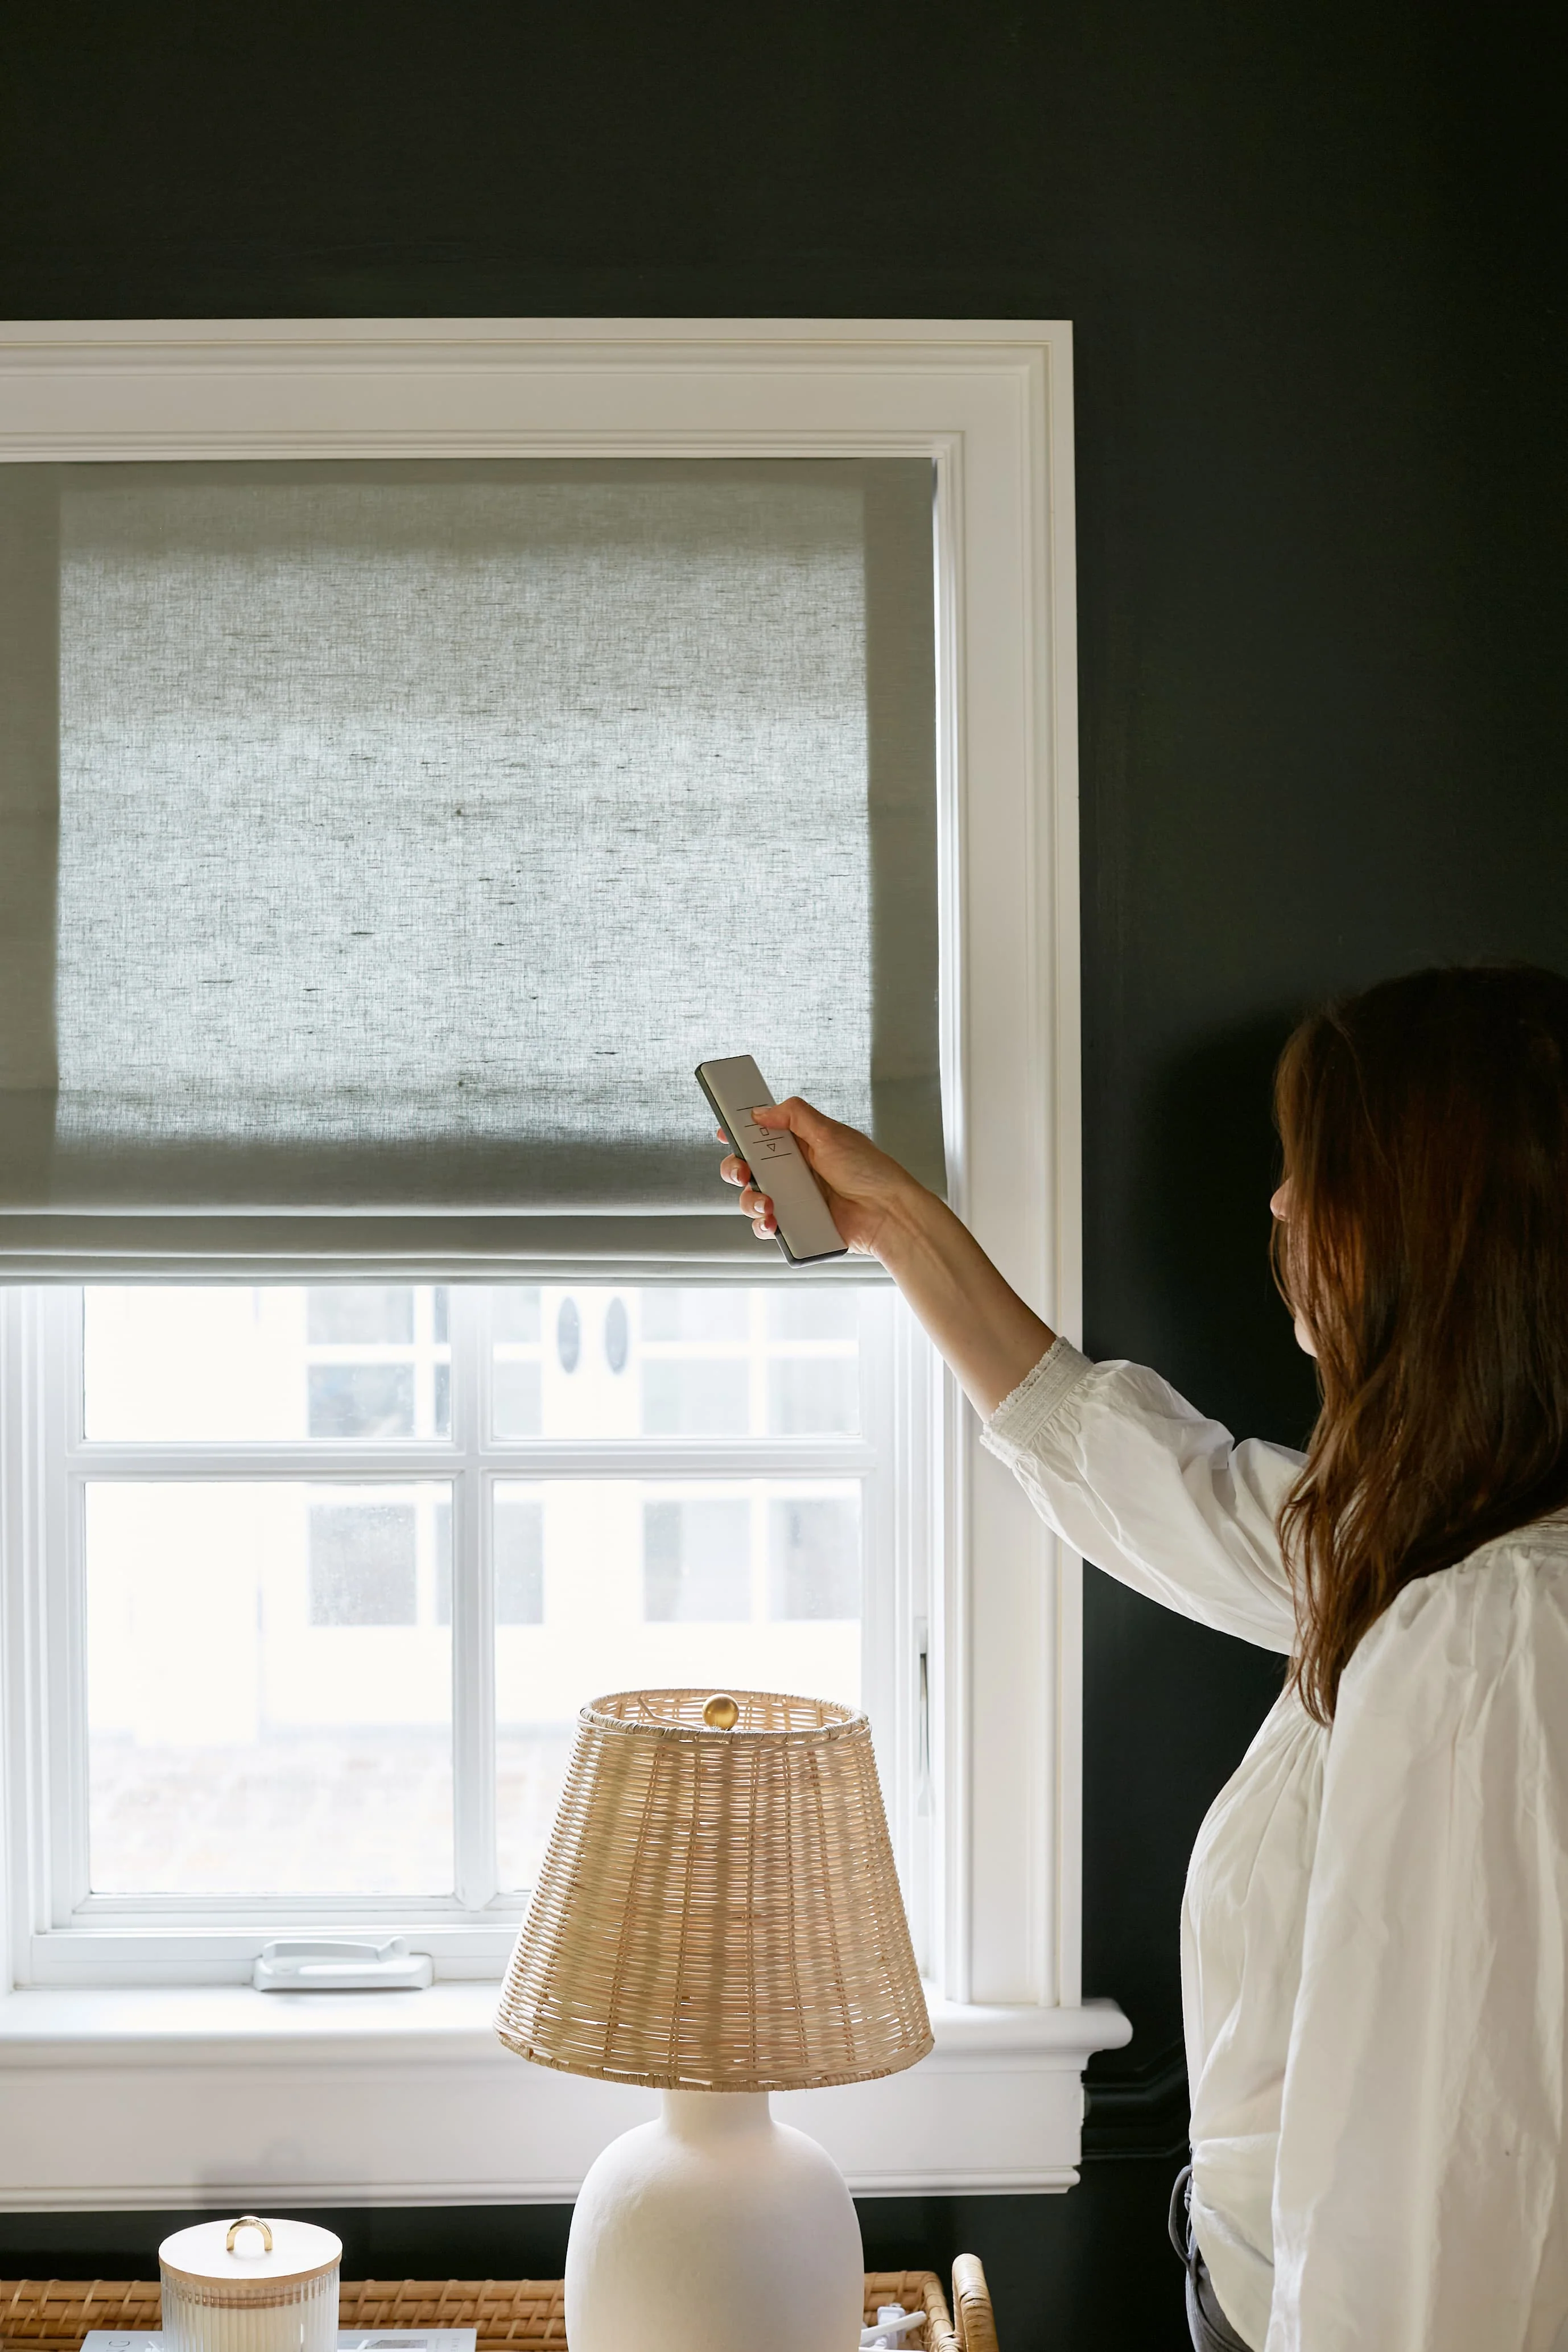
Remote shade operation with the press of a button. A luxury experience — ideal for hard-to-reach or tall windows.
06 — Shade Operation
How the shade is constructed on the headrail — how the fabric falls toward the room or toward the window.
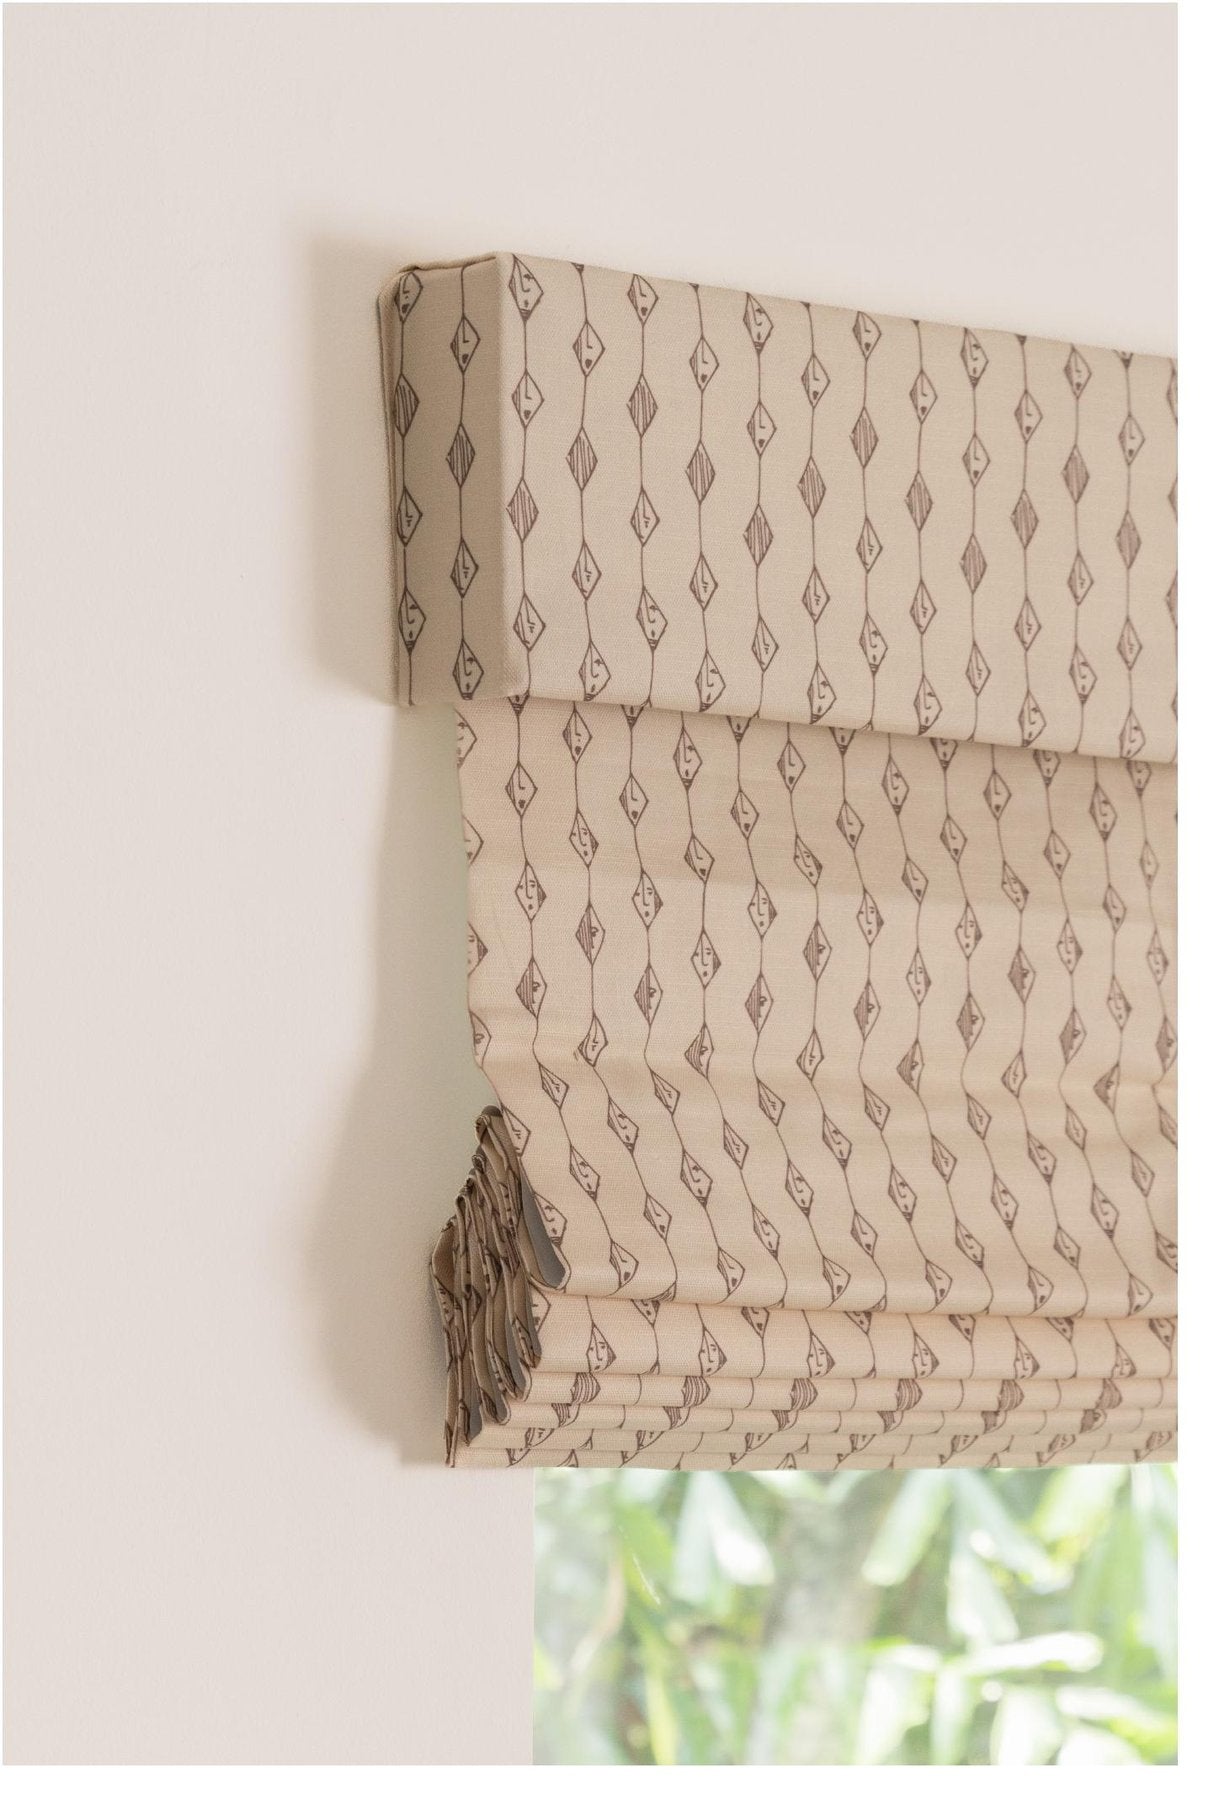
The fabric falls off the back of the headrail, and a valance is added in the front to conceal the hardware.
If Chain Loop is selected, the chain is visible when the shade is drawn closed — for easy access when opening or closing.
Recommended for outside-mount shades with blackout lining.
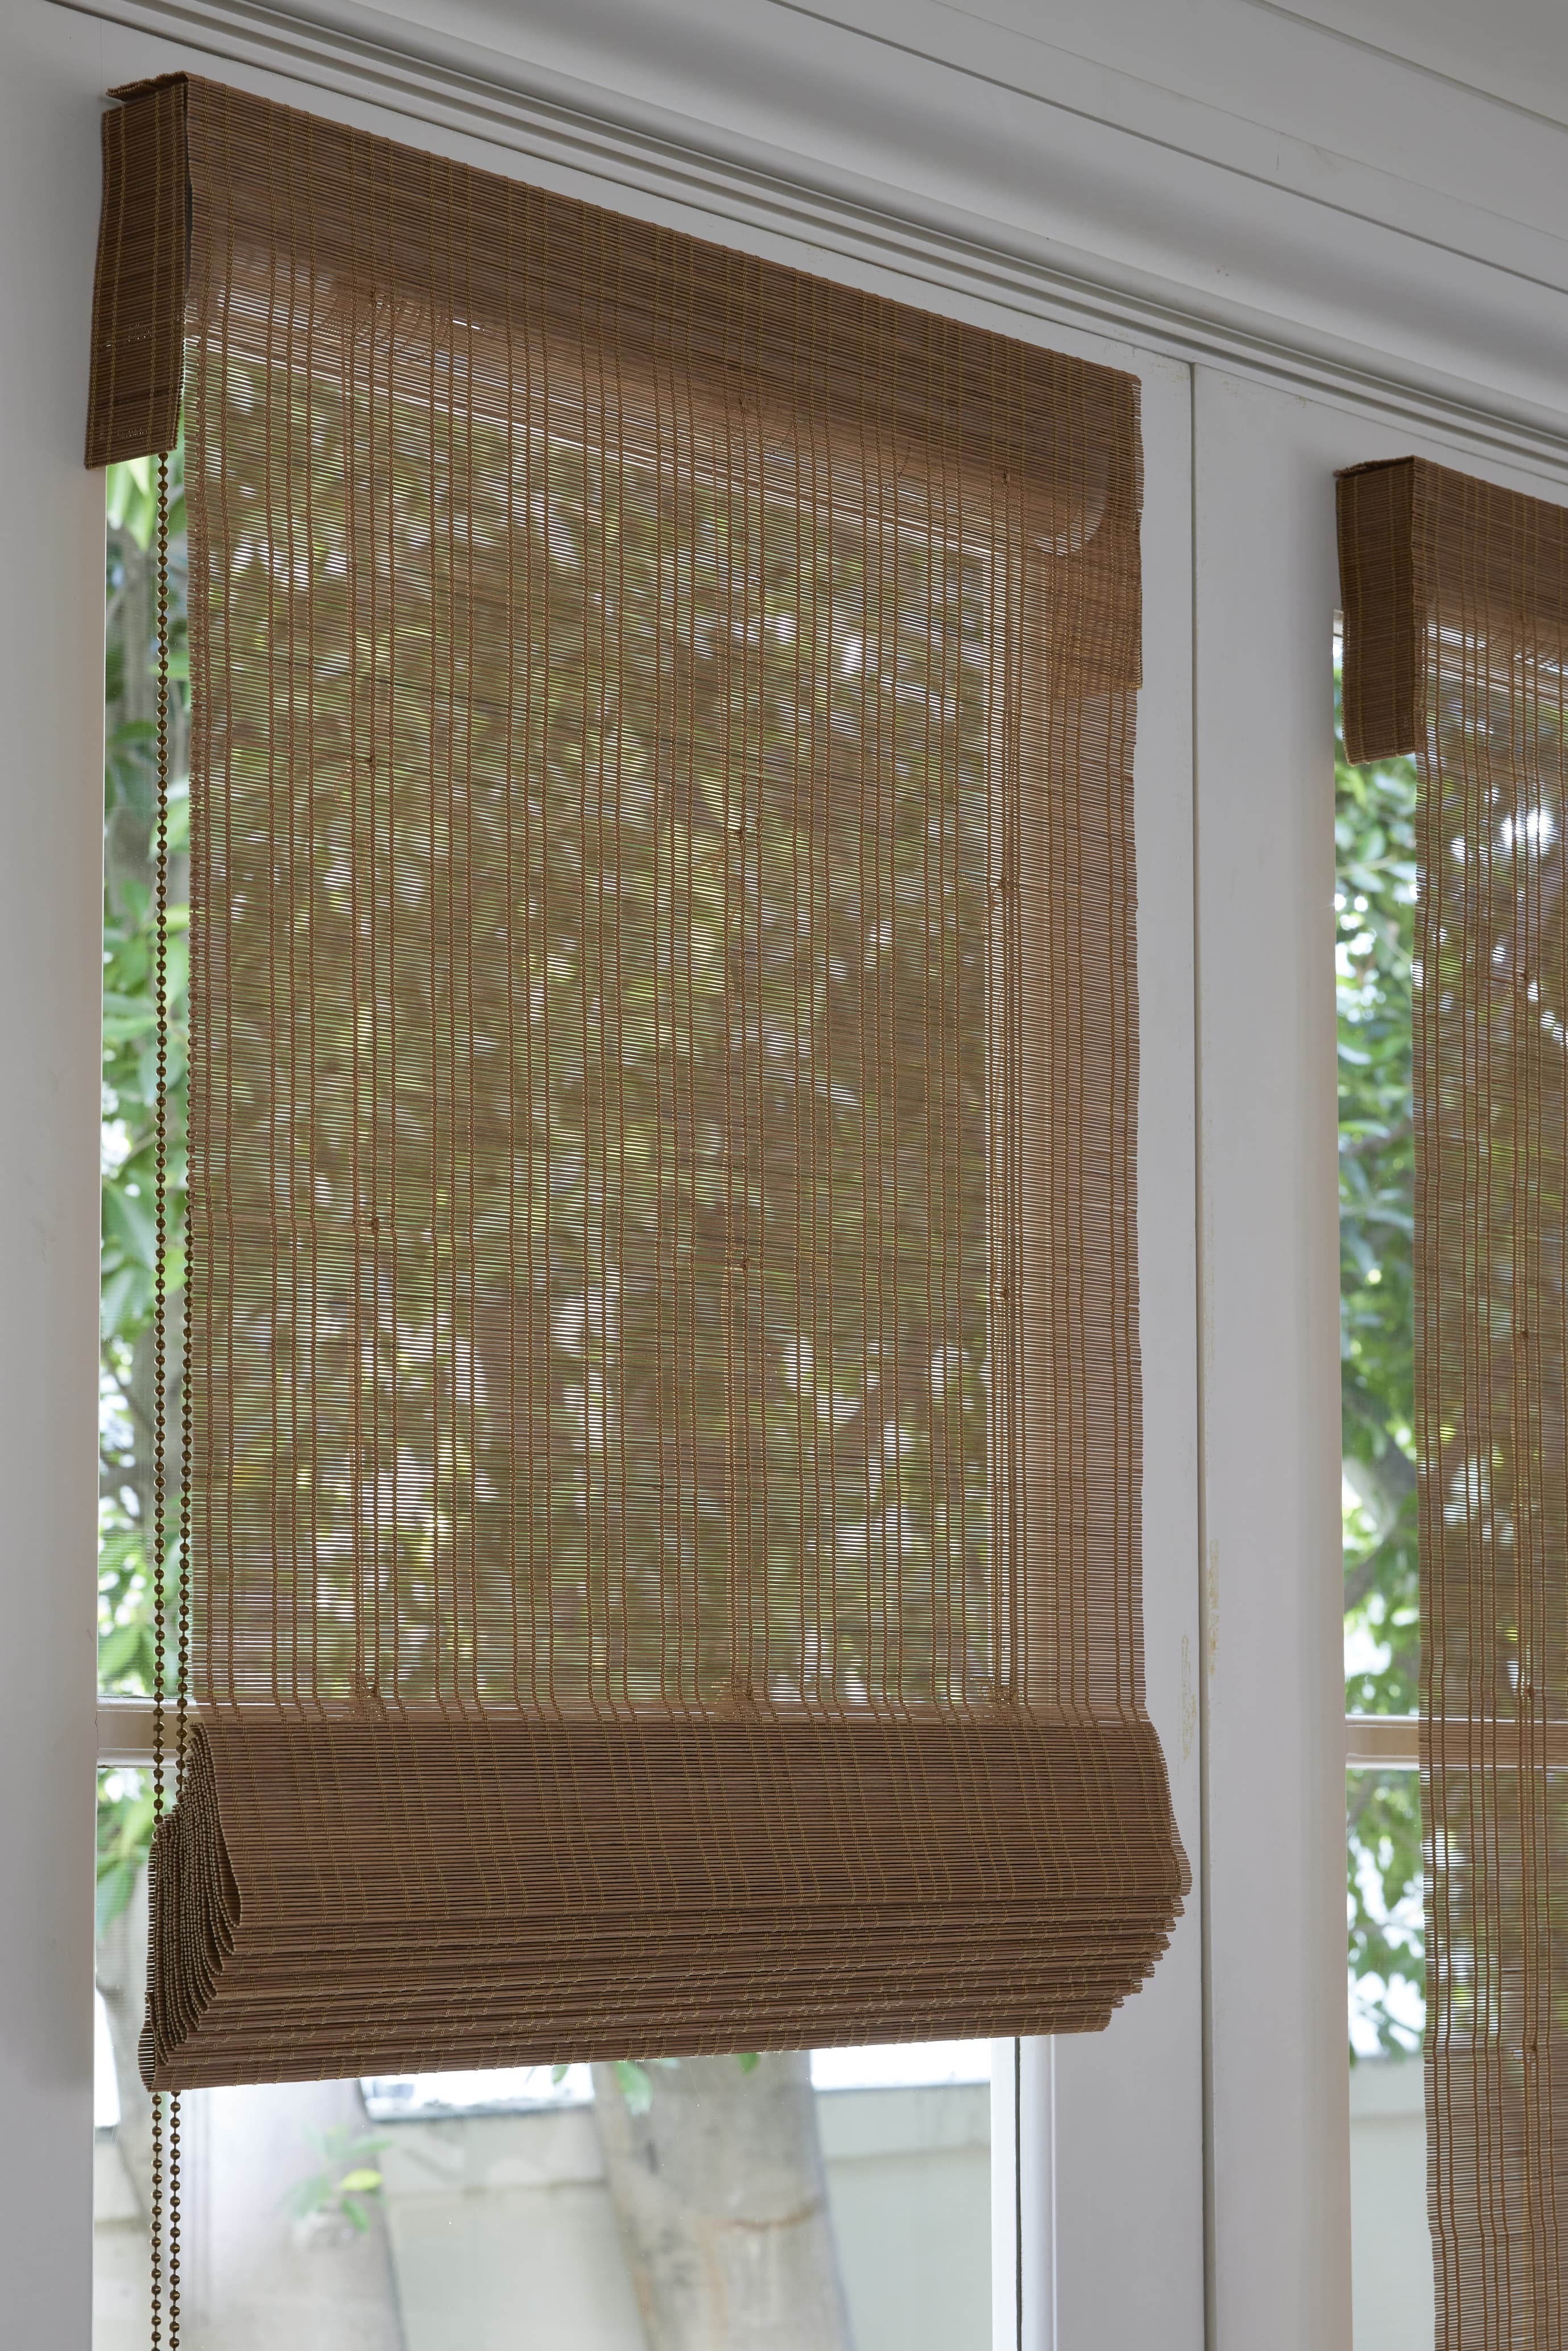
The fabric falls off the front of the headrail — a waterfall with no valance.
If Chain Loop is selected, the control is featured in the front.
Note: no valance means that for outside mount, the projection is exposed. Shades will have a 2"–3" projection depending on shade width.
07 — How to Measure
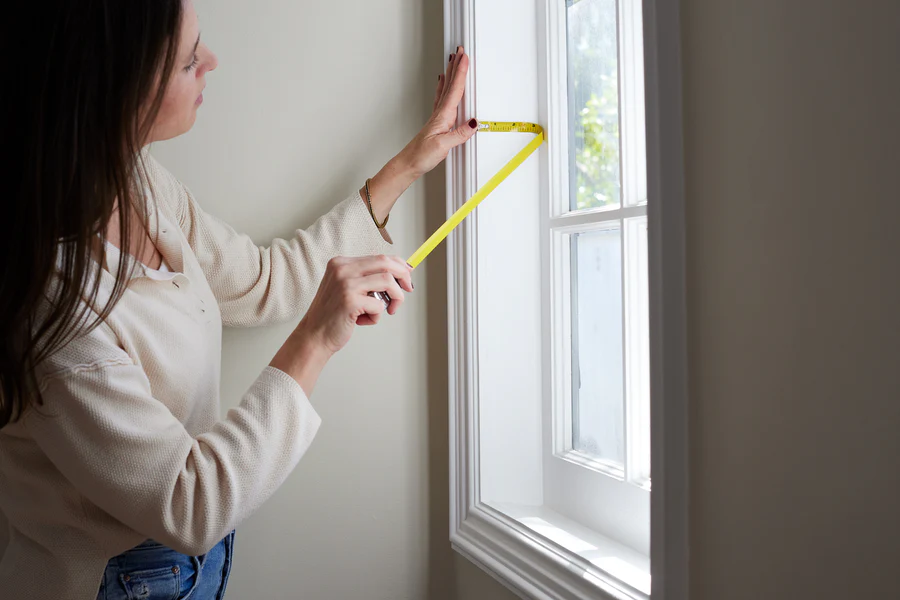
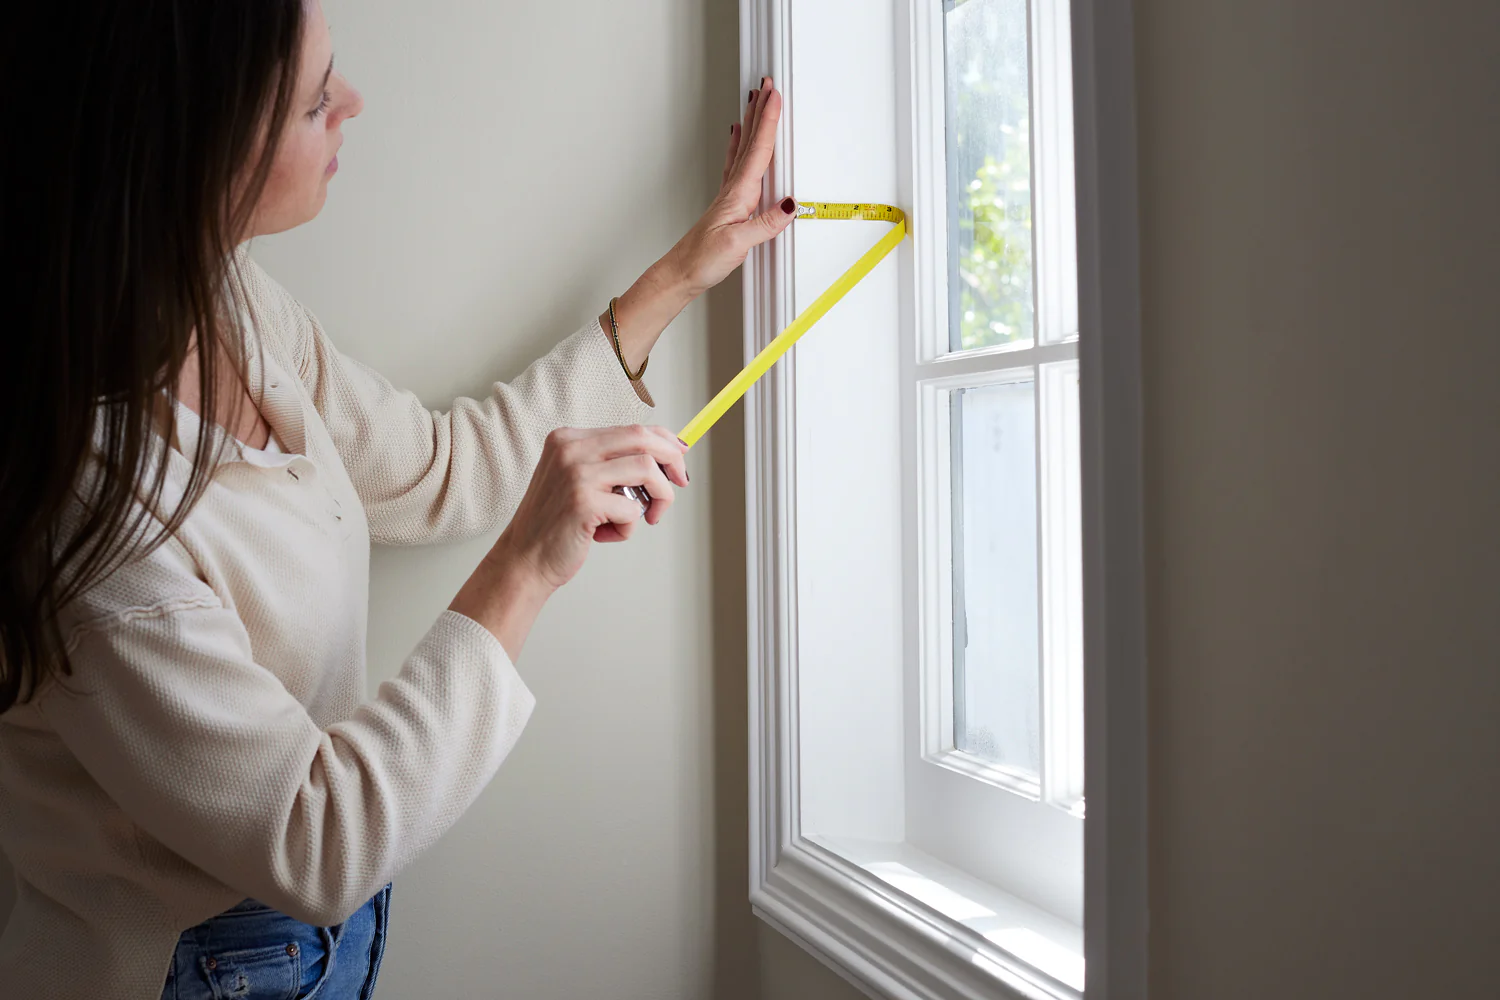
A tape measure is all you need.
Pro note — your tape measure needs ⅛" tick marks visible.
Measured on the interior of the window frame.
Step 01
We require 2.5" of depth to inside mount. Measure the flat mounting surface available on your window.
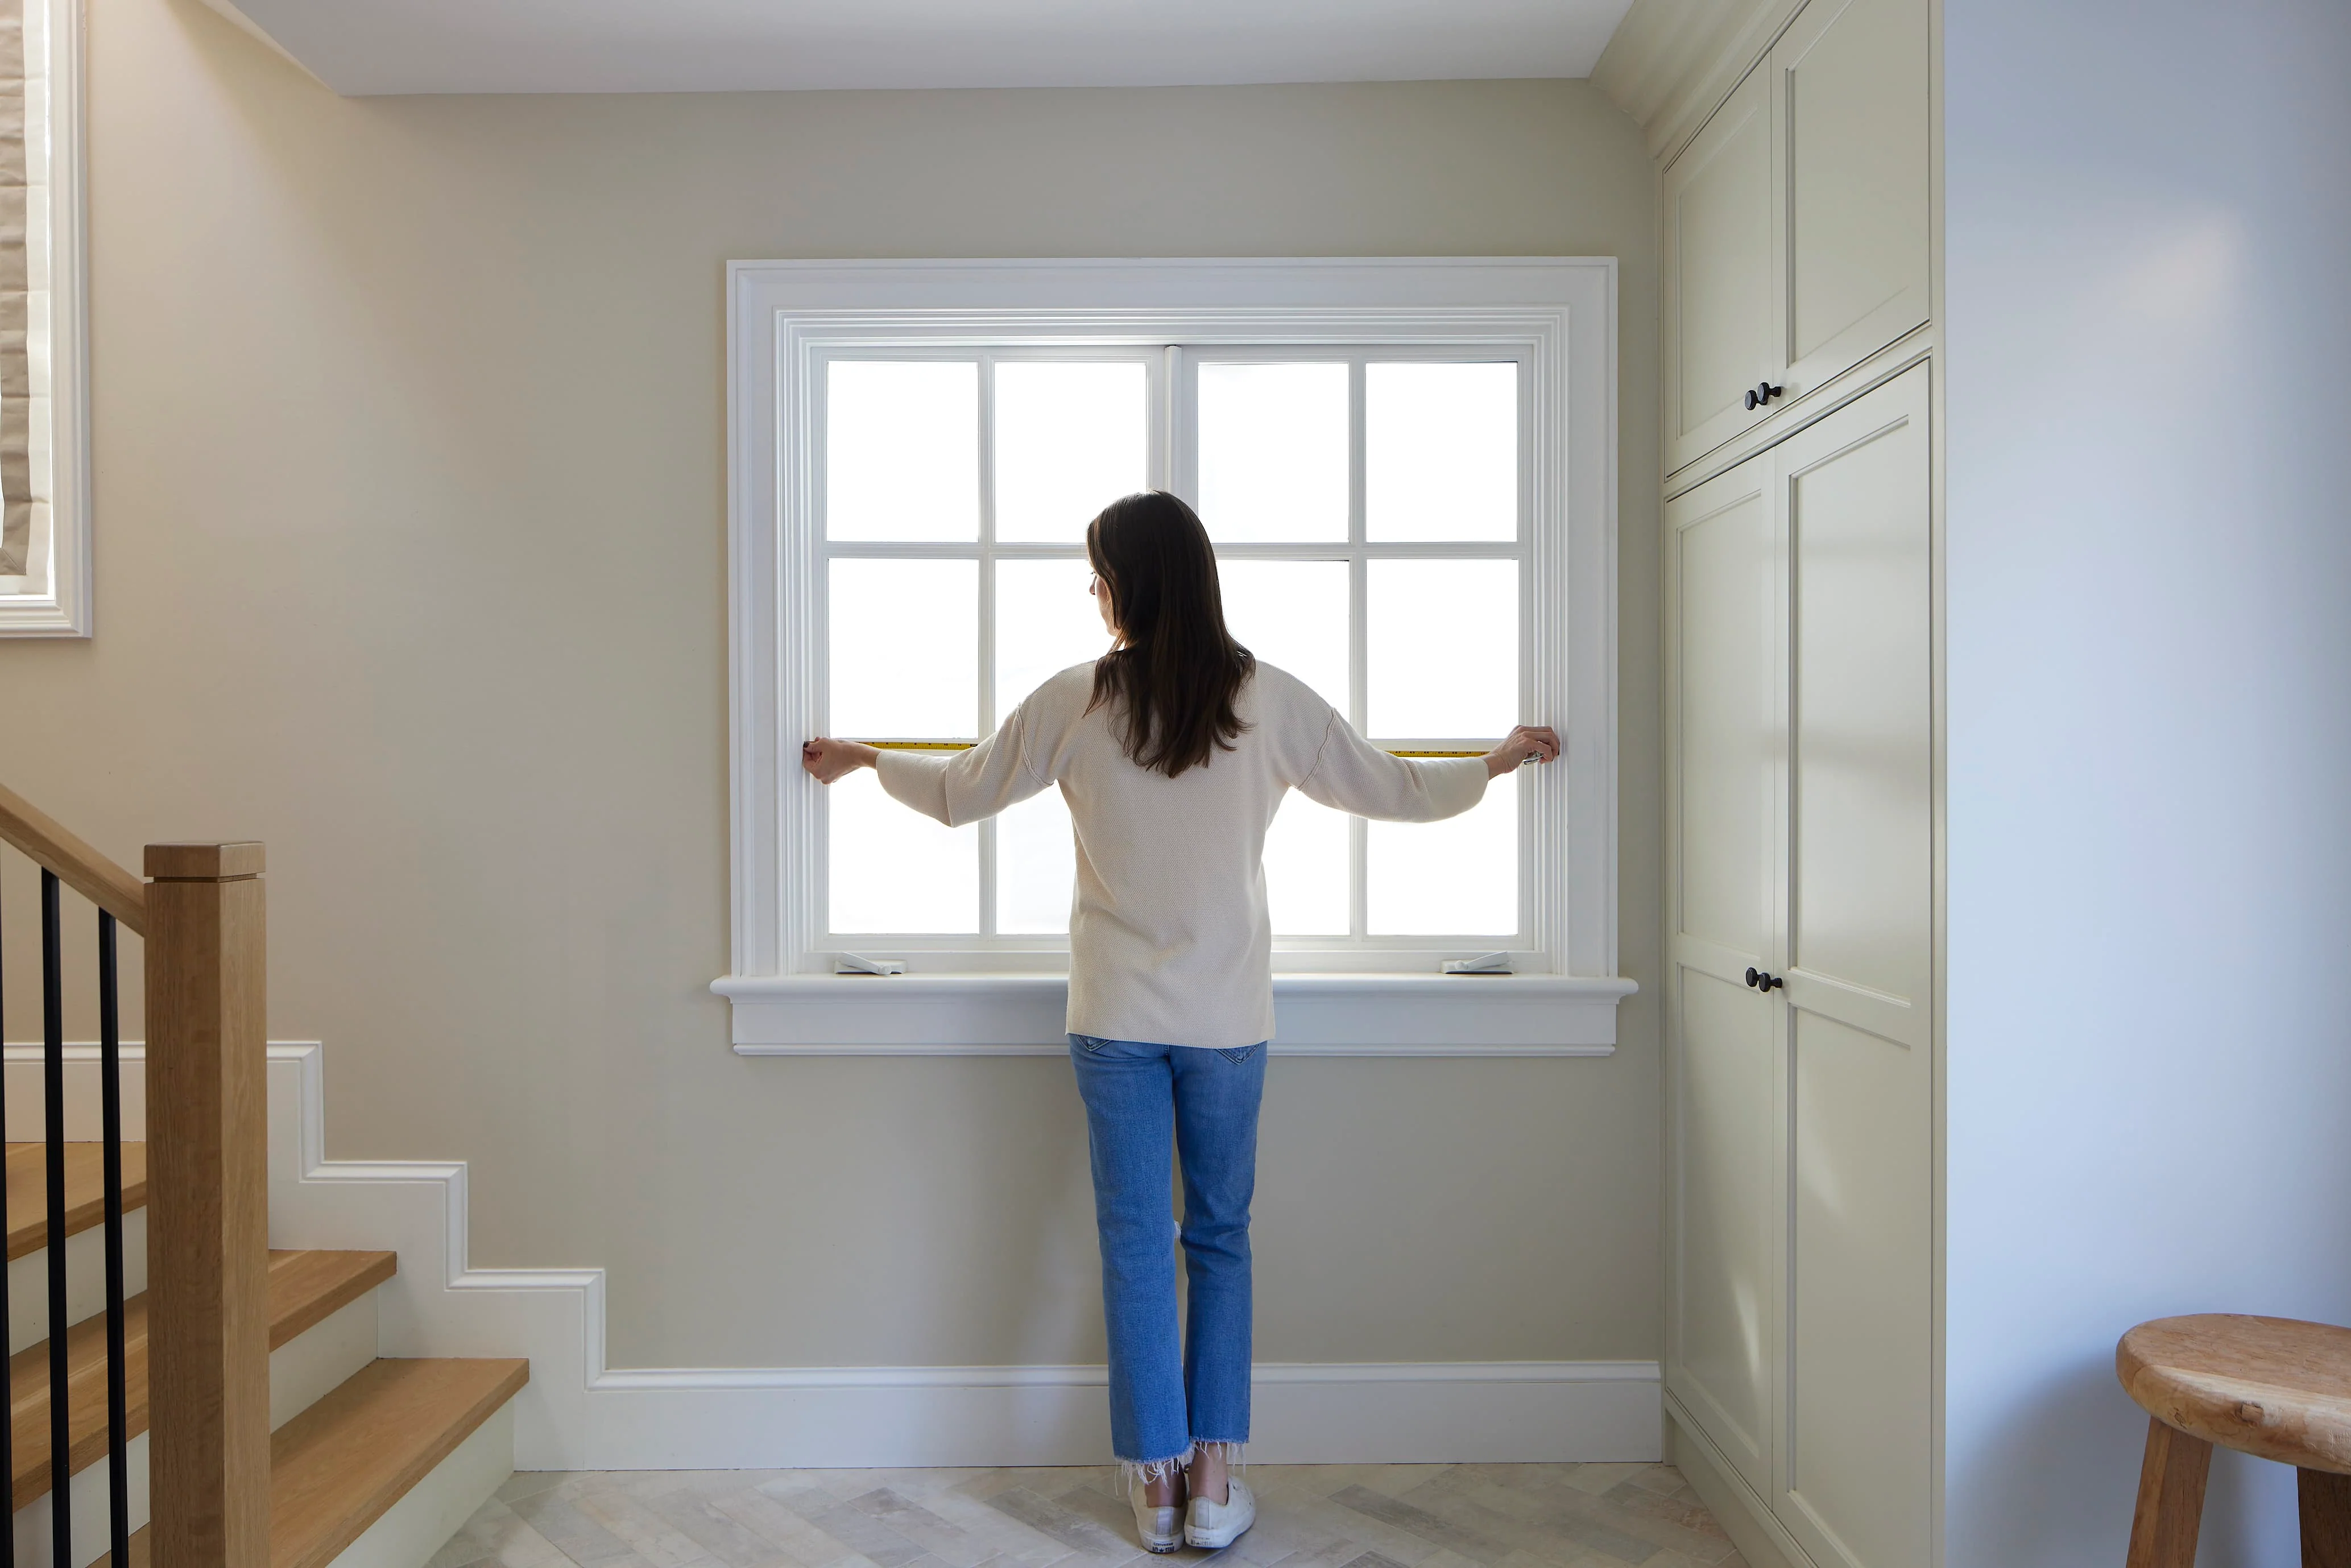
Step 02
Rounding to the nearest ⅛", measure in three places — top, middle, and bottom. Use the narrowest.
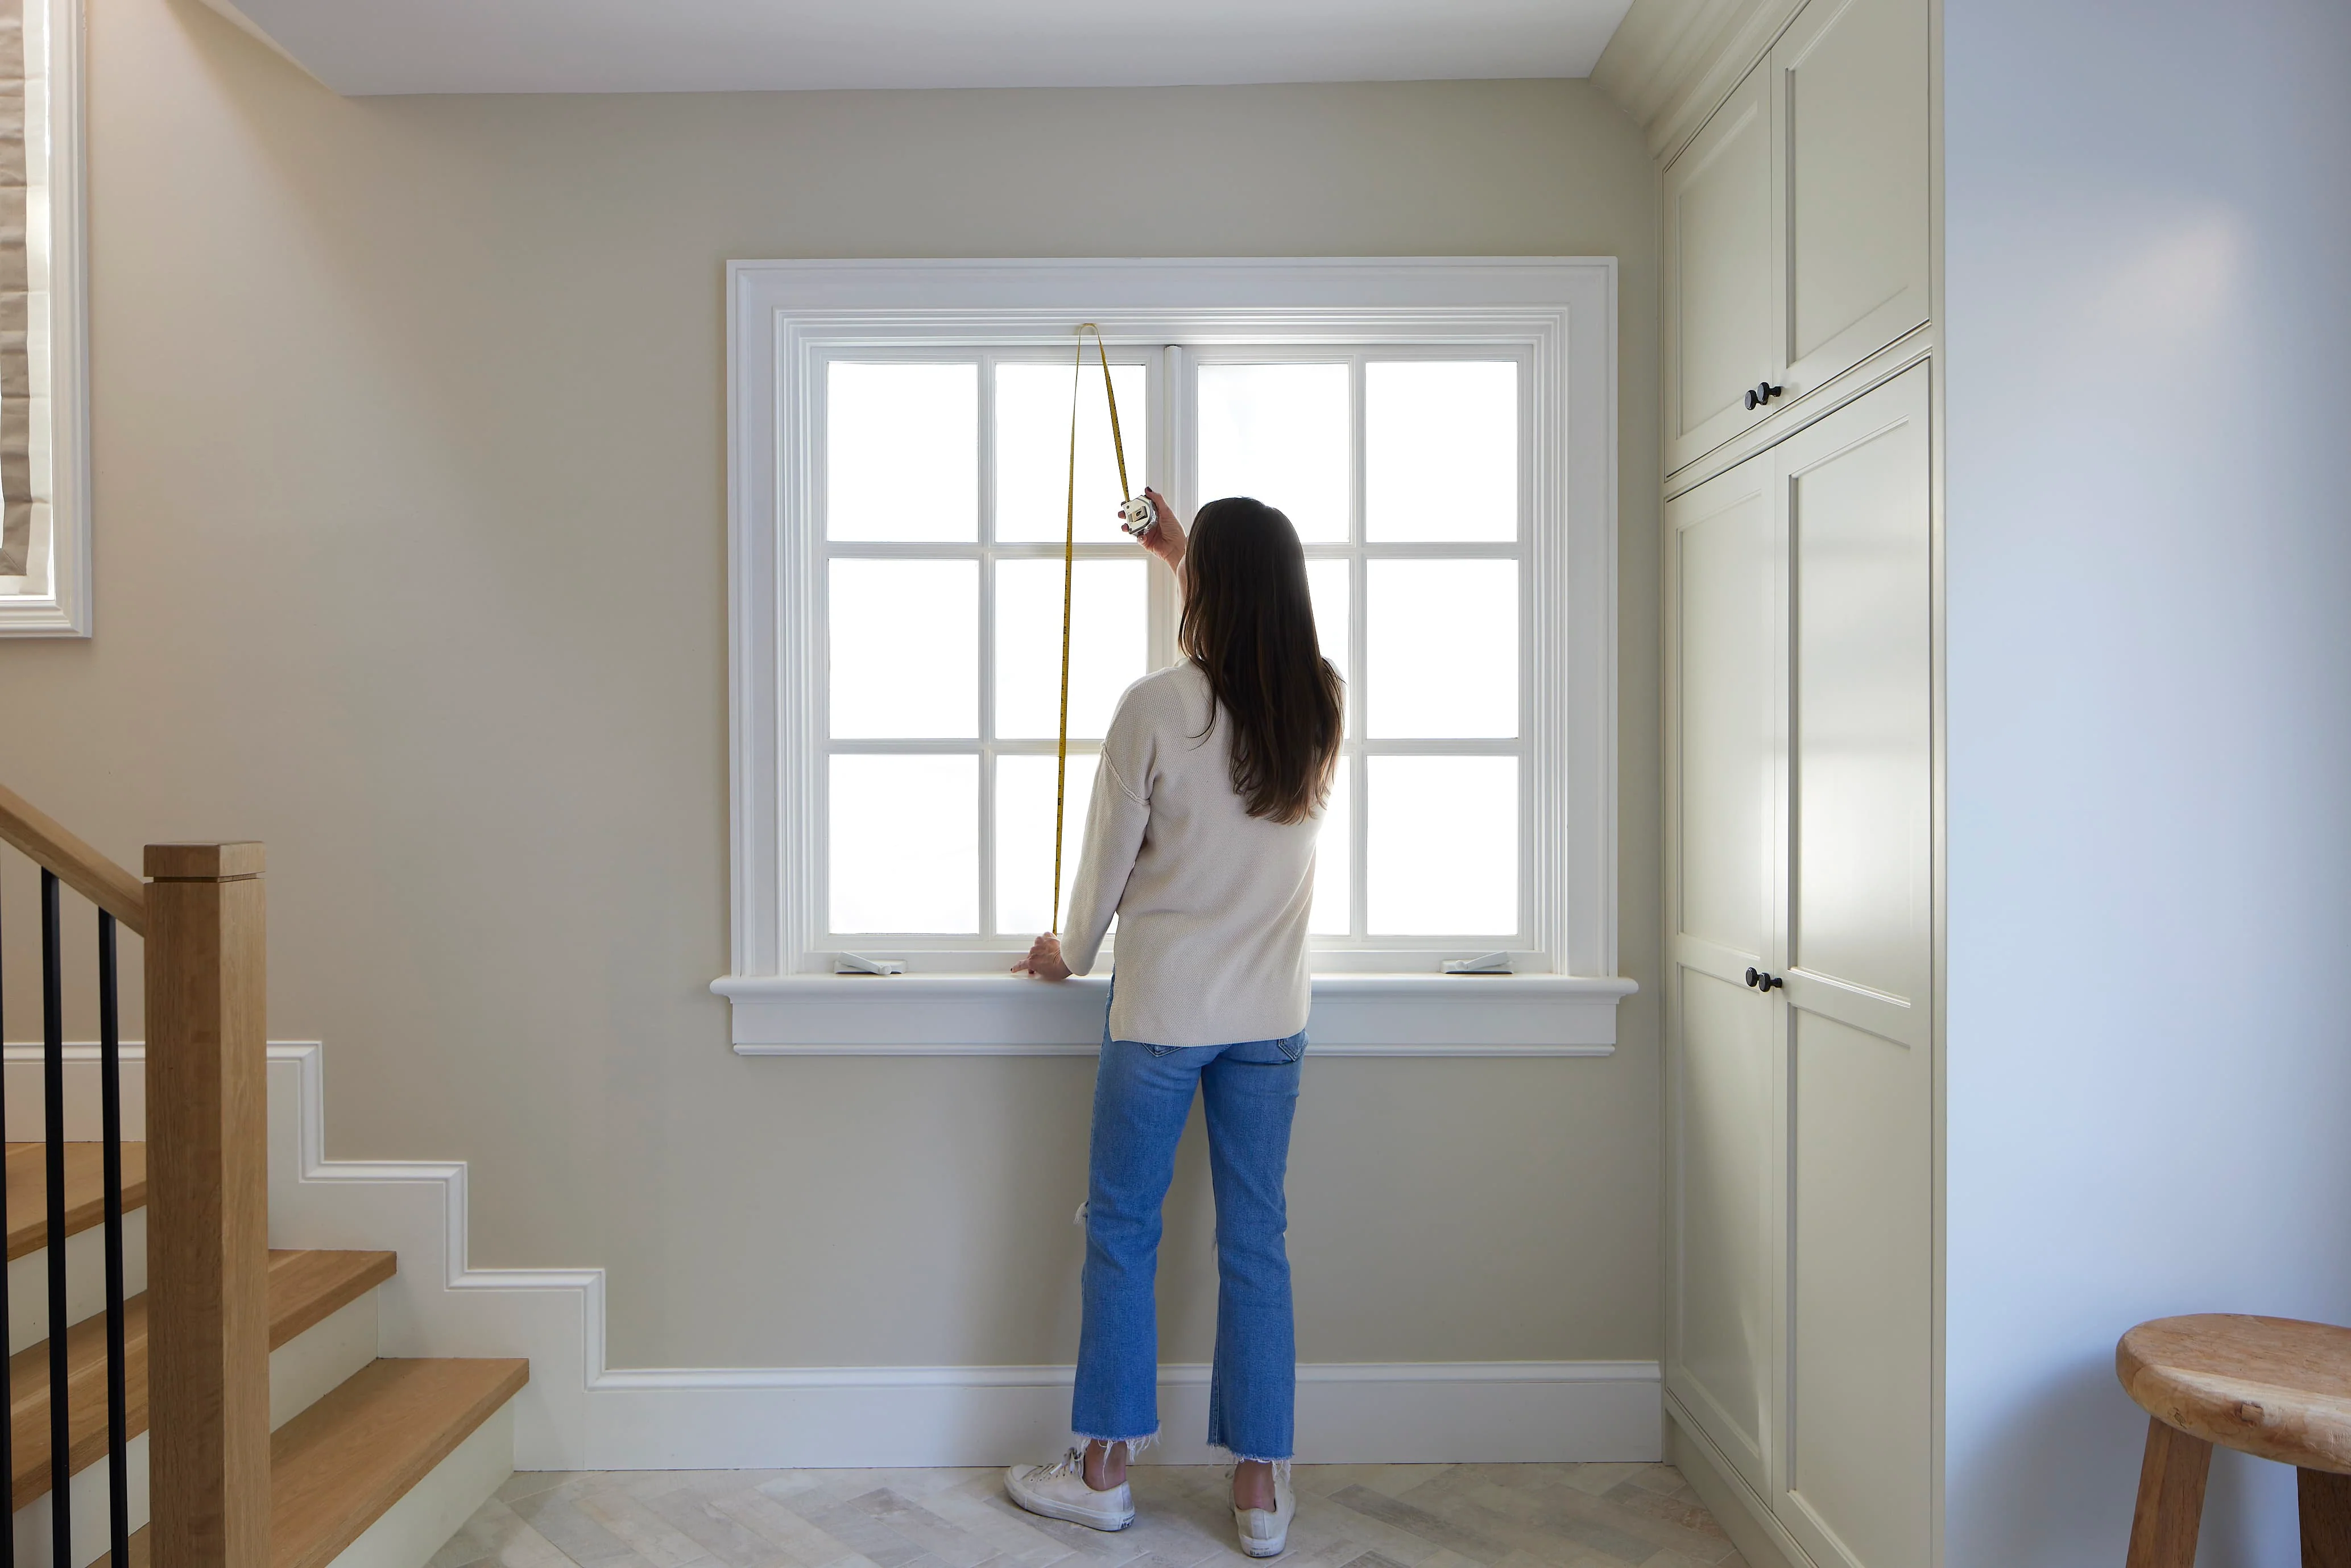
Step 03
Rounding to the nearest ⅛", measure in three places — left, middle, and right. Use the longest.
Measured on the outline of the finished window frame, including trim.
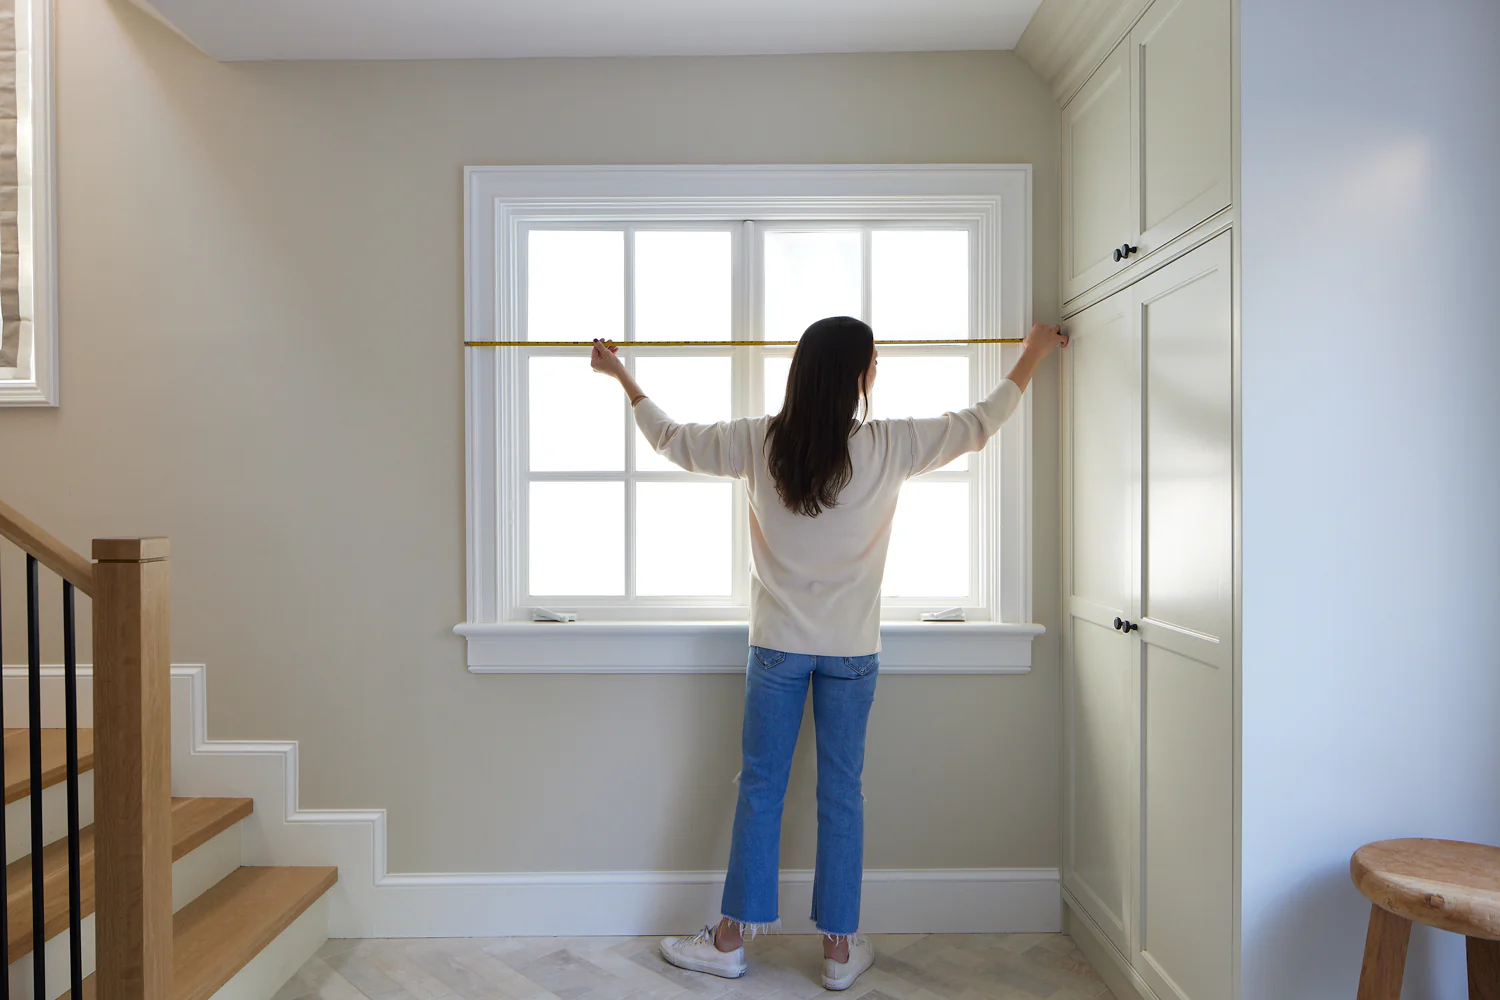
Step 01
Measure across the finished window frame, rounded to the nearest ⅛".
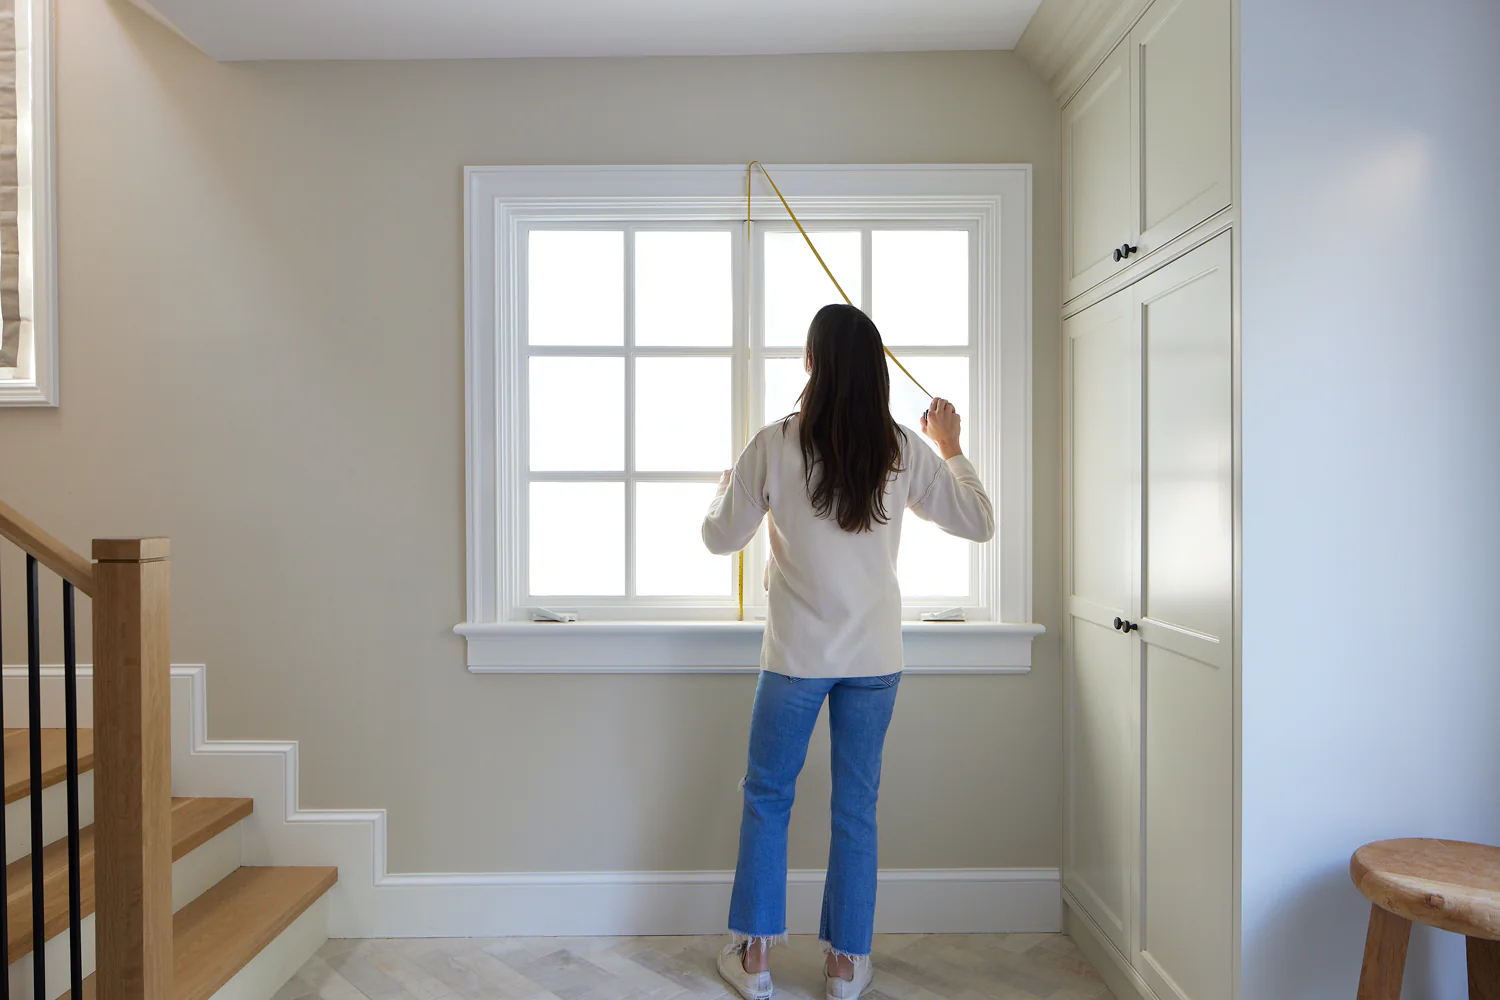
Step 02
Measure the height of the finished window frame, rounded to the nearest ⅛".
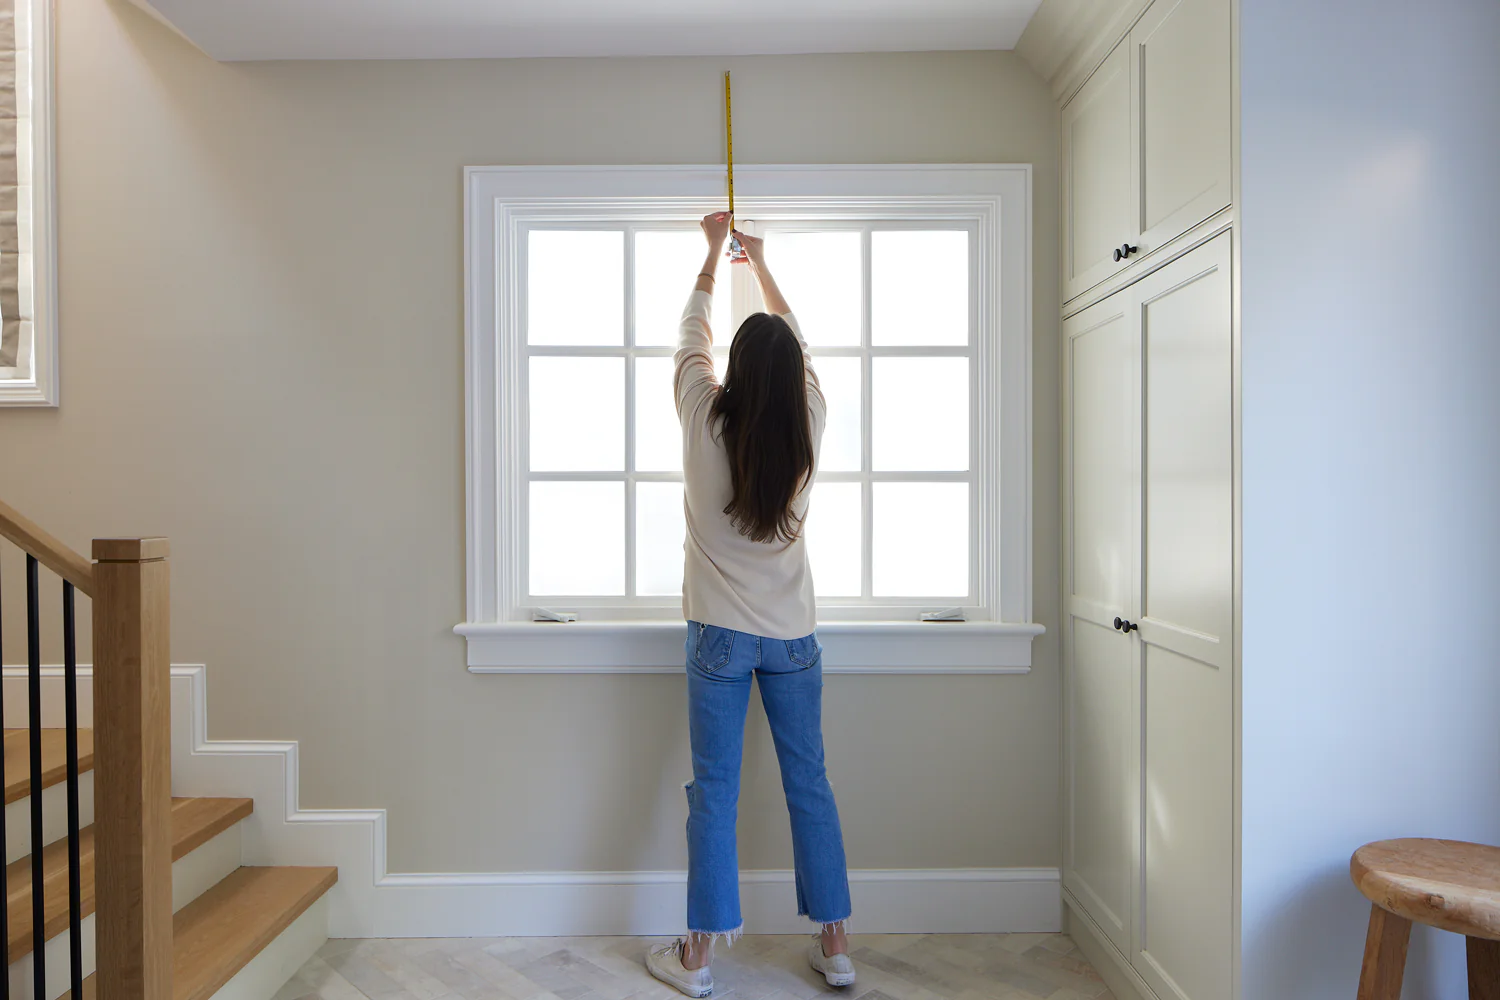
Step 03
For wall mount — the most common — we suggest 5". If trim projection is greater than ¾", reach out for a custom solution.
Add width for coverage
We suggest 1"–2" per side for optimal coverage, especially with blackout lining.
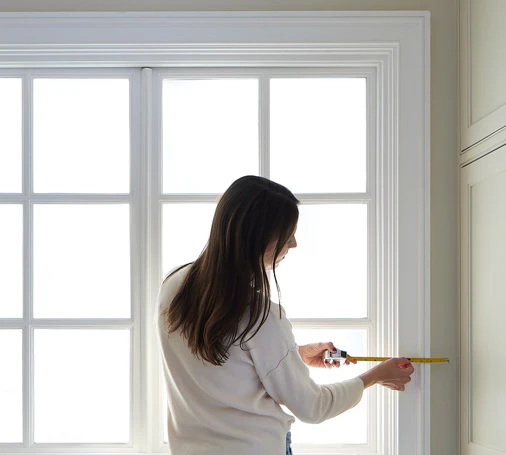
Add length for coverage
With no sill, add length to your window height equal to the additional width per side. Added 1" per side to width? Add 1" to height — before adding your mounting height.
Mounting height guide
Wall mount — 5" above the window (most common).
Trim mount — 0" mounting height, flush with the top of the window trim.
Door mount — 3"–4" mounting height, depending on available space.
For shades installed on a door with a glass insert — measured on the glass, not the door.
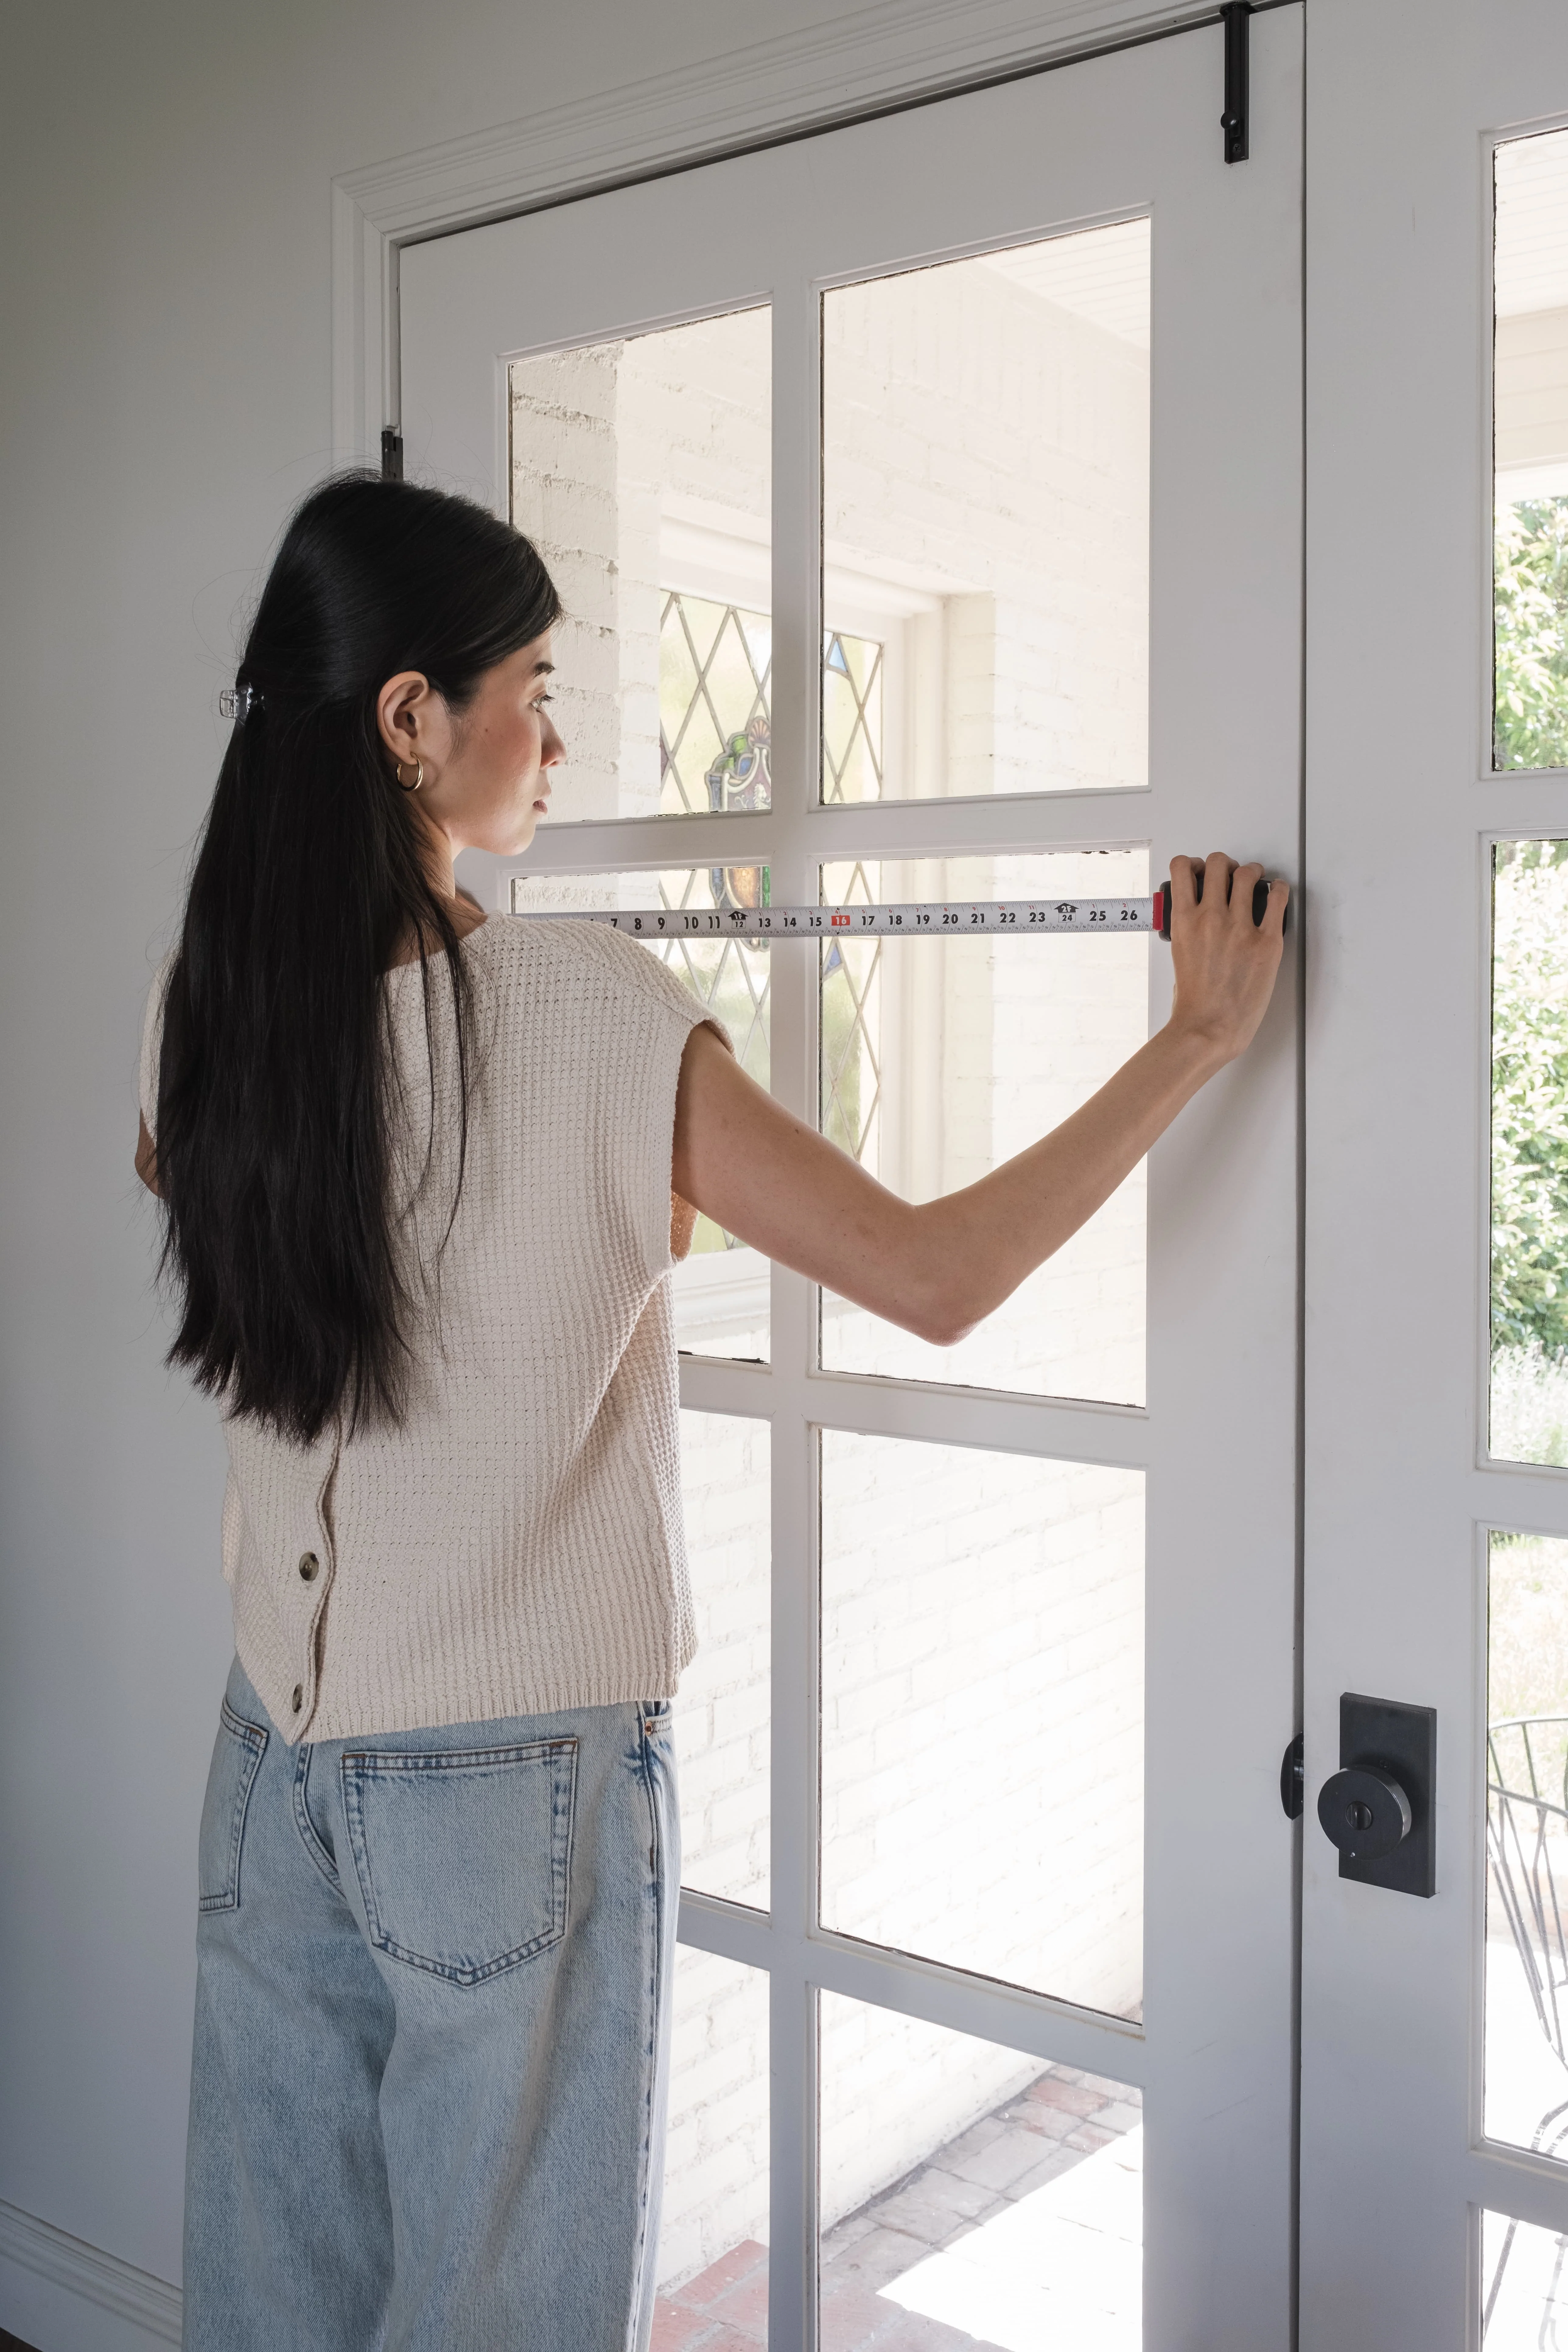
Step 01
Measure the glass width on the door, rounded to the nearest ⅛".
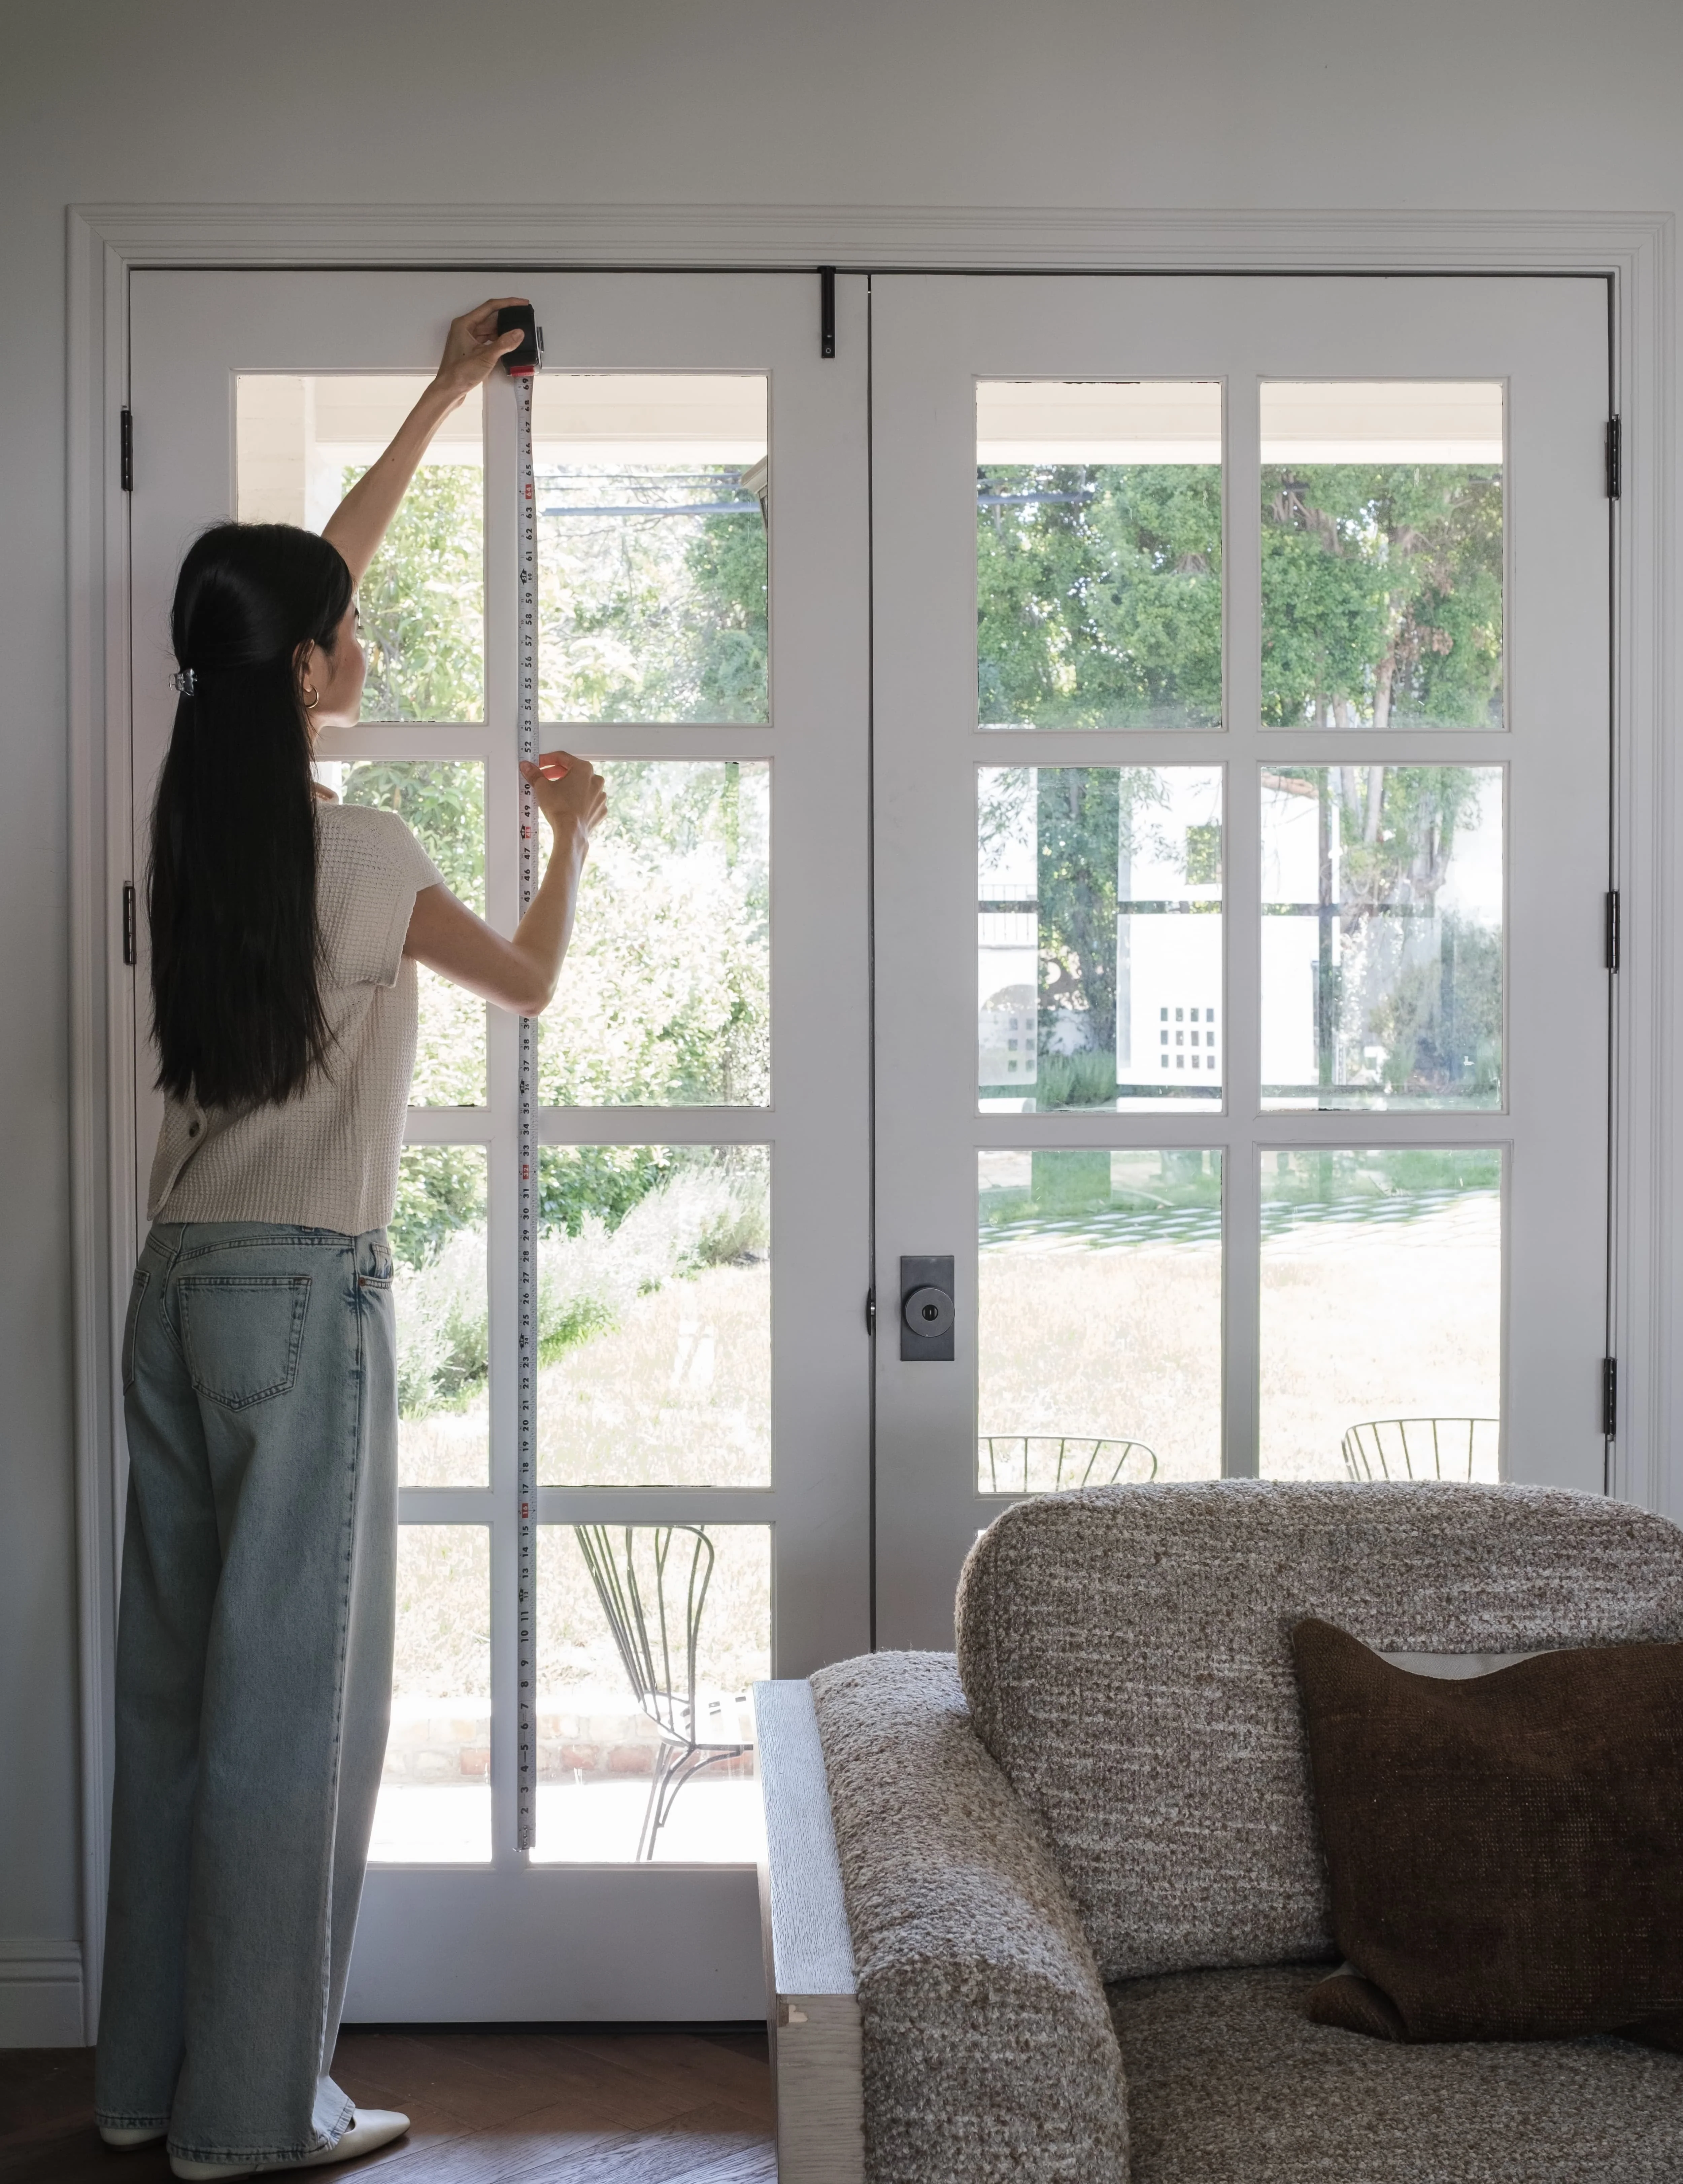
Step 02
Measure the glass height on the door, rounded to the nearest ⅛".
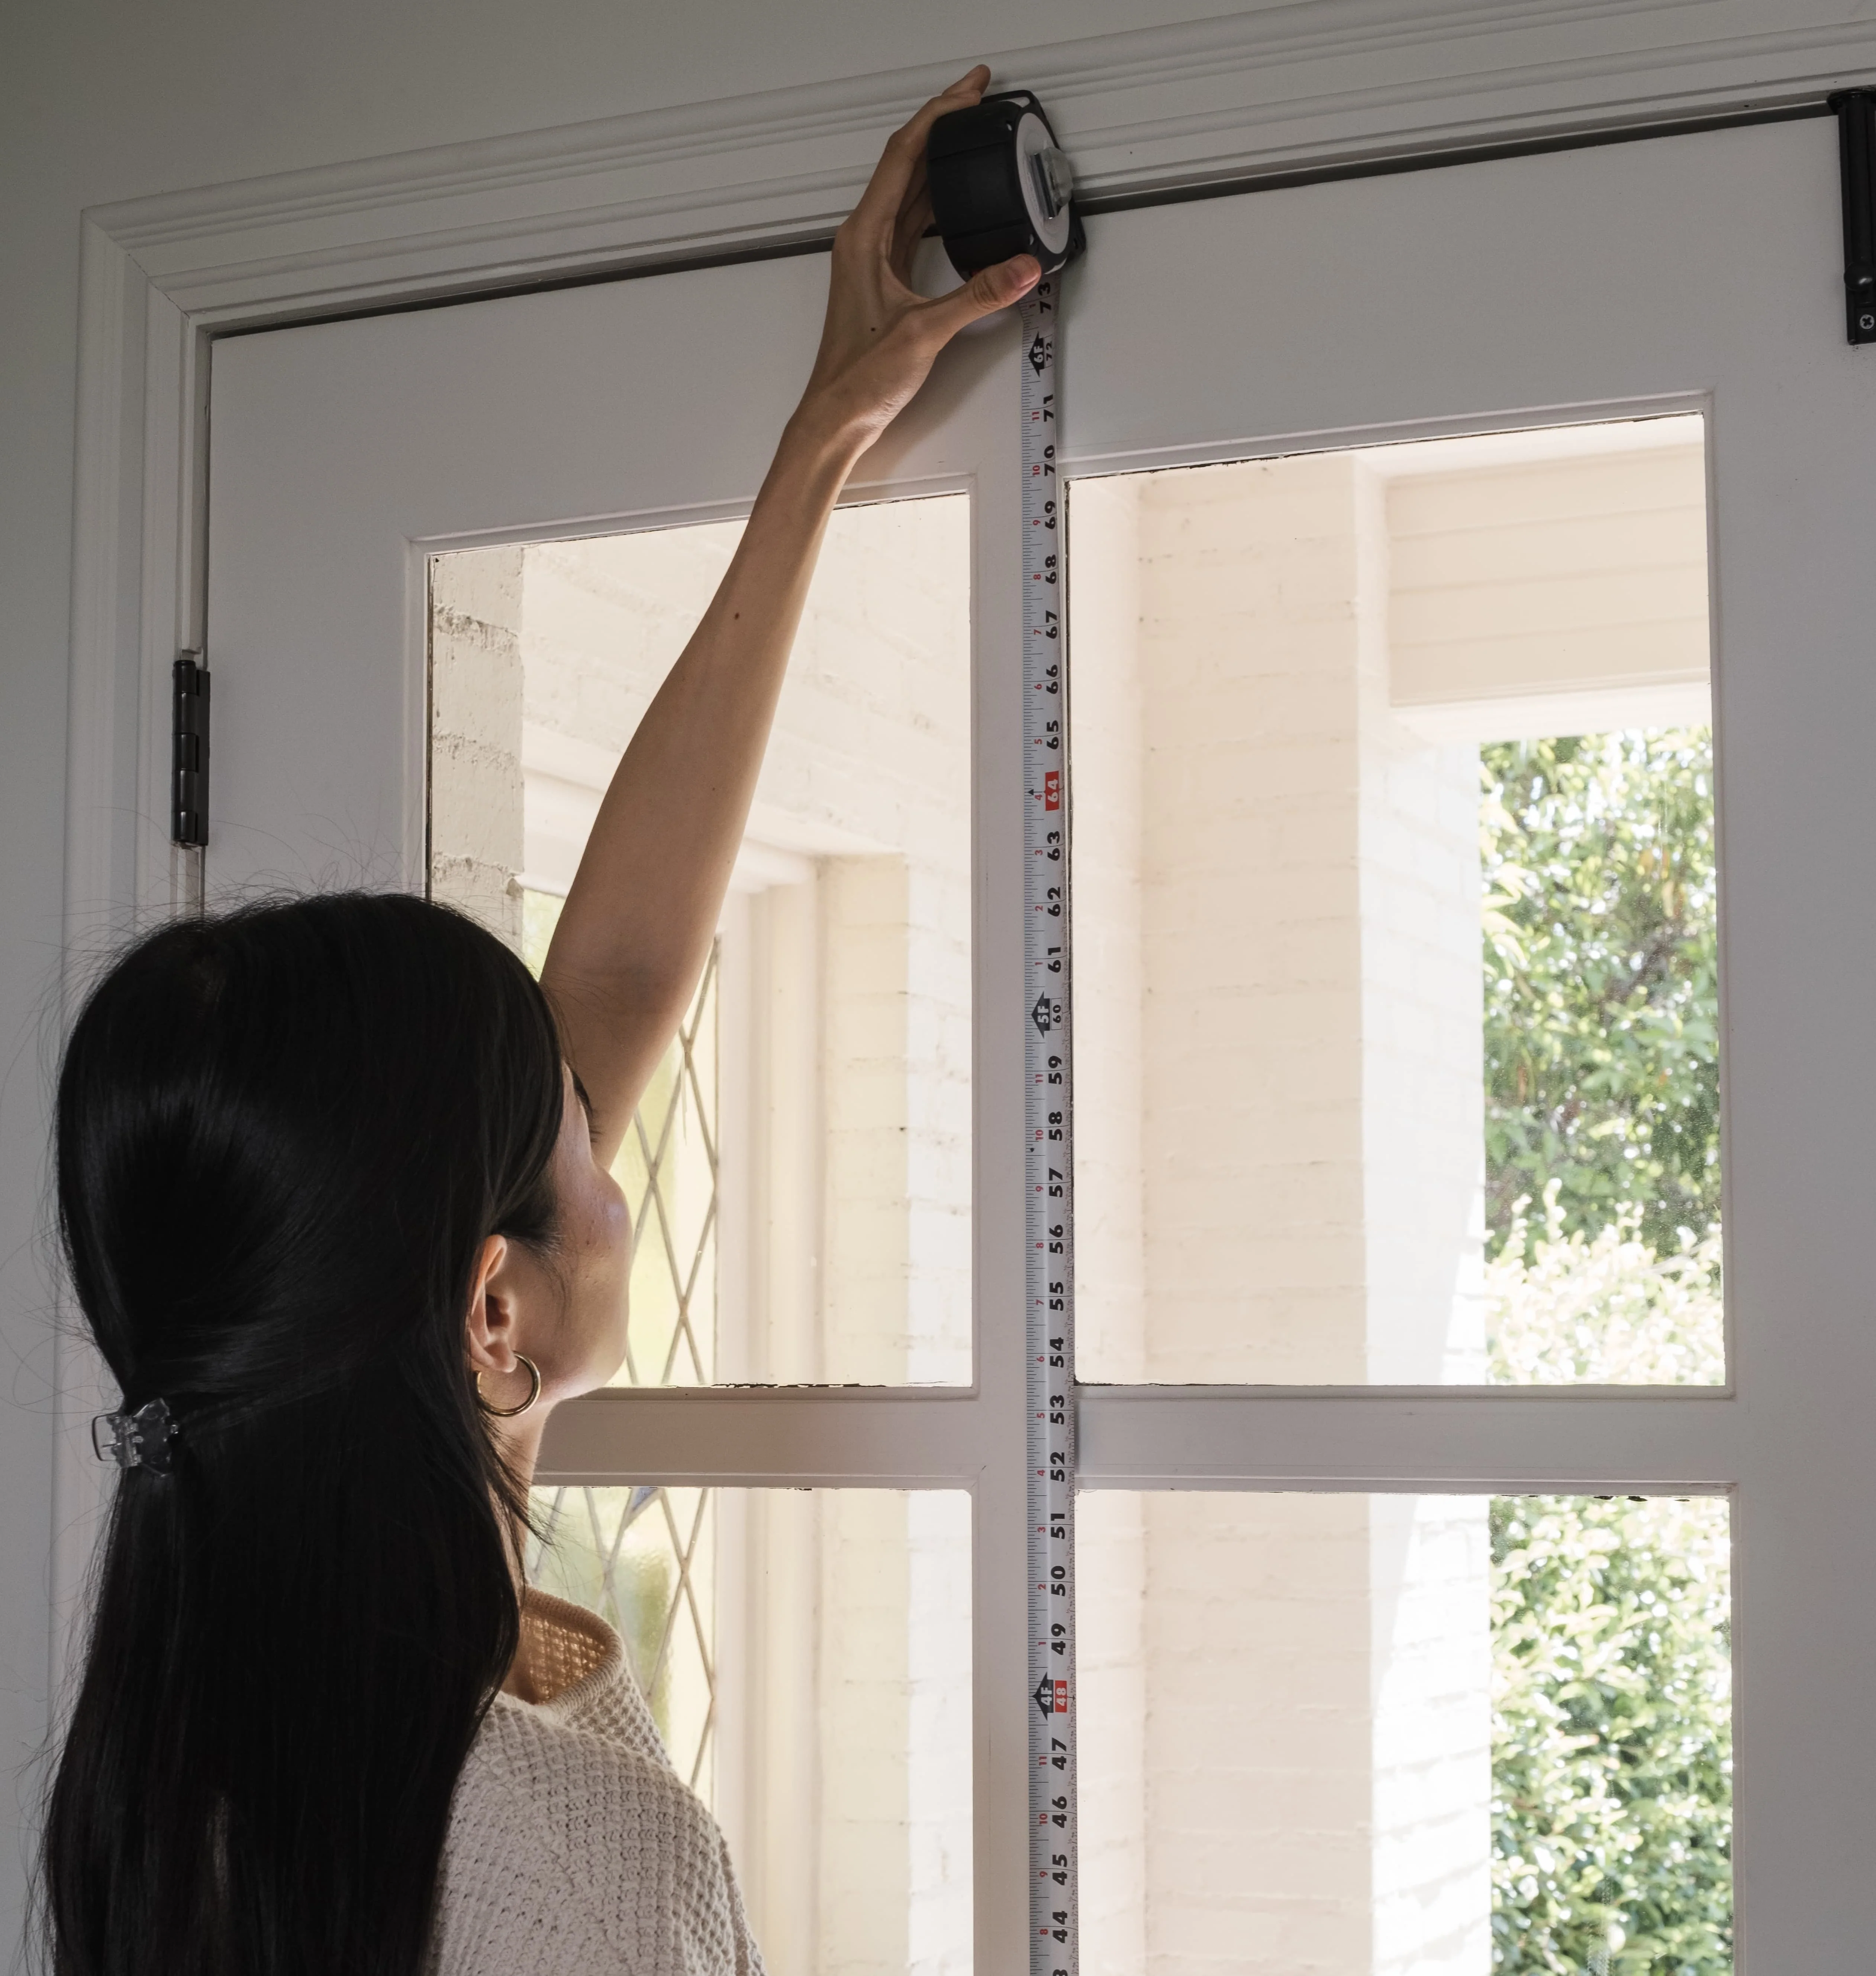
Step 03
For door mount, we suggest 3"–4" above the glass, depending on the space available.
Add width for coverage
Add as much width as you can without hindering your door hardware — deadbolts, handles, or locks at the side of the glass.
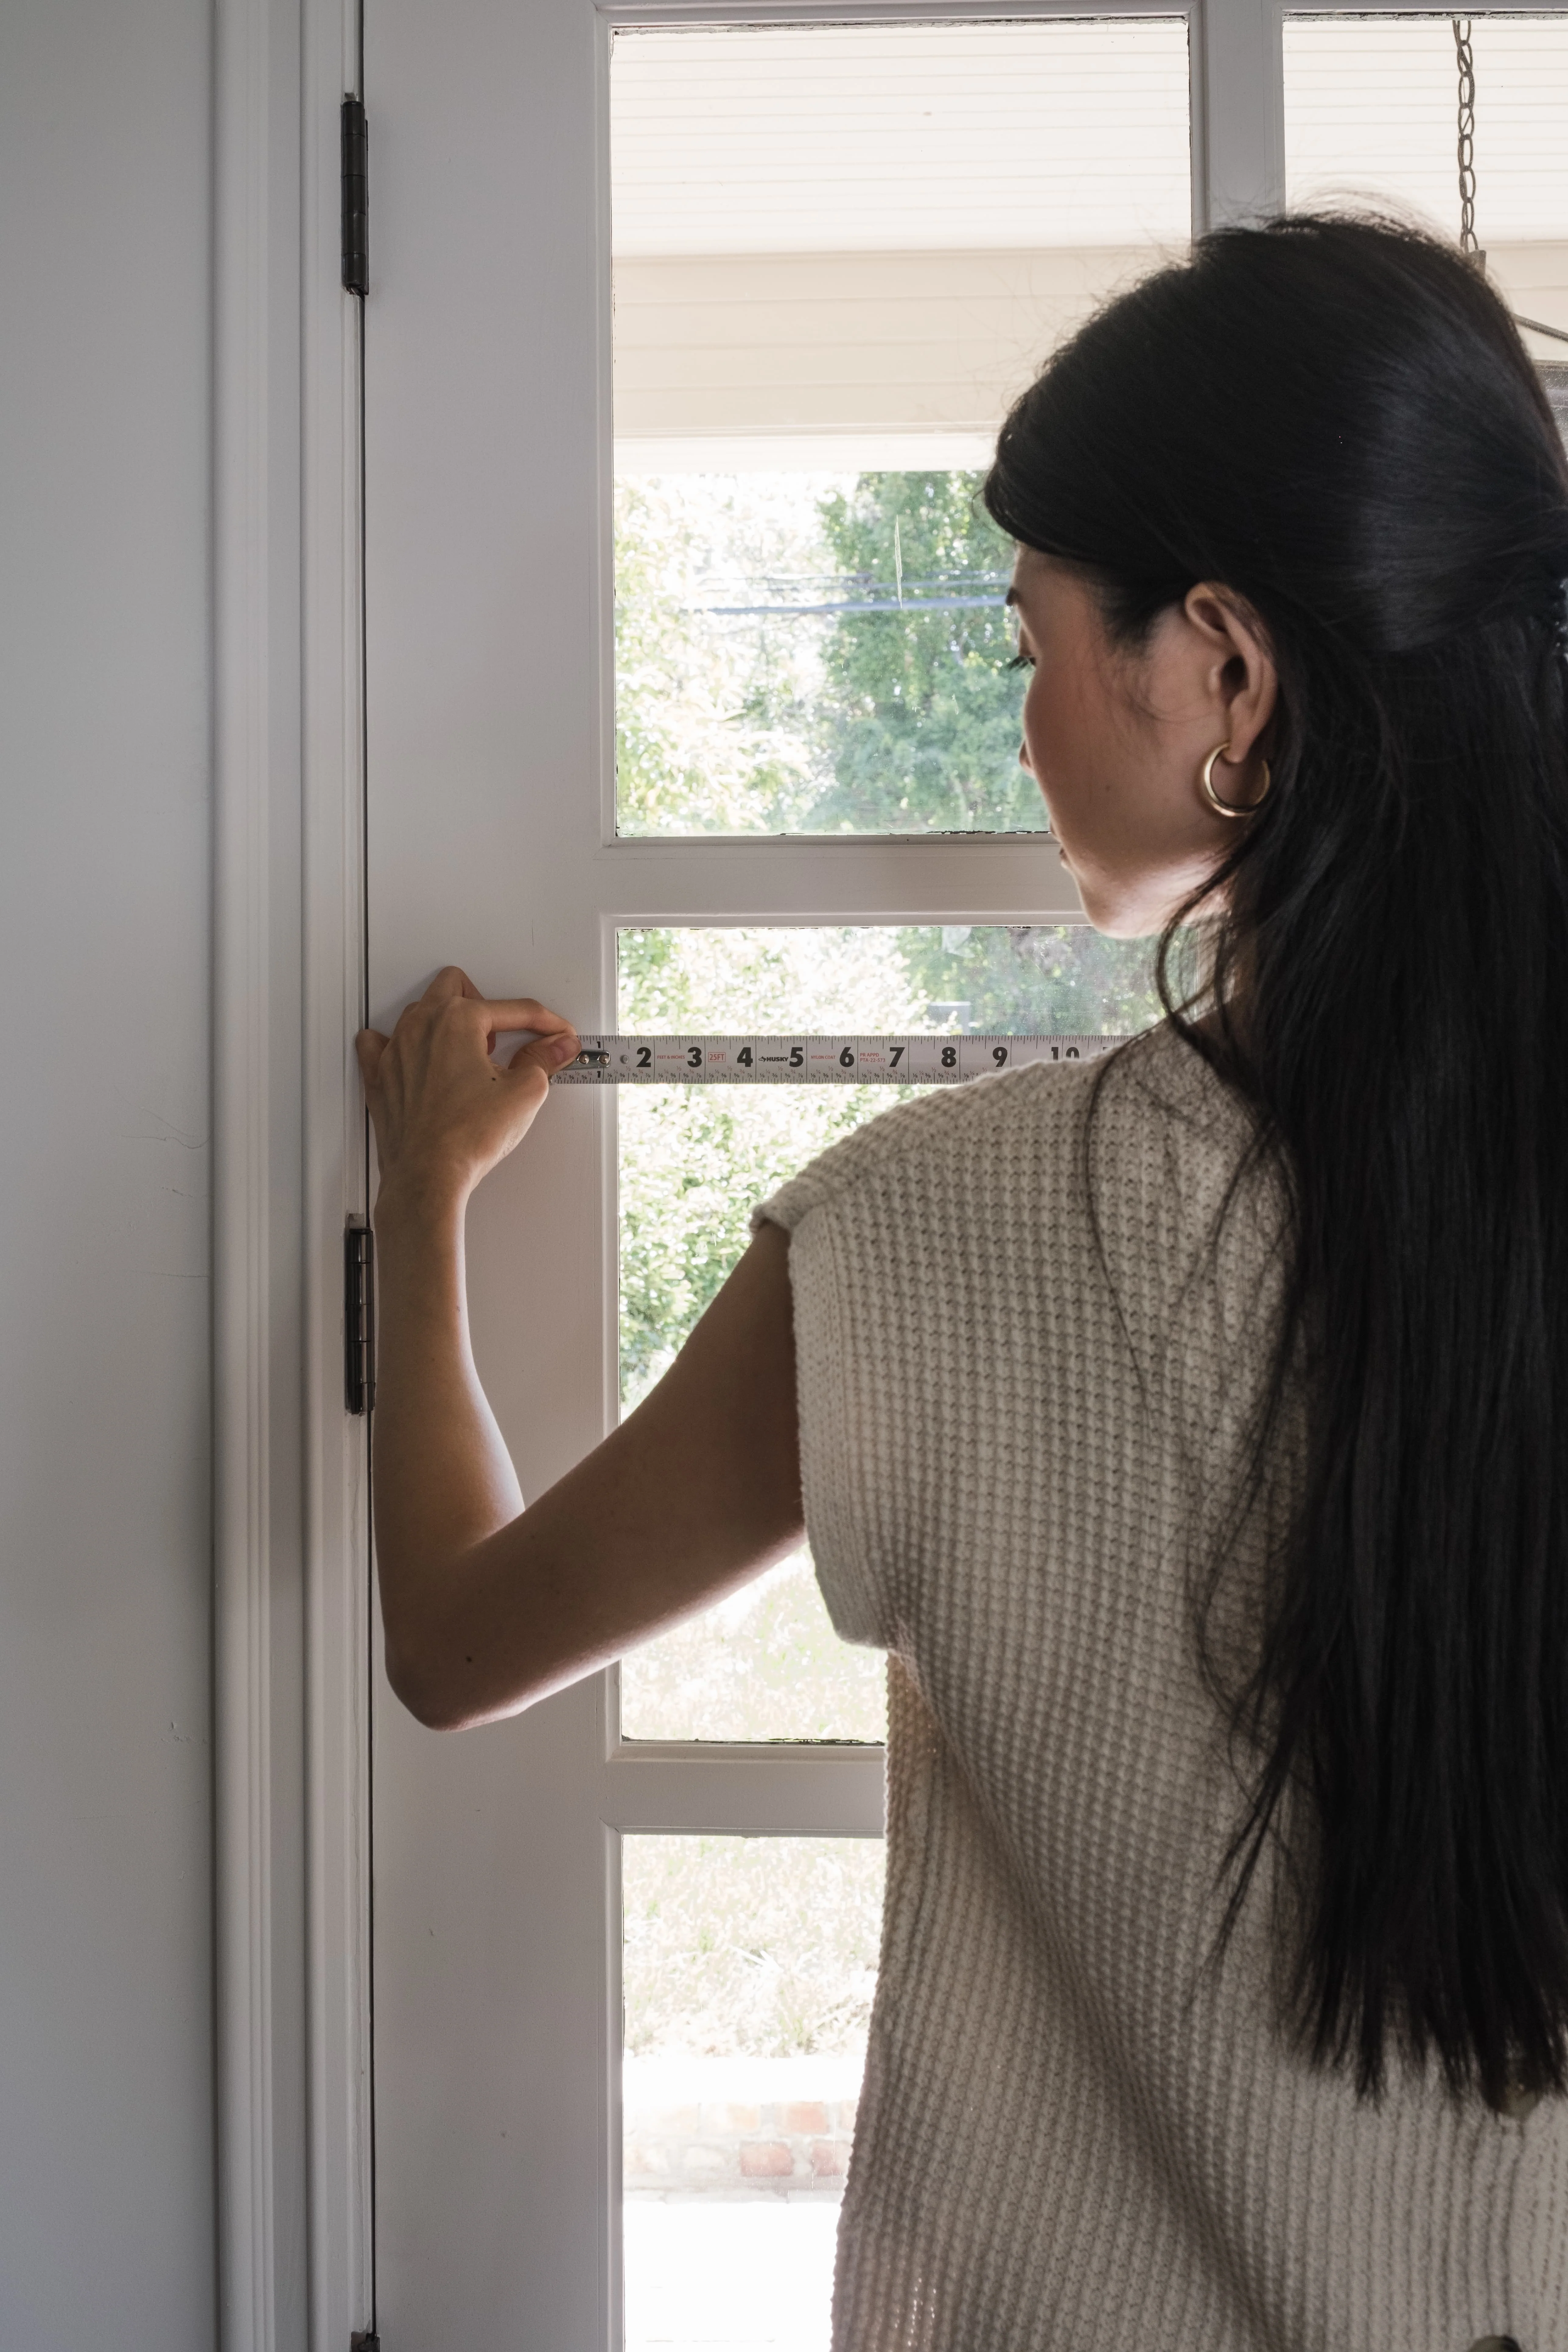
Add length for coverage
We suggest adding 1" to the bottom — before adding your mounting height.
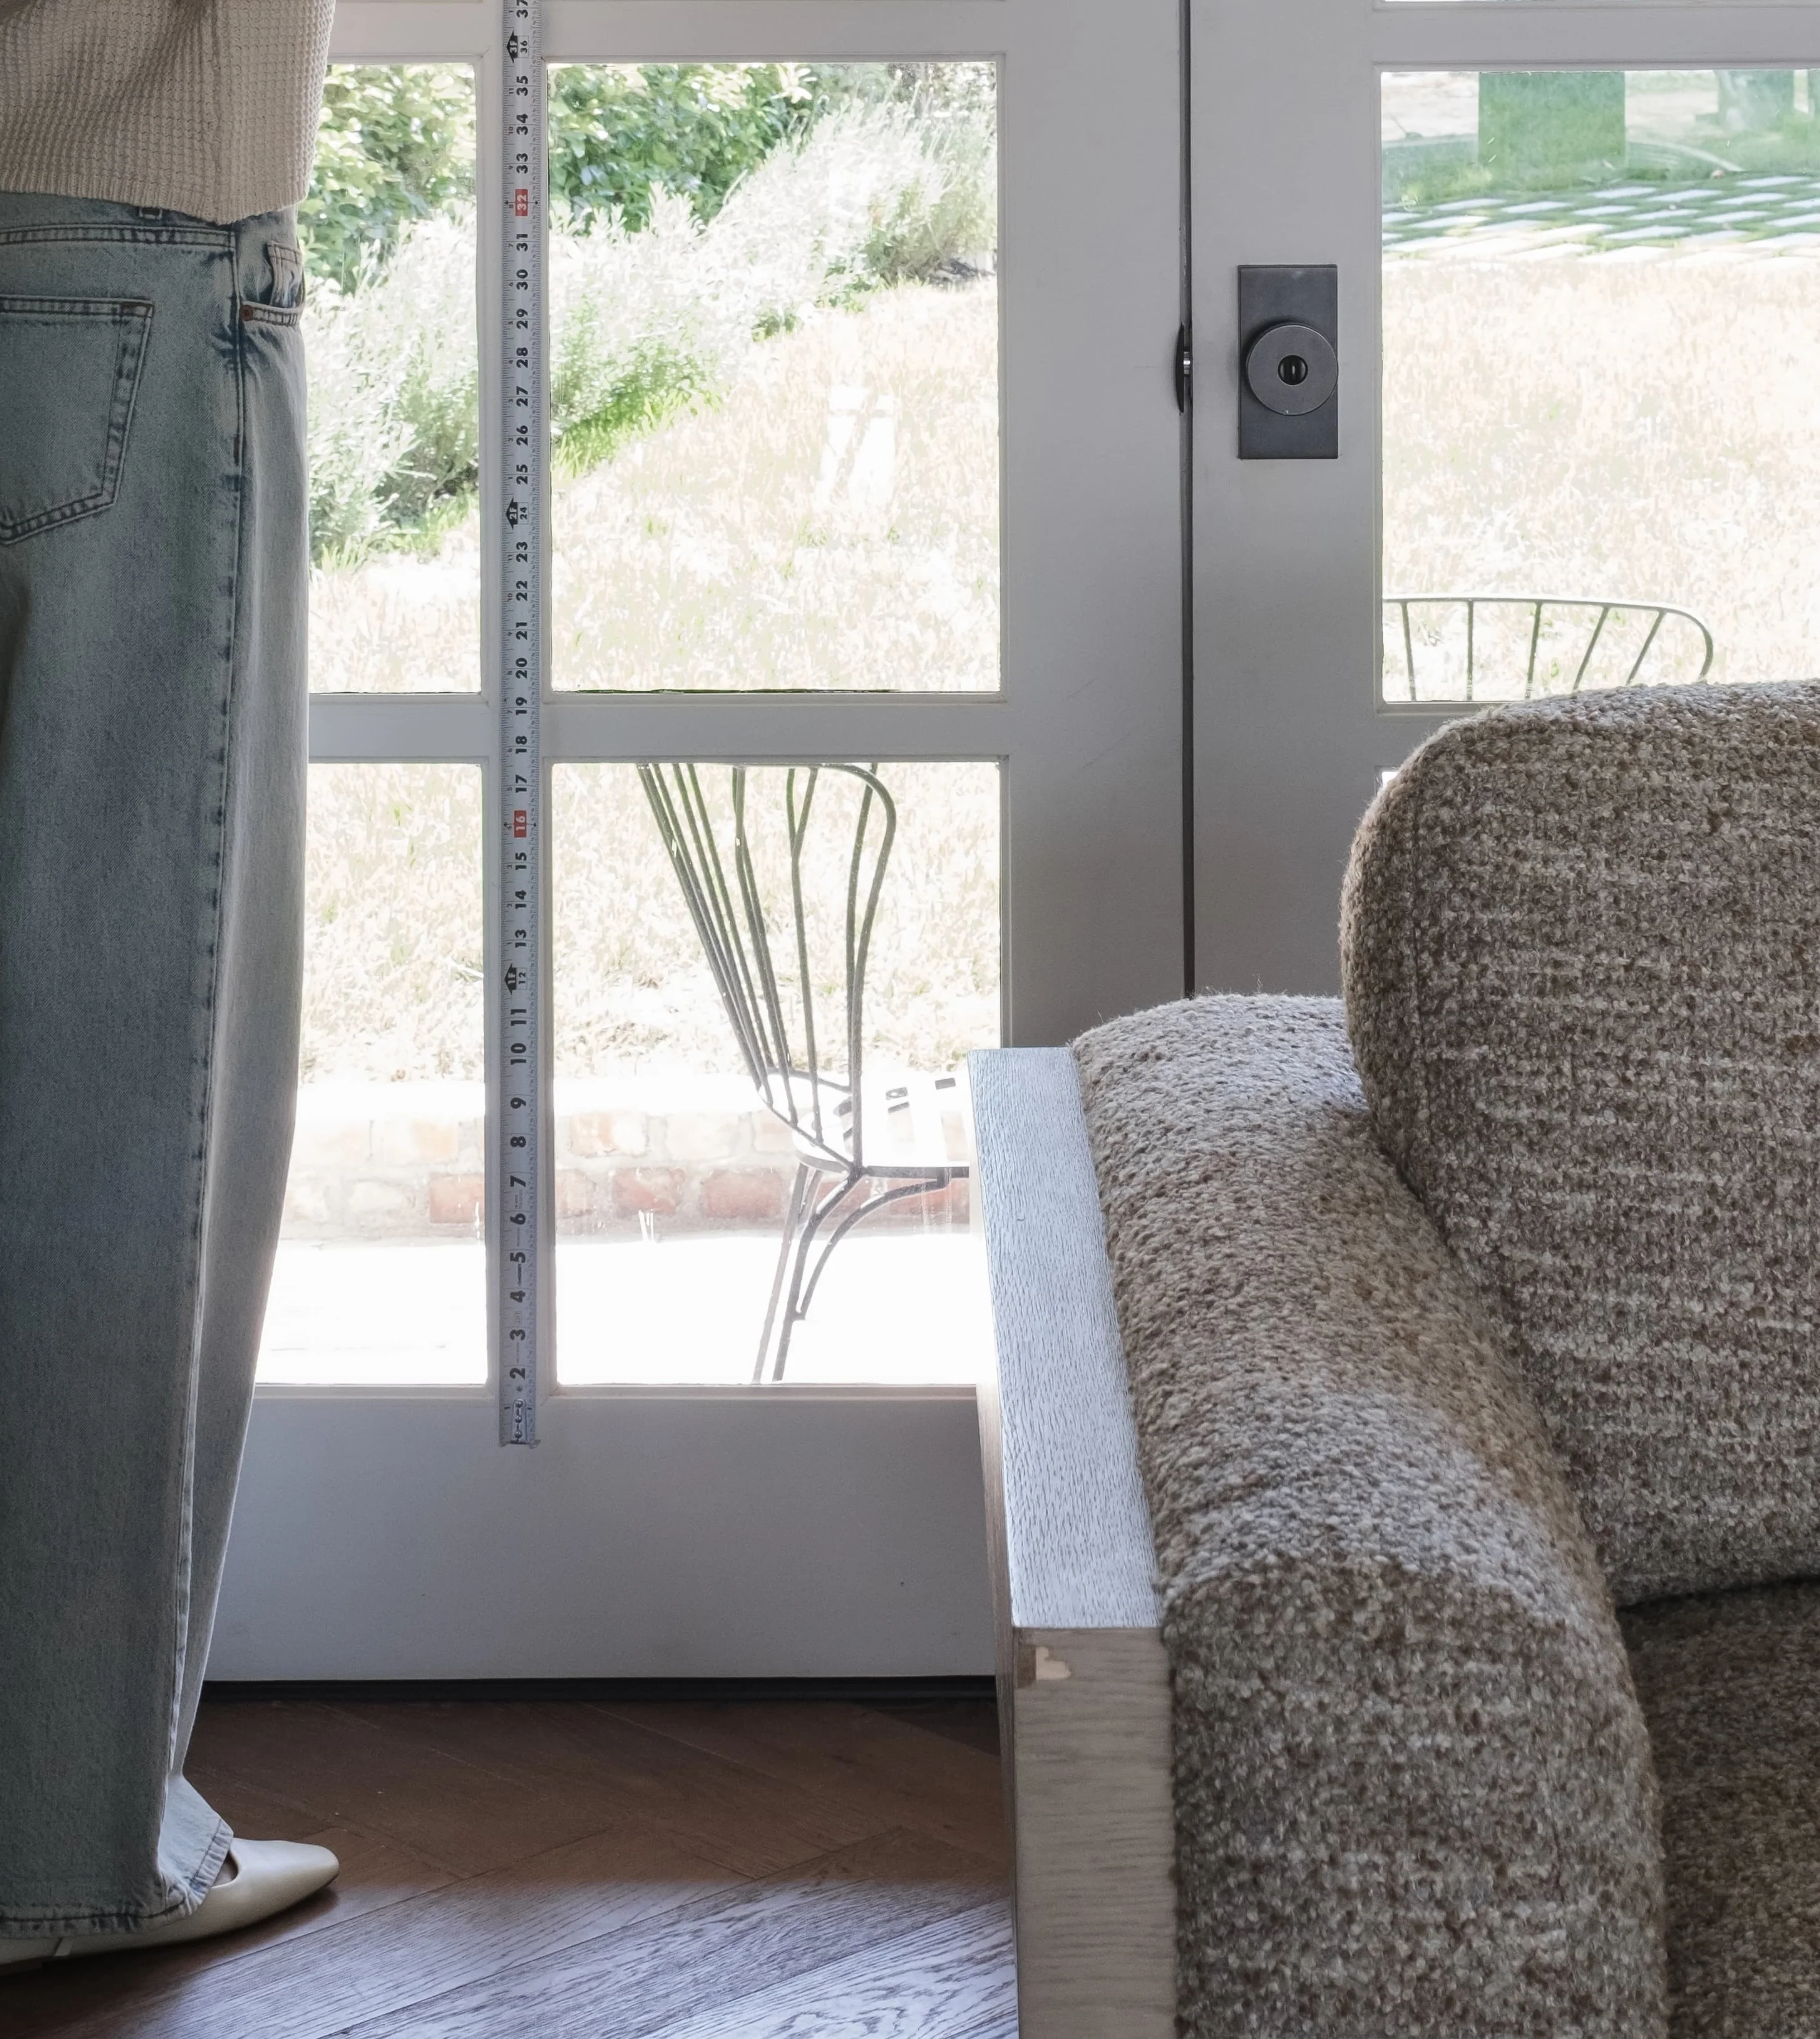
Mounting height guide
Standard — 3"–4" above the glass.
Hardware clearance — make sure the mount clears any deadbolts, handles, or locks at the top of the door.
Limited space? Reach out for a custom solution.